Build a laser kit part 2 - 10
STEP 6: Quick interior detailing the kitchen
Continued ...
39: Since the kitchen is movable, a false wall is
installed on one end. This will be an interior wall
hiding the electrical service for the room. One
large 5mm Miniatronics bulb is all that is needed
for the interior, and an HO scale Miniatronics
lampshade serves as an exterior light. Both are 12
volt lamps that I will operate at 6 volts, providing a
realistic soft glow and insuring an extremely long
life – up to 400 times the normal life expectancy. I
solder the connections and insulate them with heat
shrink tubing. A scrap piece of carrier sheet is used
to suspend the lamp over the kitchen interior.
39
STEP 7: Quick interior detailing the dining area
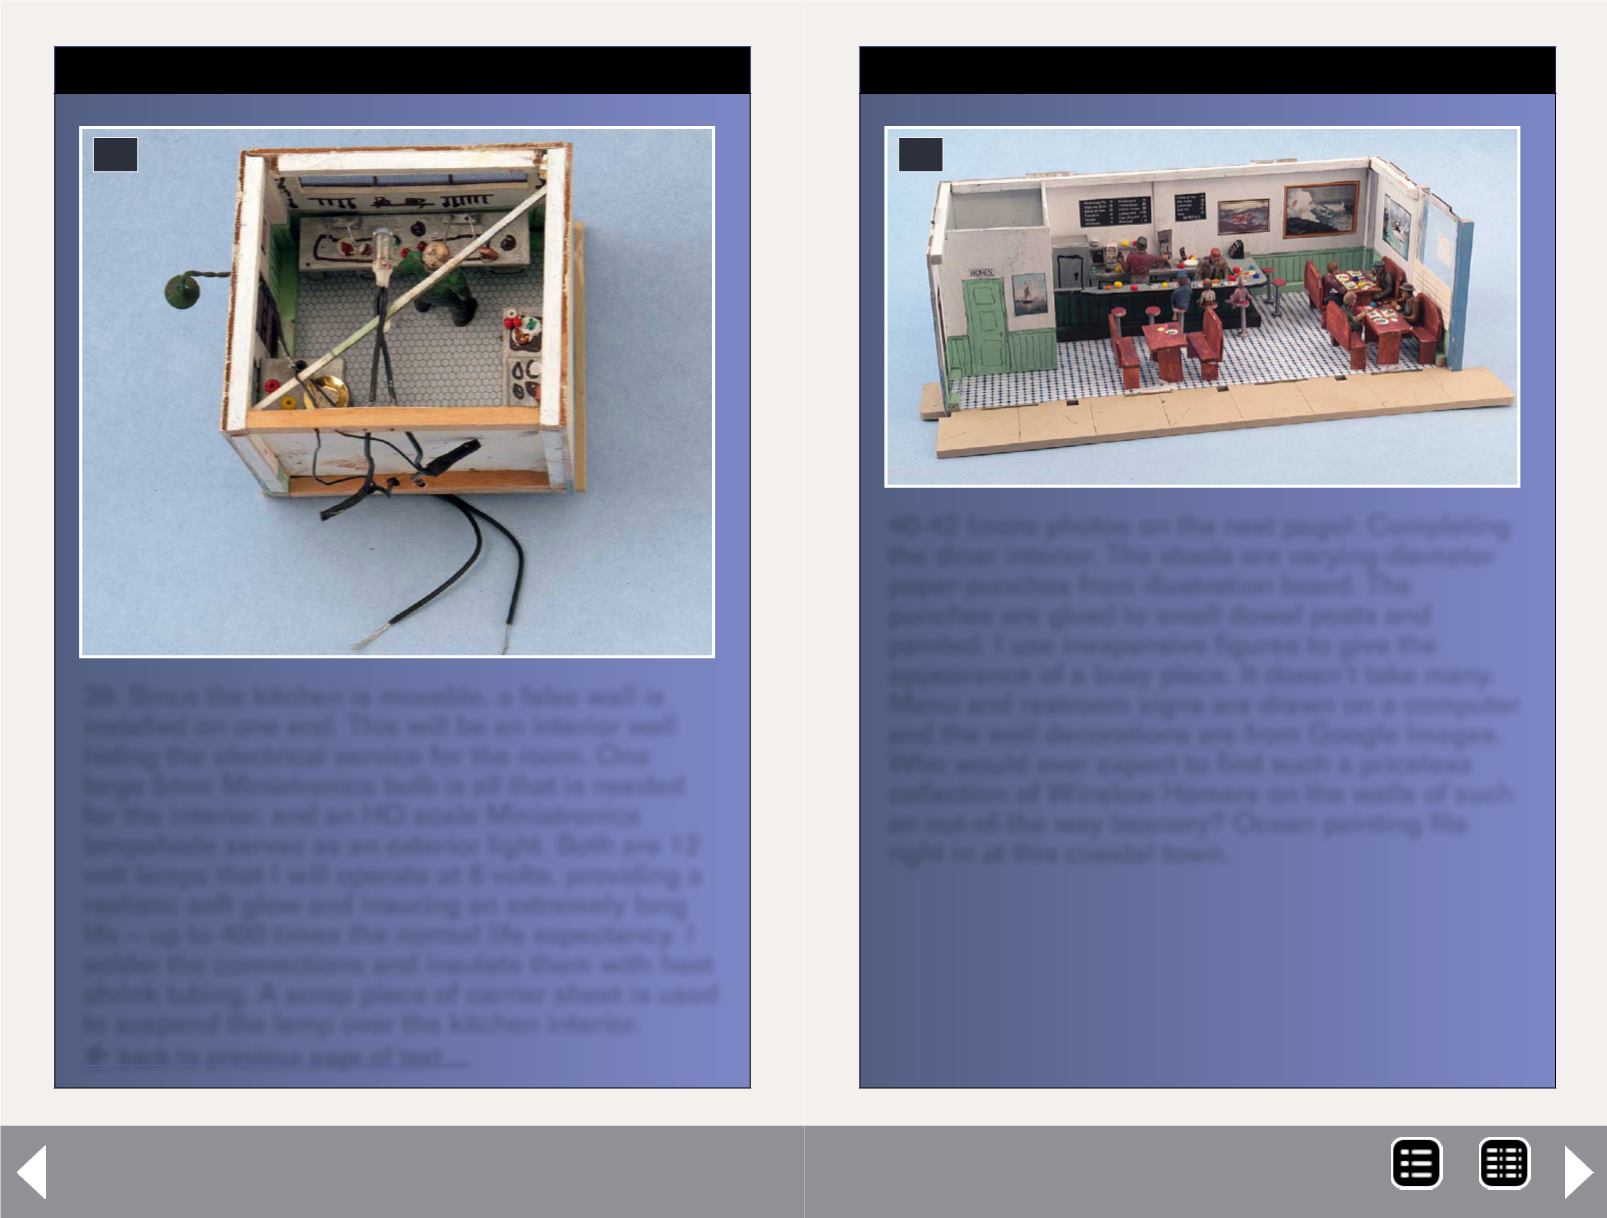
40-42 (more photos on the next page): Completing
the diner interior. The stools are varying-diameter
paper-punches from illustration board. The
punches are glued to small dowel posts and
painted. I use inexpensive figures to give the
appearance of a busy place. It doesn’t take many.
Menu and restroom signs are drawn on a computer
and the wall decorations are from Google Images.
Who would ever expect to find such a priceless
collection of Winslow Homers on the walls of such
an out-of-the way beanery? Ocean painting fits
right in at this coastal town.
40
MRH-Oct 2013


