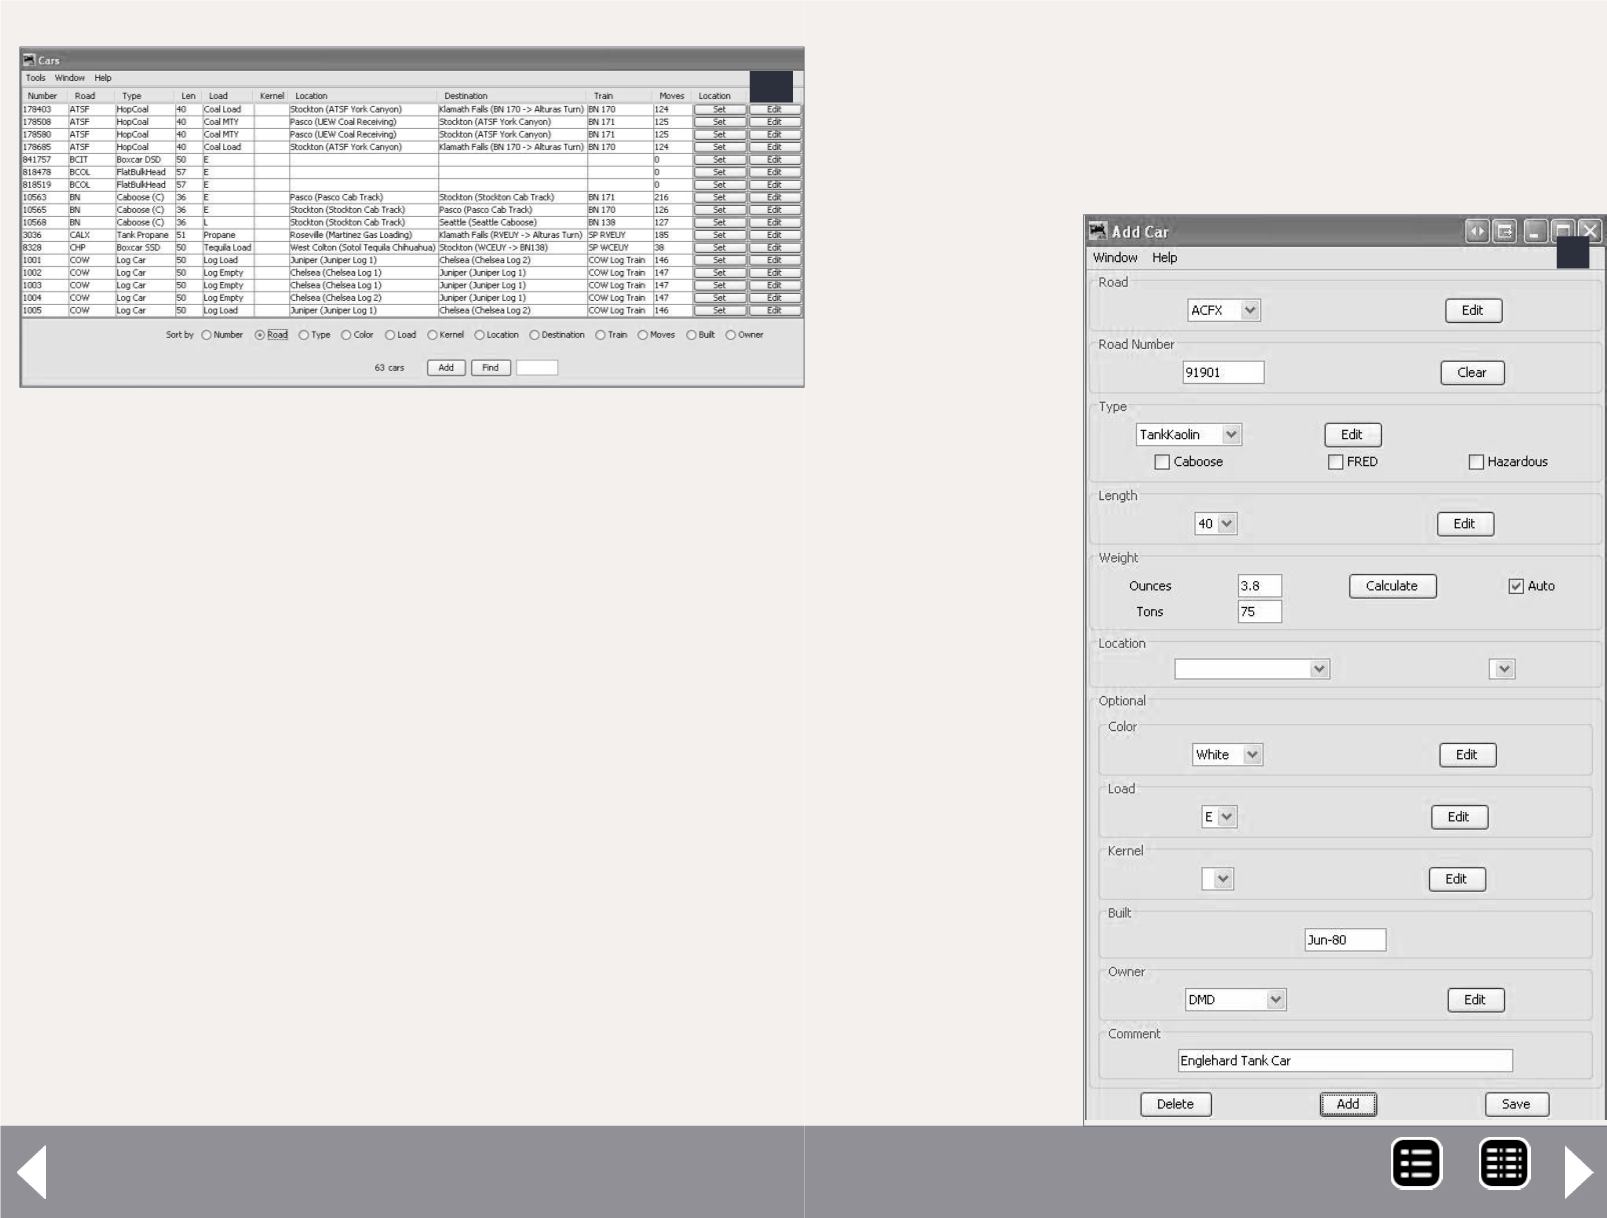
The kernel is used if you have a group of cars that always stay
together, such as a passenger train or unit train.
The next columns are is the car’s current location, the track for
which it is destined, as well as the train it’s going out on. The
next column shows the total number of moves the car has made
since it was added to the layout. Finally are buttons for Set and
Edit. The Set button allows you to manually set the track and the
next destination for the car, and the train it will go out on. This is
useful if a car is missrouted or needs to go to the repair track.
The Edit button allows you to quickly access the cars’ charac-
teristics if you need to edit something in the future. Before
moving on let’s discuss a couple of other items. You may have
noticed three cars (4a, 4b) that have no information in some of
the columns. The BCIT and BCOL cars have just been entered
JMRI Generating switch lists - 6
4b
4a-4b: Cars screen. Each car's reporting marks are
entered, along with its length and load. I also entered
the car’s originating point and its destination, along
with the train that it should be moved in.
into the car roster and haven’t had schedules created, so they
are just sitting there waiting to be told what to do.
There are buttons at the bottom of the screen that allow
you to add the build date or car owner to the list. These
are useful if you
run operating
sessions set in
different time
frames, or if you
set up a club lay-
out and want to
find cars belong-
ing to a certain
member.
Add car
Begin entering
new cars to the
5: Add Car
screen. On this
screen the data
is entered for
each car. This
screen allows
the owner’s
name to be
entered, a
handy feature
for cars on club
layouts.
5
MRH-Oct 2013


