Build a laser kit part 2 - 3
STEP 5: Putting the kit together
Continued ...
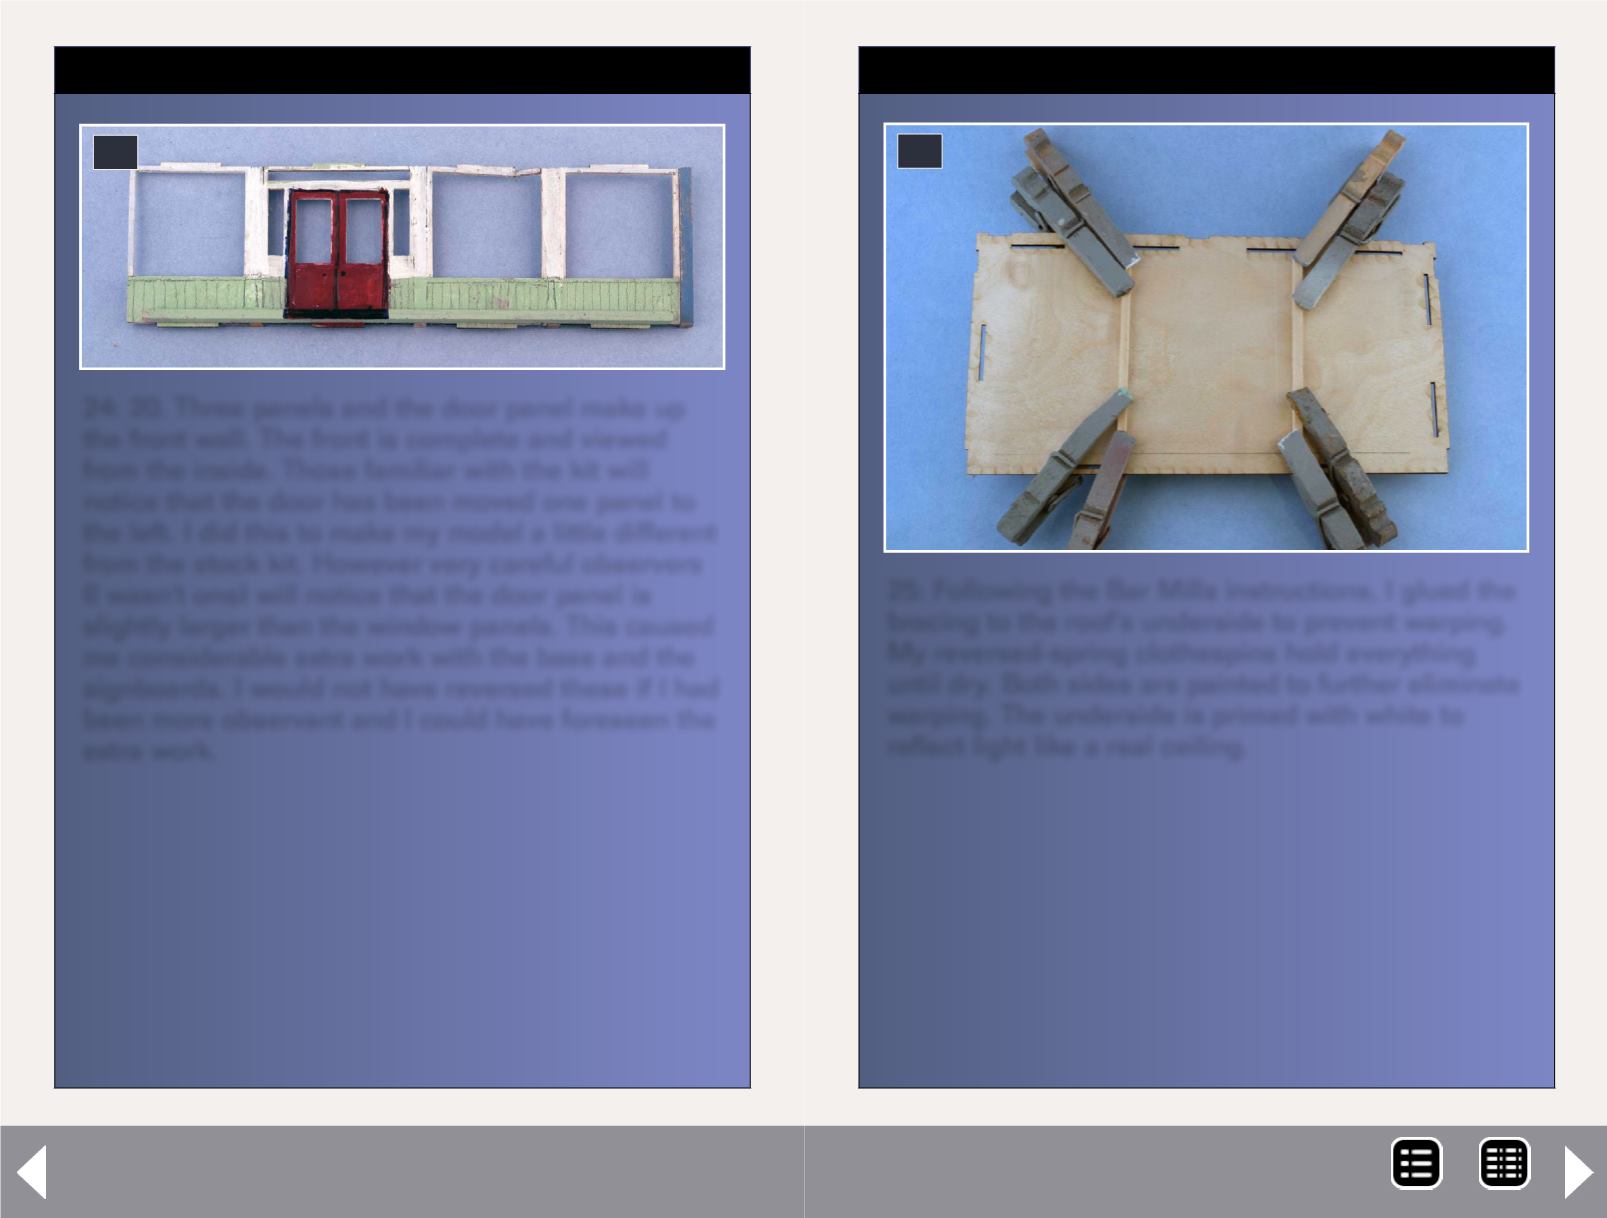
24: 20. Three panels and the door panel make up
the front wall. The front is complete and viewed
from the inside. Those familiar with the kit will
notice that the door has been moved one panel to
the left. I did this to make my model a little different
from the stock kit. However very careful observers
(I wasn't one) will notice that the door panel is
slightly larger than the window panels. This caused
me considerable extra work with the base and the
signboards. I would not have reversed these if I had
been more observant and I could have foreseen the
extra work.
24
STEP 5: Putting the kit together
Continued ...
25: Following the Bar Mills instructions, I glued the
bracing to the roof's underside to prevent warping.
My reversed-spring clothespins hold everything
until dry. Both sides are painted to further eliminate
warping. The underside is primed with white to
reflect light like a real ceiling.
25
MRH-Oct 2013


