Build a laser kit part 2 - 4
STEP 5: Putting the kit together
Continued ...
26: The kitchen shed is glued to the floor using the
kit's tab alignment construction. I added the brace;
it will never be seen, and the extra bracing never
hurts. The superdetailed hanging utensils was short
work with a fine-point marker. If they are seen,
great; if not, it was only a few minutes. This type
of detail needs to be done before the parts are put
together. It can’t be done later.
26
STEP 5: Putting the kit together
Continued ...
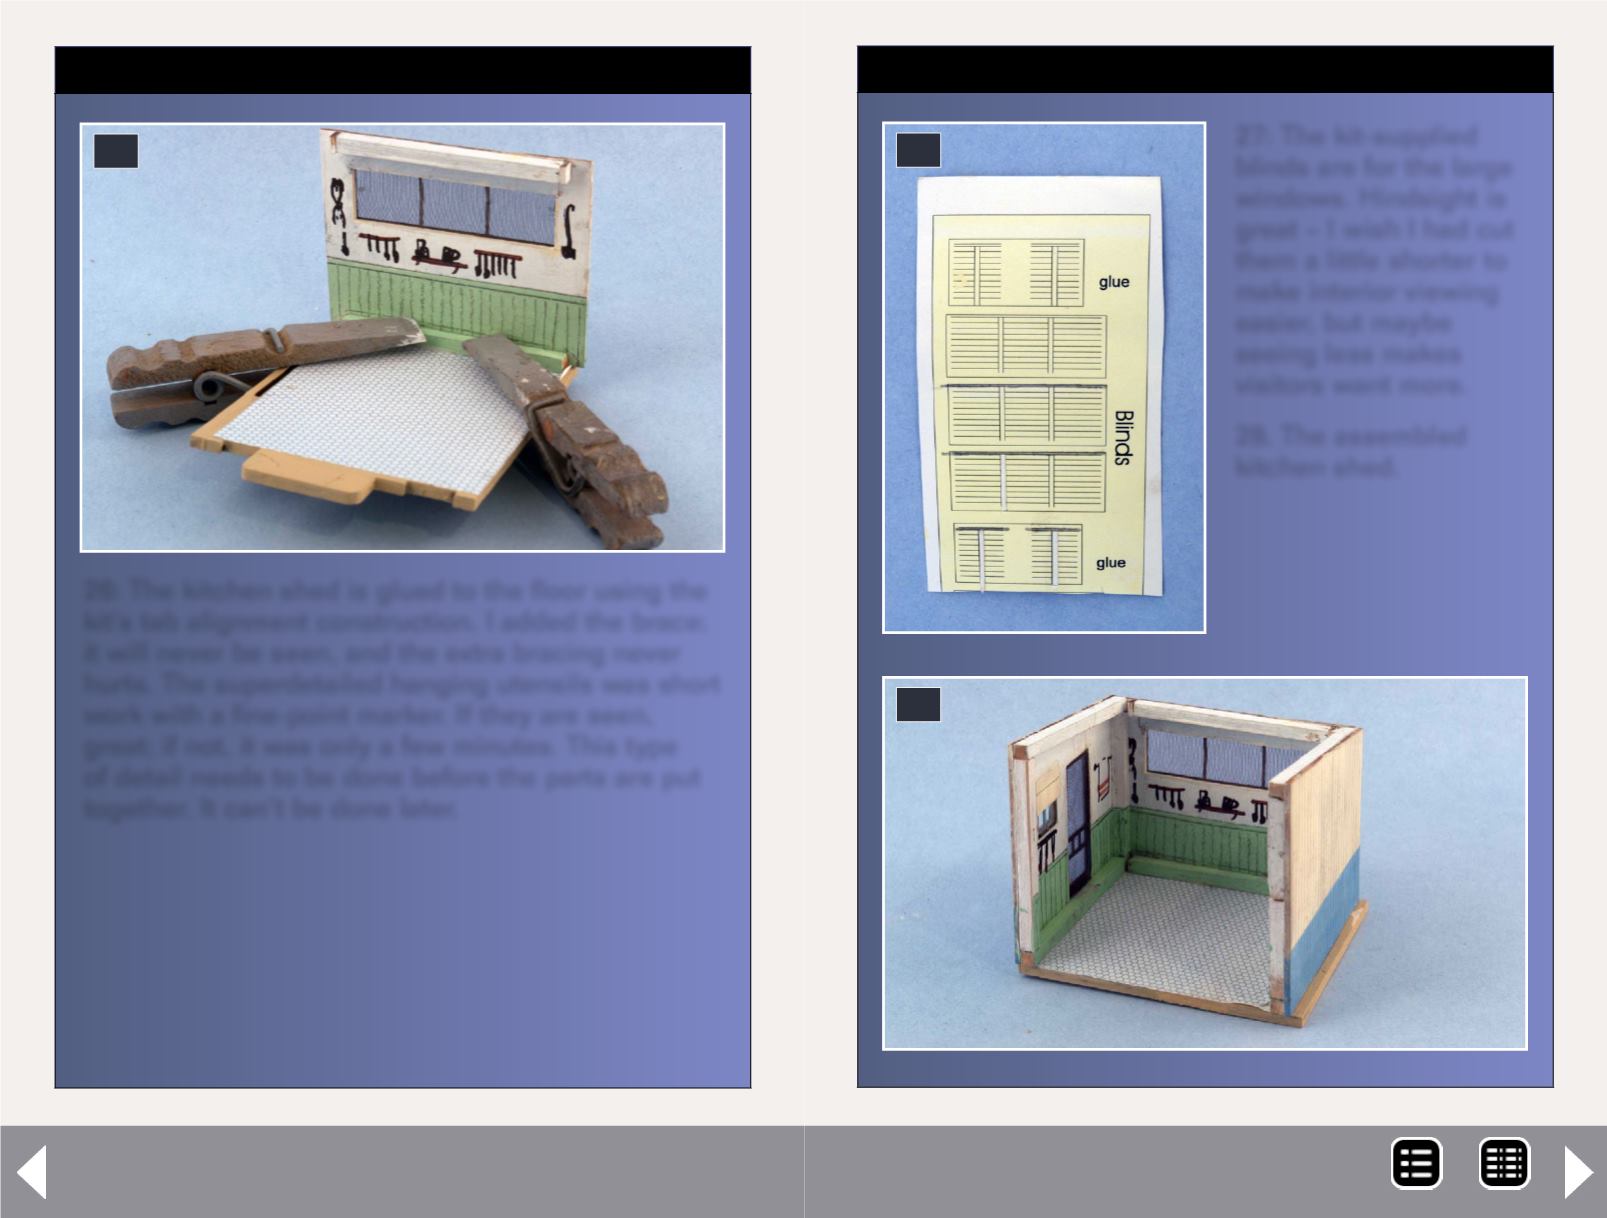
27: The kit-supplied
blinds are for the large
windows. Hindsight is
great – I wish I had cut
them a little shorter to
make interior viewing
easier, but maybe
seeing less makes
visitors want more.
28. The assembled
kitchen shed.
27
28
MRH-Oct 2013


