STEP 5: Putting the kit together
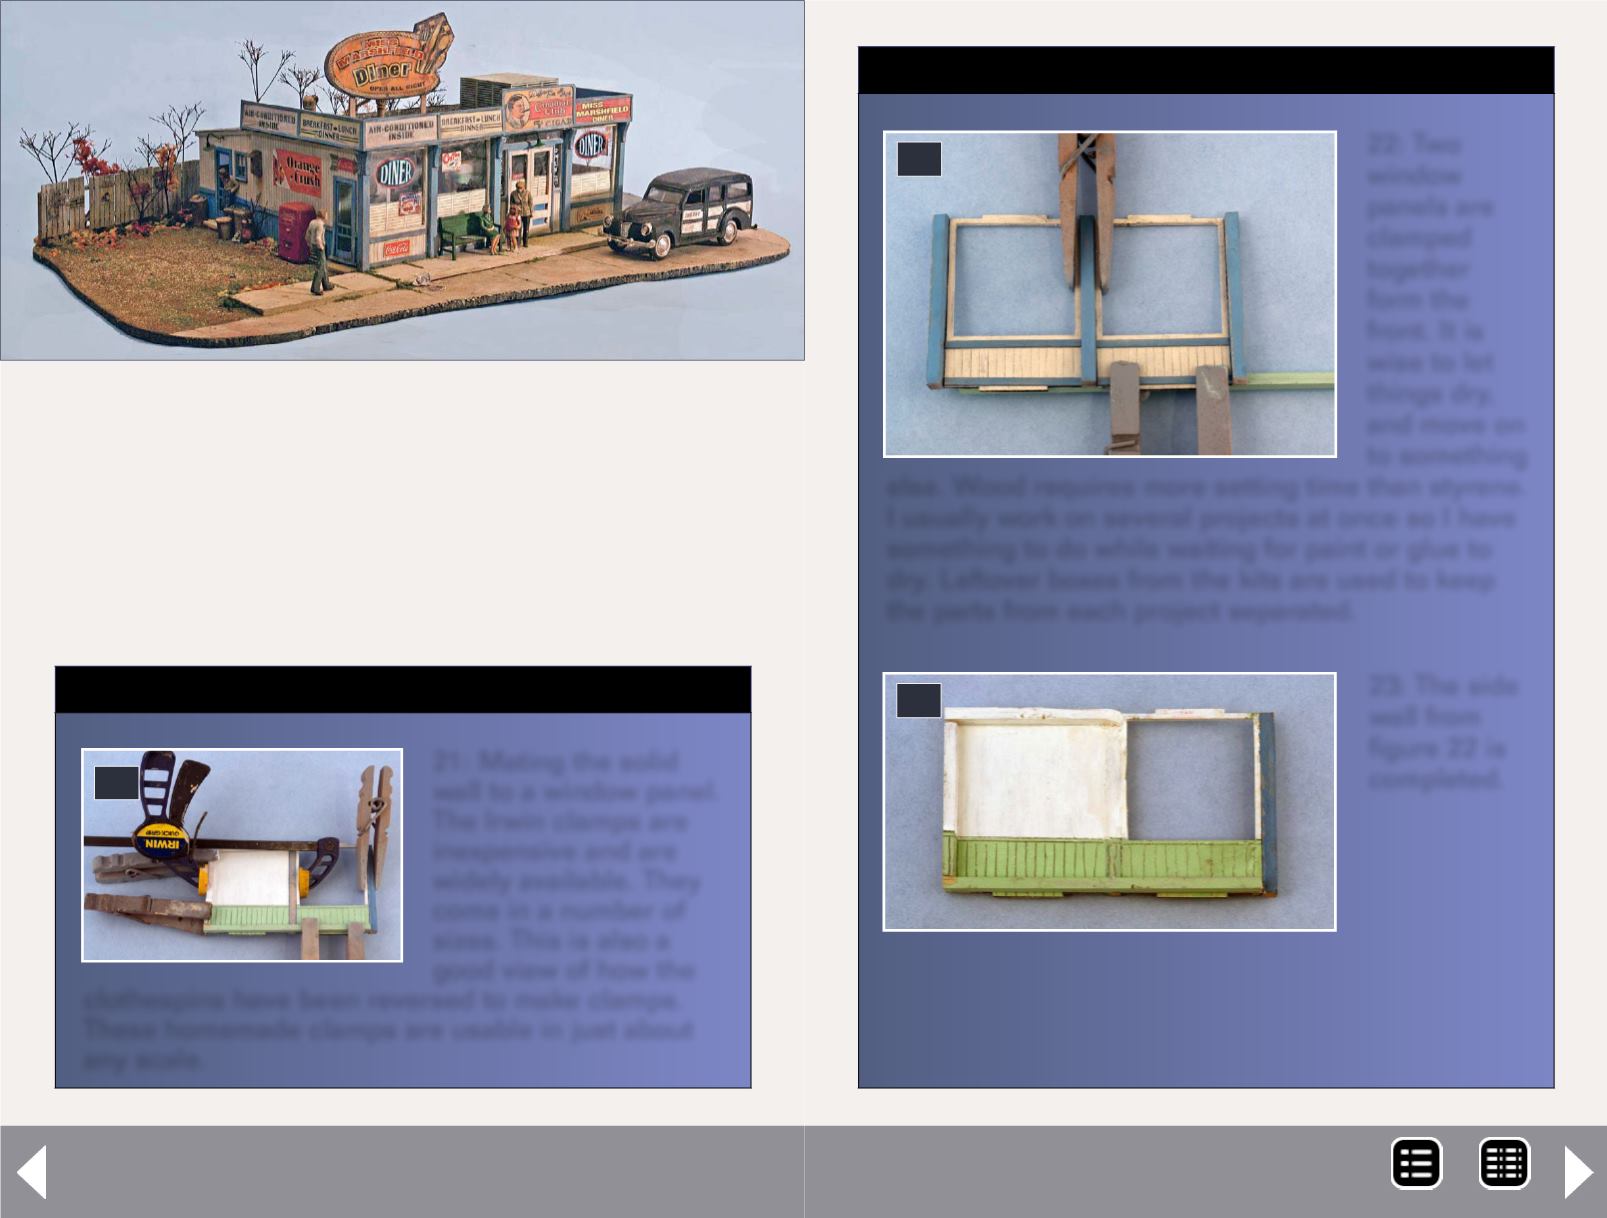
21: Mating the solid
wall to a window panel.
The Irwin clamps are
inexpensive and are
widely available. They
come in a number of
sizes. This is also a
good view of how the
clothespins have been reversed to make clamps.
These homemade clamps are usable in just about
any scale.
W
ith all of the painting completed, now it is time to
begin putting the kit together. I will take you through
the necessary steps to have a sturdy structure that
will last a lifetime. I will also share how I make my quickie in-
terior. While some may think that a more-detailed interior is
needed, I find that the imagination will fill in much of the detail
needed as long as there is a reasonable amount of it. Now onto
building the interior.
Building Miss Marshfield Diner ...
21
Build a laser kit part 2 - 2
STEP 5: Putting the kit together
Continued ...
22: Two
window
panels are
clamped
together
form the
front. It is
wise to let
things dry,
and move on
to something
else. Wood requires more setting time than styrene.
I usually work on several projects at once so I have
something to do while waiting for paint or glue to
dry. Leftover boxes from the kits are used to keep
the parts from each project separated.
22
23: The side
wall from
figure 22 is
completed.
23
MRH-Oct 2013


