Build a laser kit part 2 - 6
STEP 5: Putting the kit together
Continued ...
31: I filled in the slots in the kitchen foundation as
well. I find it easier to glue oversize pieces and trim
them to length.
31
STEP 6: Quick interior detailing the kitchen
Continued ...
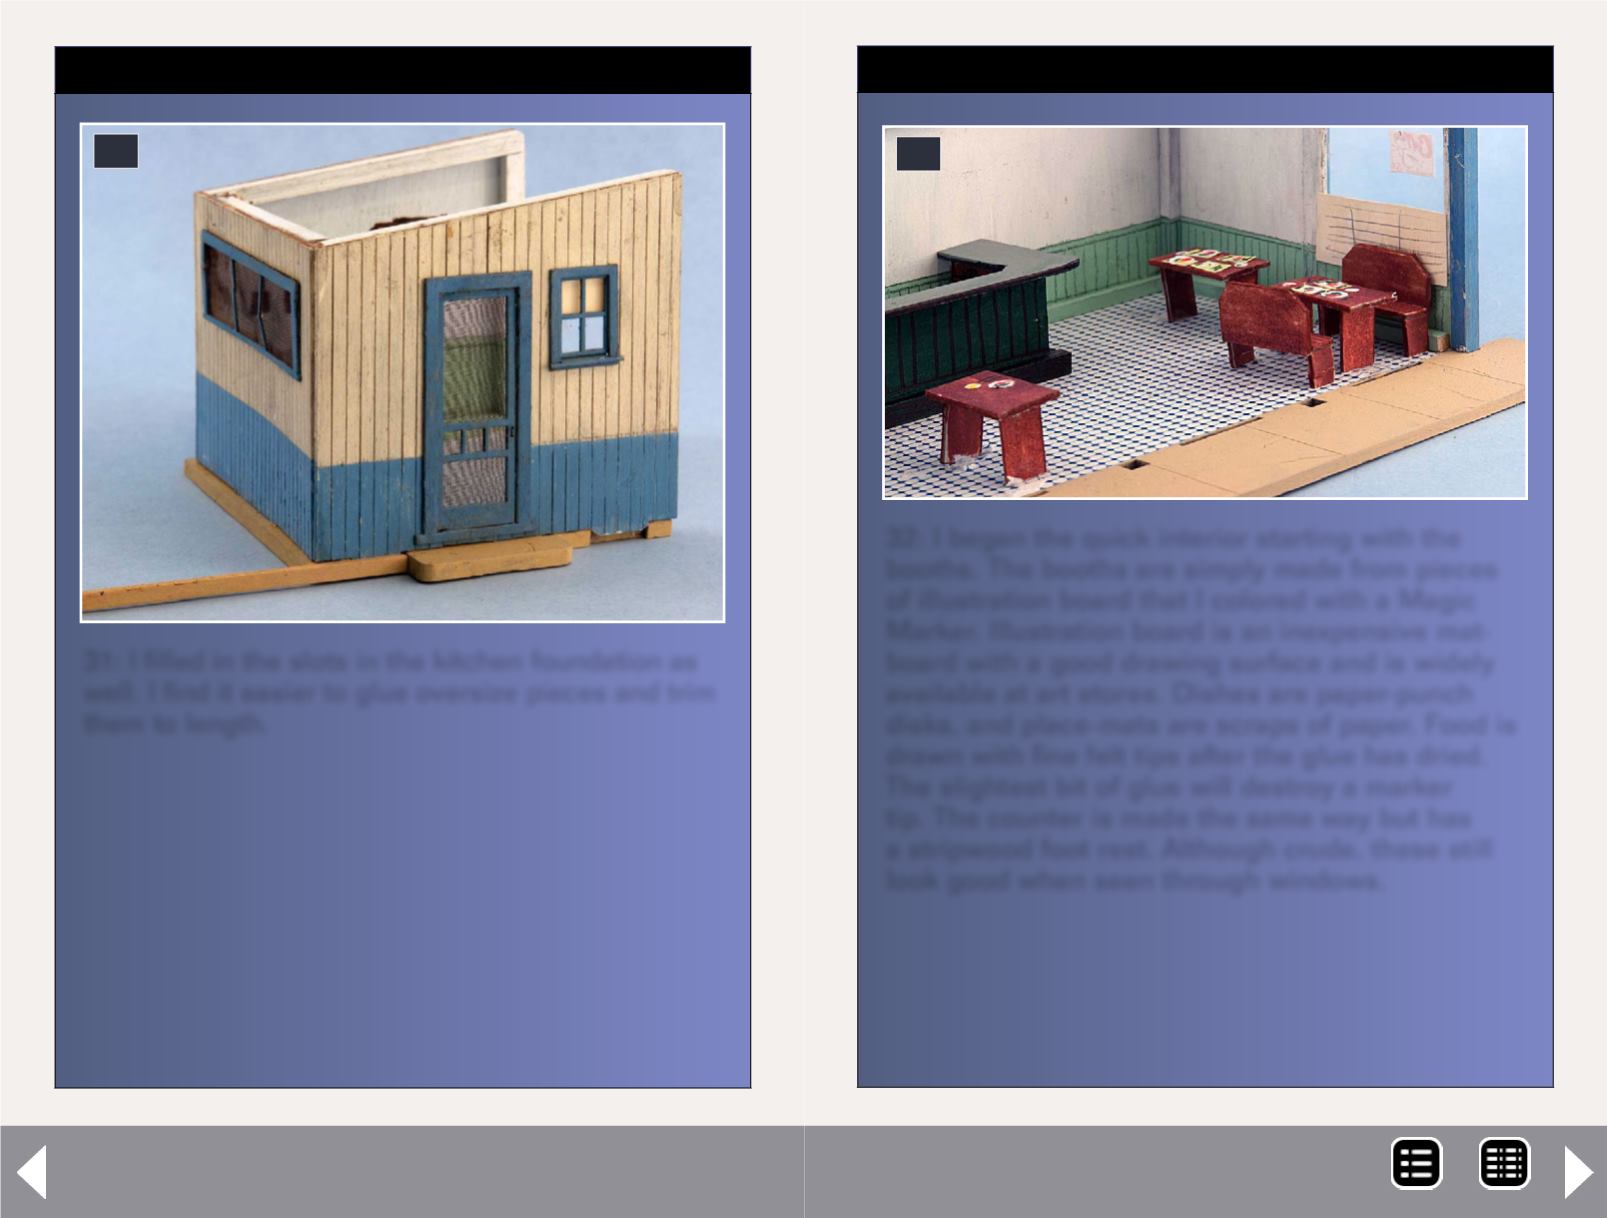
32: I began the quick interior starting with the
booths. The booths are simply made from pieces
of illustration board that I colored with a Magic
Marker. Illustration board is an inexpensive mat-
board with a good drawing surface and is widely
available at art stores. Dishes are paper-punch
disks, and place-mats are scraps of paper. Food is
drawn with fine felt tips after the glue has dried.
The slightest bit of glue will destroy a marker
tip. The counter is made the same way but has
a stripwood foot rest. Although crude, these still
look good when seen through windows.
32
MRH-Oct 2013


