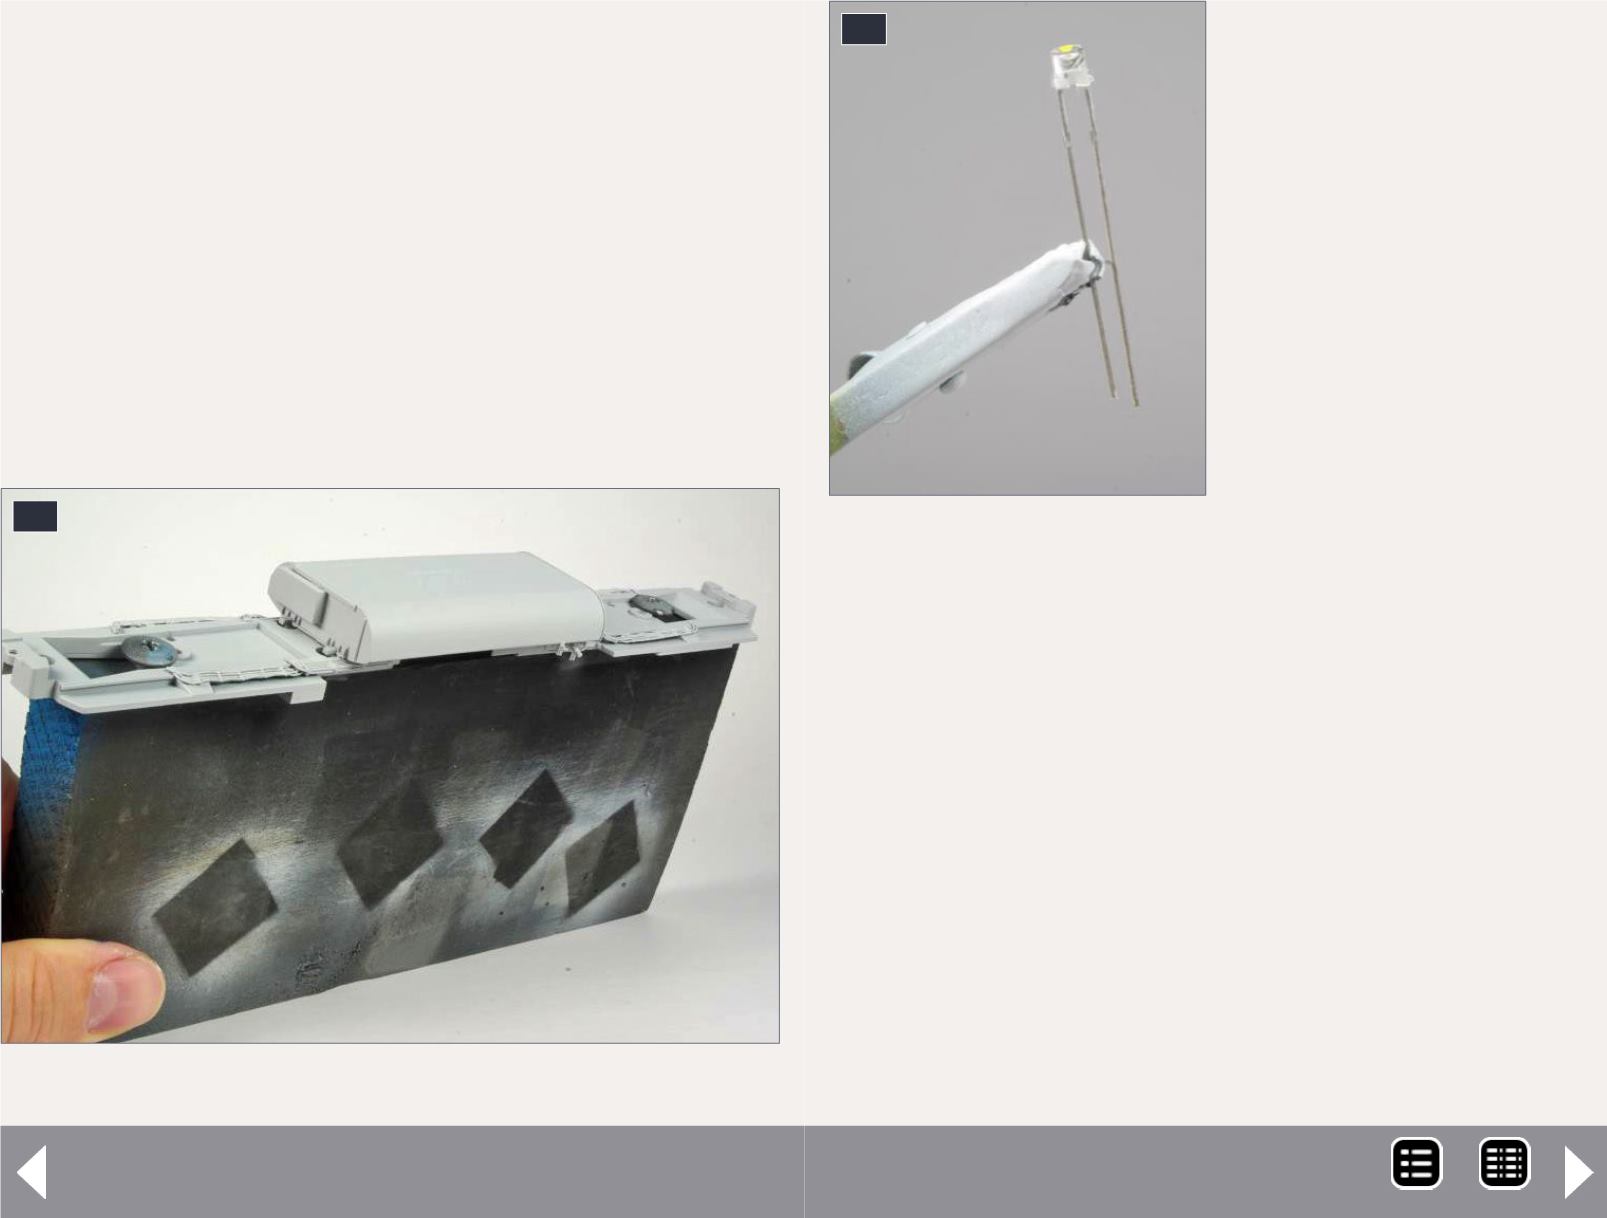
Give the model a coat of primer; I used Tamiya Fine Surface
Primer in a spray can. Fill any scratches or imperfections with
putty, and sand them smooth. Sand any other areas that re-
quire touch up and if necessary give your model another coat
of primer.
Brush-paint the wheel faces a dark rusty brown color, I used
Polly Scale Roof Brown which is no longer available, but you
can use Testors Model Master Roof Brown or your favorite
wheel color.
You would think an all blue-paint job would be as simple as
it gets, but I had trouble matching the color I wanted. If you
55. Painting stand for frame.
55
Pan-Am SD45R part 2 - 9
search online you can find
lots of debate about the ex-
act color of the blue Pan Am
engines. I first tried Tru-Color
Pan Am Blue but I found
it way too purple. The Mi-
croscale decal instructions
suggest Santa Fe blue, I tried
Modelflex Santa Fe Blue but
found it too dark. In the end I
painted my model with a cus-
tom blend of Modelflex paint
consisting of six parts Santa
Fe Blue, one part Conrail
Blue, and one part Wisconsin
Central Maroon.
Let the paint dry for 24 hours before handling the model.
Modelflex paint usually dries with a gloss or semi-gloss finish,
so no clear coat is required before decaling; if you think your
model is not glossy enough, give it a coat of your favorite gloss
finish. Brush-paint the corner handrails and coupler lift bars
white. Notice the horizontal parts of a few grab irons are white.
Brush-paint these as well.
Apply the decals from the Microscale Pan Am decal set. I cut
the side sill stripes to a scale 4” width before applying them,
and the decals for the step edges to a scale 2”. Following
photos, apply the small warning decals from Microscale 87-
527, make the small red square around the fuel cutoff on
the side sill from a piece of red trim film or a scrap decal.
This square could be painted on, but I find it is easier to get
56
56. Modified 3mm LED.
MRH-Nov 2014


