Secure the wires, resistors, and front headlight LEDs in place
with Kapton tape as shown in [58]. The LED from the front
headlight will also light up the interior of the cab. To prevent
this use a small piece of black electrical tape to cover the back
of the LED and number board casting. Glue Details West 341
light lenses in the front and rear headlight castings with a bit of
Microscale Krystal Klear. Cut the smaller rear portion off of two
additional lenses and glue the remaining front part in the ditch
light castings.
Many of my locomotives have Soundtraxx Tsunami DCC sound
decoders connected to Railmaster Hobbies DSM-8 speakers. I
used this set up in a previous Proto 2000 SD45 model I built; it
is shown in [59]. If you choose to install sound in your model,
the purple shrink-wrapped TSU-1000 Tsunami is a good fit. You
will need to cut away part of the weight to fit the speaker; the
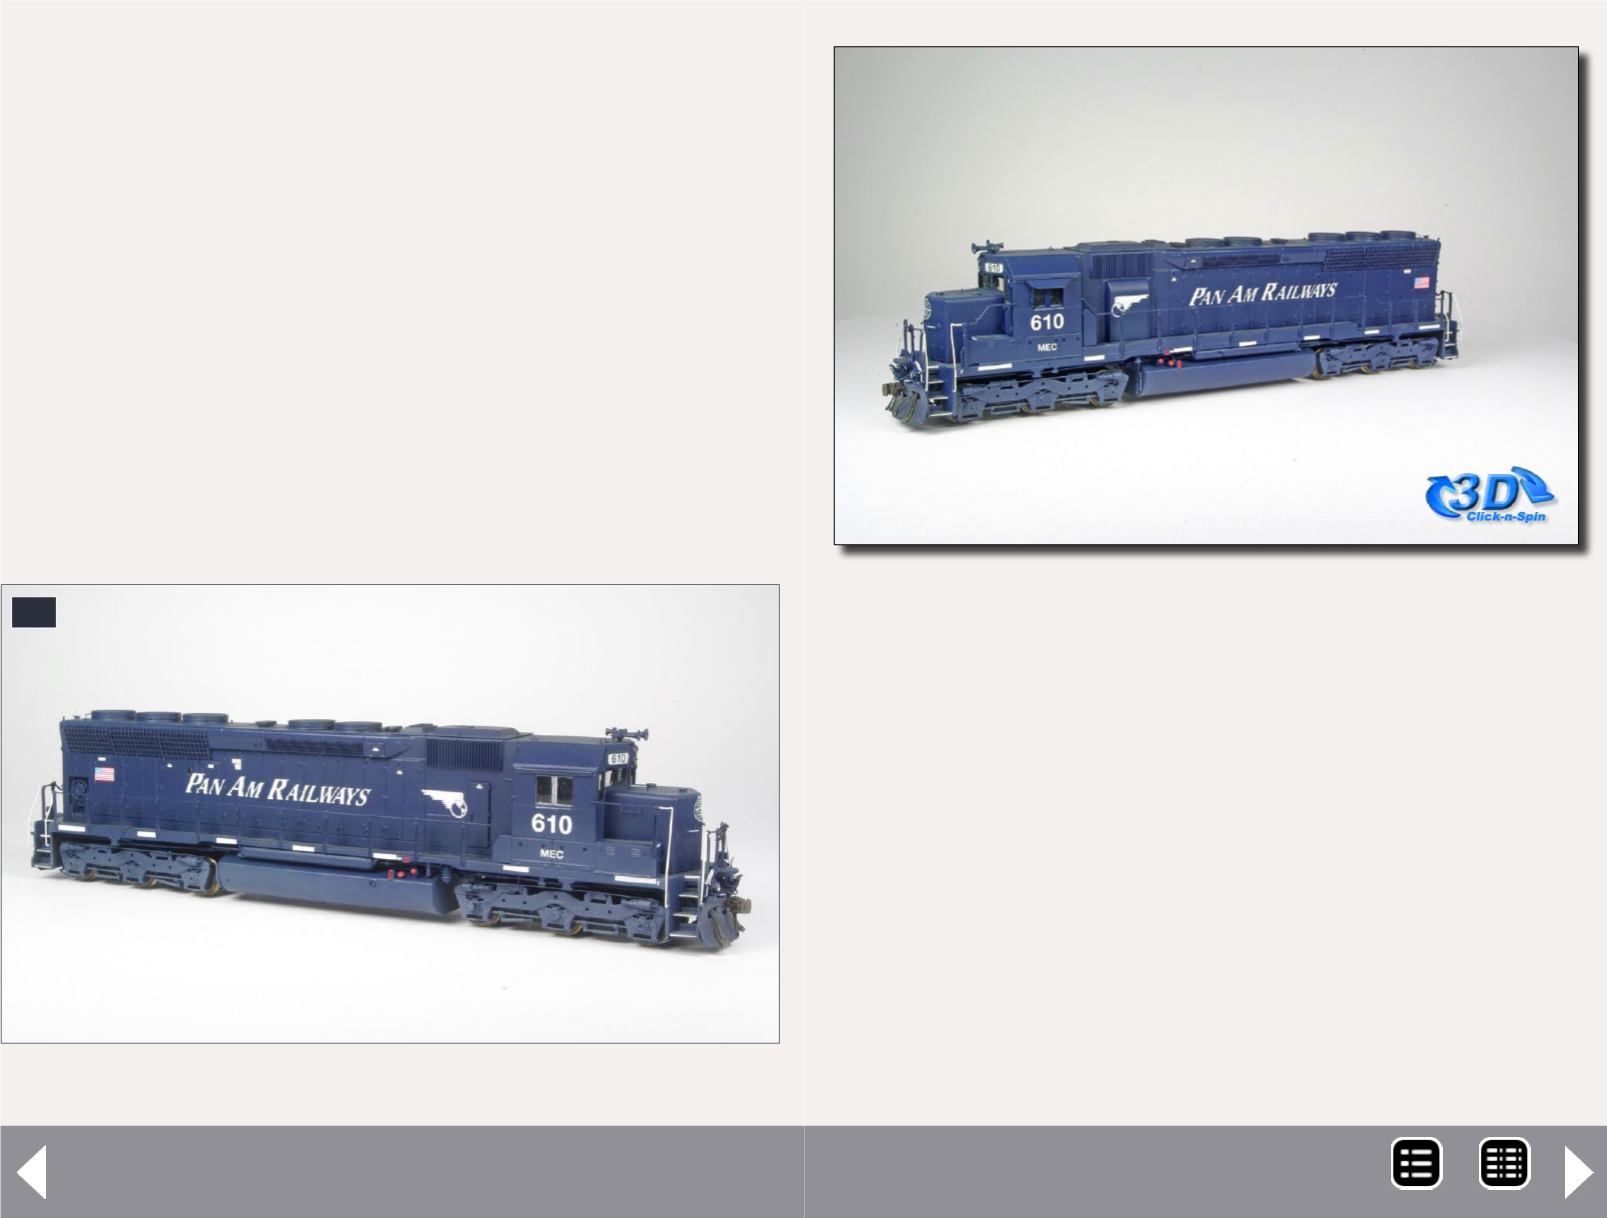
61. Finished model front right view.
61
Pan-Am SD45R part 2 - 13
capacitor will fit in the cab area. The rear headlight LED can be
glued inside the shell or glued to the rear of the speaker.
Connect the wires from the LEDs to the DCC decoder. Keep the
wires as short as possible so there is less wire to fit inside the
shell. Insulate all your solder joints, and test the decoder and
lights to make sure everything is working. Place the shell on
the chassis and install the screws which hold it in place. Install
the couplers; if you used the Details West scale coupler buffers,
file the sides of the Kadee couplers following the Details West
directions. I used Kadee 153 couplers with the trip pins cut off.
If you do not plan to cut off the trip pin, you will need to use a
long-shank coupler on the front. If you used the Details West
scale coupler buffer you can cut off the front part of the Proto
2000 coupler boxes and use the rear part to hold the couplers
in place. Dry-brush the couplers with a bit of roof brown paint.
MRH-Nov 2014


