38
38. Proto 2000 chassis before disassembly.
Remove the weight, trucks, motor, and fuel tank. The weight
is held on by four small screws. The trucks are held on by the
worm gear covers. The fuel tank is held on with double-sid-
ed tape, so you should be able to pull it off. Once it is off you
can use a screwdriver or similar object to push out the motor
mounts from below. Scrape off as much of the double-sided tape
as you can, use a cloth and a bit of acetone or lacquer thinner to
remove the tape residue from the bottom of the frame. Remem-
ber to wear gloves and work in a well-ventilated area.
Remove the details from the fuel tank except for the vertical
sight glass on each side and round fuel gauge on the right. You
can soak the fuel tank in isopropyl alcohol to remove the paint
as you did with the shell. I chose not to strip the paint from
the frame, as it is a different type of paint and seemed like too
much work.
Pan-Am SD45R part 2 - 2
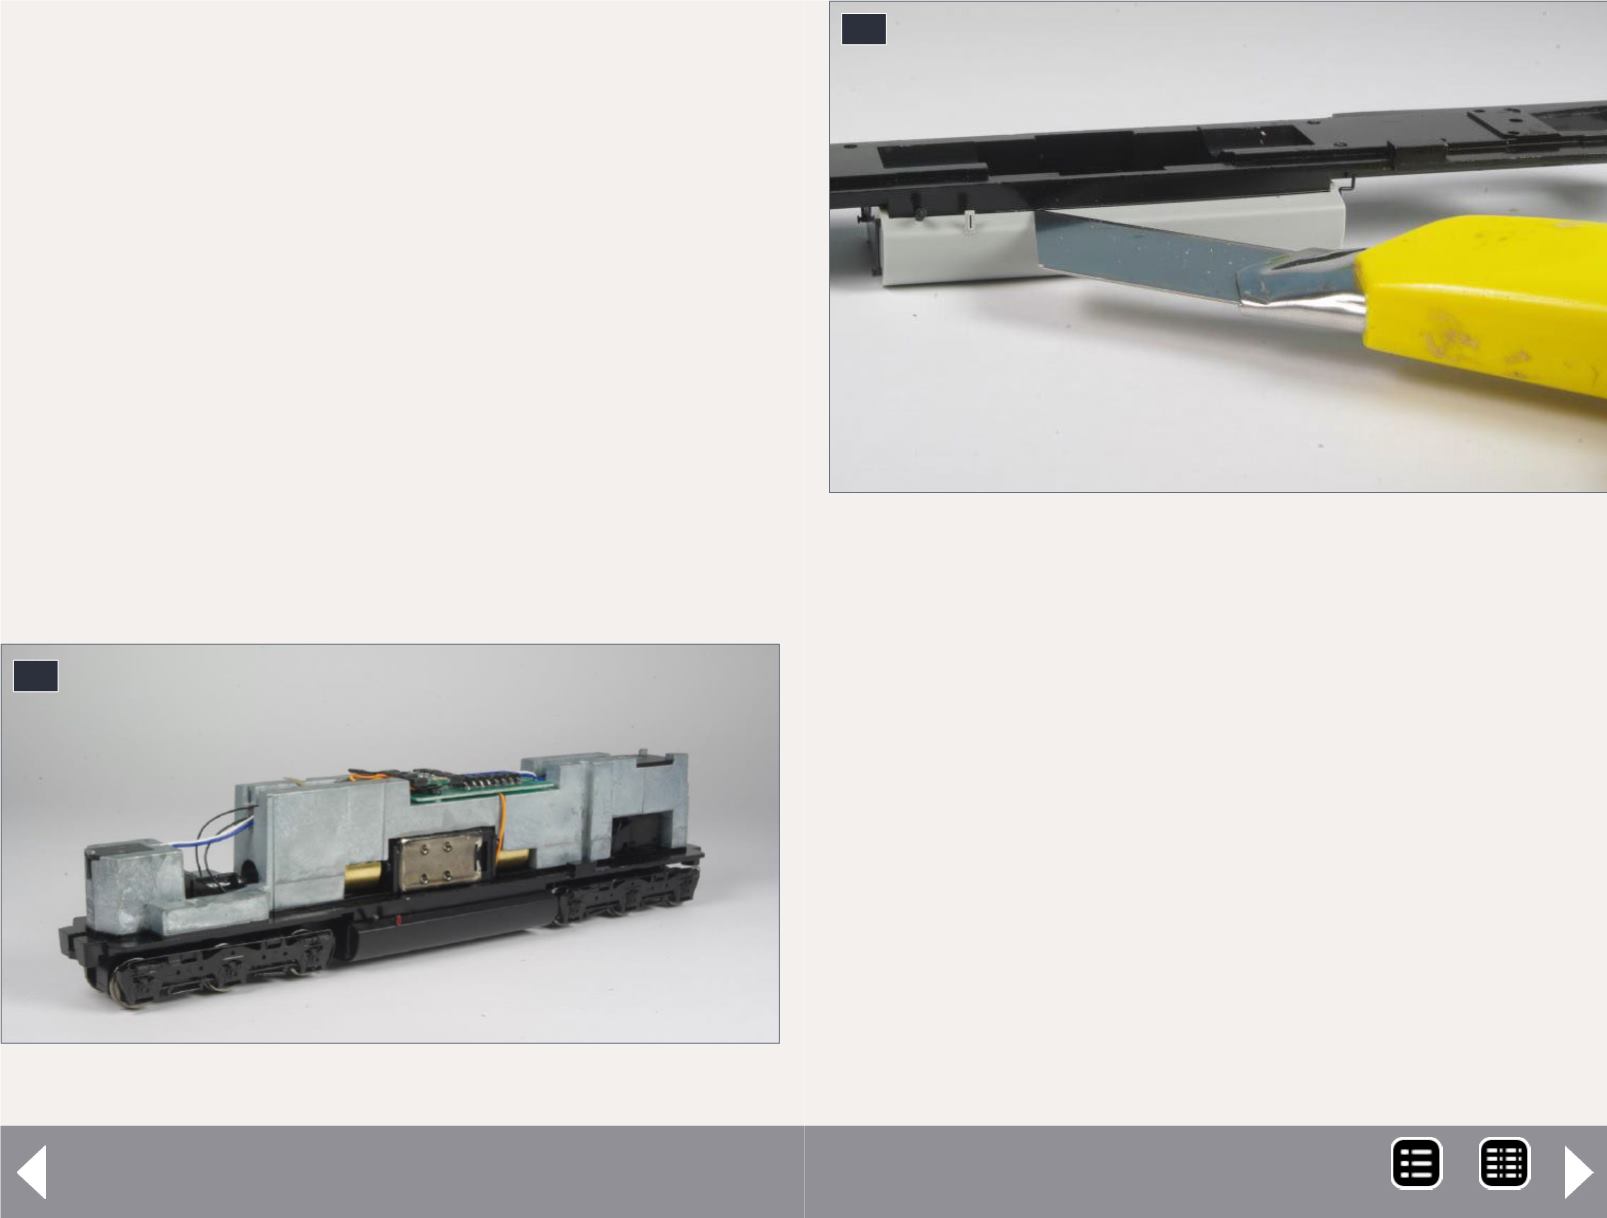
39. Marking the top of the fuel tank on the frame.
I found the Proto 2000 model did not look right in the area
above the fuel tank and below the side sills. Too much of this
space was filled with metal, there was no representation of the
prototype’s I-beam frame, and the top of the fuel tank did not
extend in toward the frame far enough. I chose to modify the
frame to fix these problems. The same steps can also be ap-
plied to Atlas frames from their HO scale GP38, 40, and 40-2
series models. I did my modifications with a standard hacksaw
and motor tool (Dremel is the most common brand), but if you
have access to a milling machine, it may make things a lot easi-
er. When using hand or power tools, remember to wear appro-
priate protective equipment. Tools can easily slip and cut your
hand; motor tools are guaranteed to throw stuff into your eyes
if you are not wearing safety glasses.
39
MRH-Nov 2014


