ates windshield wipers, use blue for the wiper arms and black
for the blades. Glue the wipers in place on the shell.
DCC and lights
I chose to install a non-sound DCC decoder from Soundtraxx.
This model will spend most of its time on a display shelf, so I
did not want the expense of sound, but I did want to be able
to run it with the rest of my Tsunami-equipped fleet. I also in-
stalled LED lighting in place of the original bulbs; you may pre-
fer to use micro incandescent bulbs.
Remove the shell from the chassis. If you plan to leave your
model DC you may choose to reinstall the Proto 2000 circuit
board and light bulbs or you may choose to replace them with
your own bulbs and lighting circuit. If you plan to install a basic
DCC decoder, you will find it fits well in the spot where the Proto
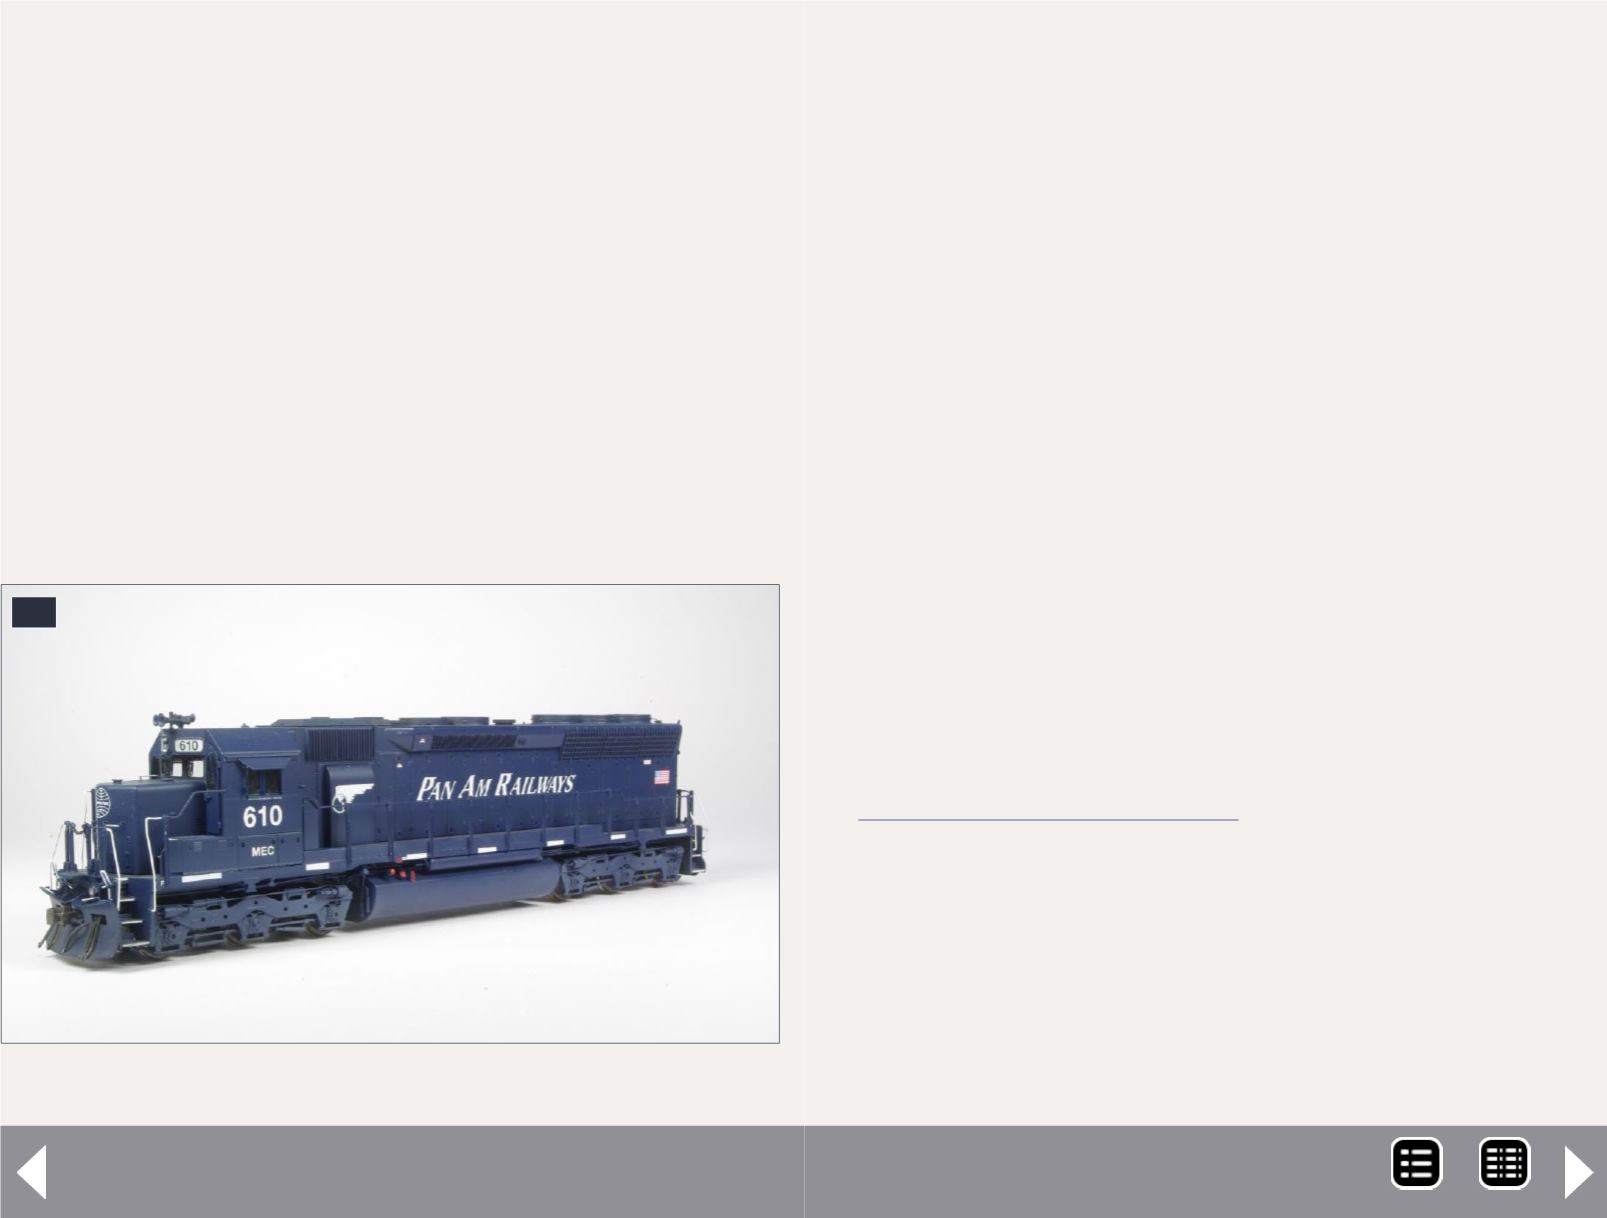
60. Finished model front left view.
60
Pan-Am SD45R part 2 - 12
2000 circuit board used to sit. Install and wire it following the
manufacturer’s directions with the exception of the motor wires,
you will need to connect the orange decoder wire to the gray
motor wire and the gray decoder wire to the orange motor wire
to get your model to run in the proper direction.
For the front and rear headlights, use 3mm sunny-white LEDs
connected in series with a ¼W 1K Ohm resistor. Solder the
wires, LEDs, and resistors all together and put heat-shrink
tubing on all the solder joints before gluing the LEDs in place.
Glue the rear LED in place with a bit of Micro Bond, Micro
Krystal Klear, or silicone where the original Proto 2000 bulb
used to sit on the frame weight. The front LED is installed in
the shell inside the number board casting. A standard 3mm
LED may be a bit too long for this, but you can file it shorter.
After it is the right length, polish the end with 1000- and
1500-grit sandpaper.
Glue the rear LED in place ...
I used 0402 LEDs for the ditch lights; the company I bought
them from is no longer in business so I suggest using nano-LEDs
from Ngineering. In fact, if you go to Ngineering’s website at
you will find several tools
and lots of tips to help you solder and wire the LEDs.
Cut four lengths of magnet wire around 5” long; solder two of
these to each nano-LED. Drill two #79 holes through the rear of
each ditch light; these holes should extend all the way through
the pilot. Run the magnet wire through the holes as shown in
[56], and glue the LEDs in place.
Connect the LEDs in series with a 5.1 Ohm ¼W resistor.
MRH-Nov 2014


