The black wire on the six-pin USB to TTL Serial cable will connect
to the BLK/GND pin, and the other end of the cable connector will
connect to the GRN/DTR pin. (If you didn’t want to solder the 6
pin header to your board for some reason, insert the long end of
the header pins into the 6 pin cable connector.
When you are ready to load a program onto the board, insert
the connector with pins into the top of the board, observing the
proper orientation I described above, and hold placing side pres-
sure during the programming download.) Plug the USB side of the
cable into your computer.
In all likelihood Windows will need to load a driver. For Windows
XP, here:
is a good
detailed, step-by-step. The drivers you want to install are in the
Arduino folder (frommy example above) C:\arduino-1.0.5\drivers\
You might also benefit from reading
For other operating
Systems go to
and
poke around there.
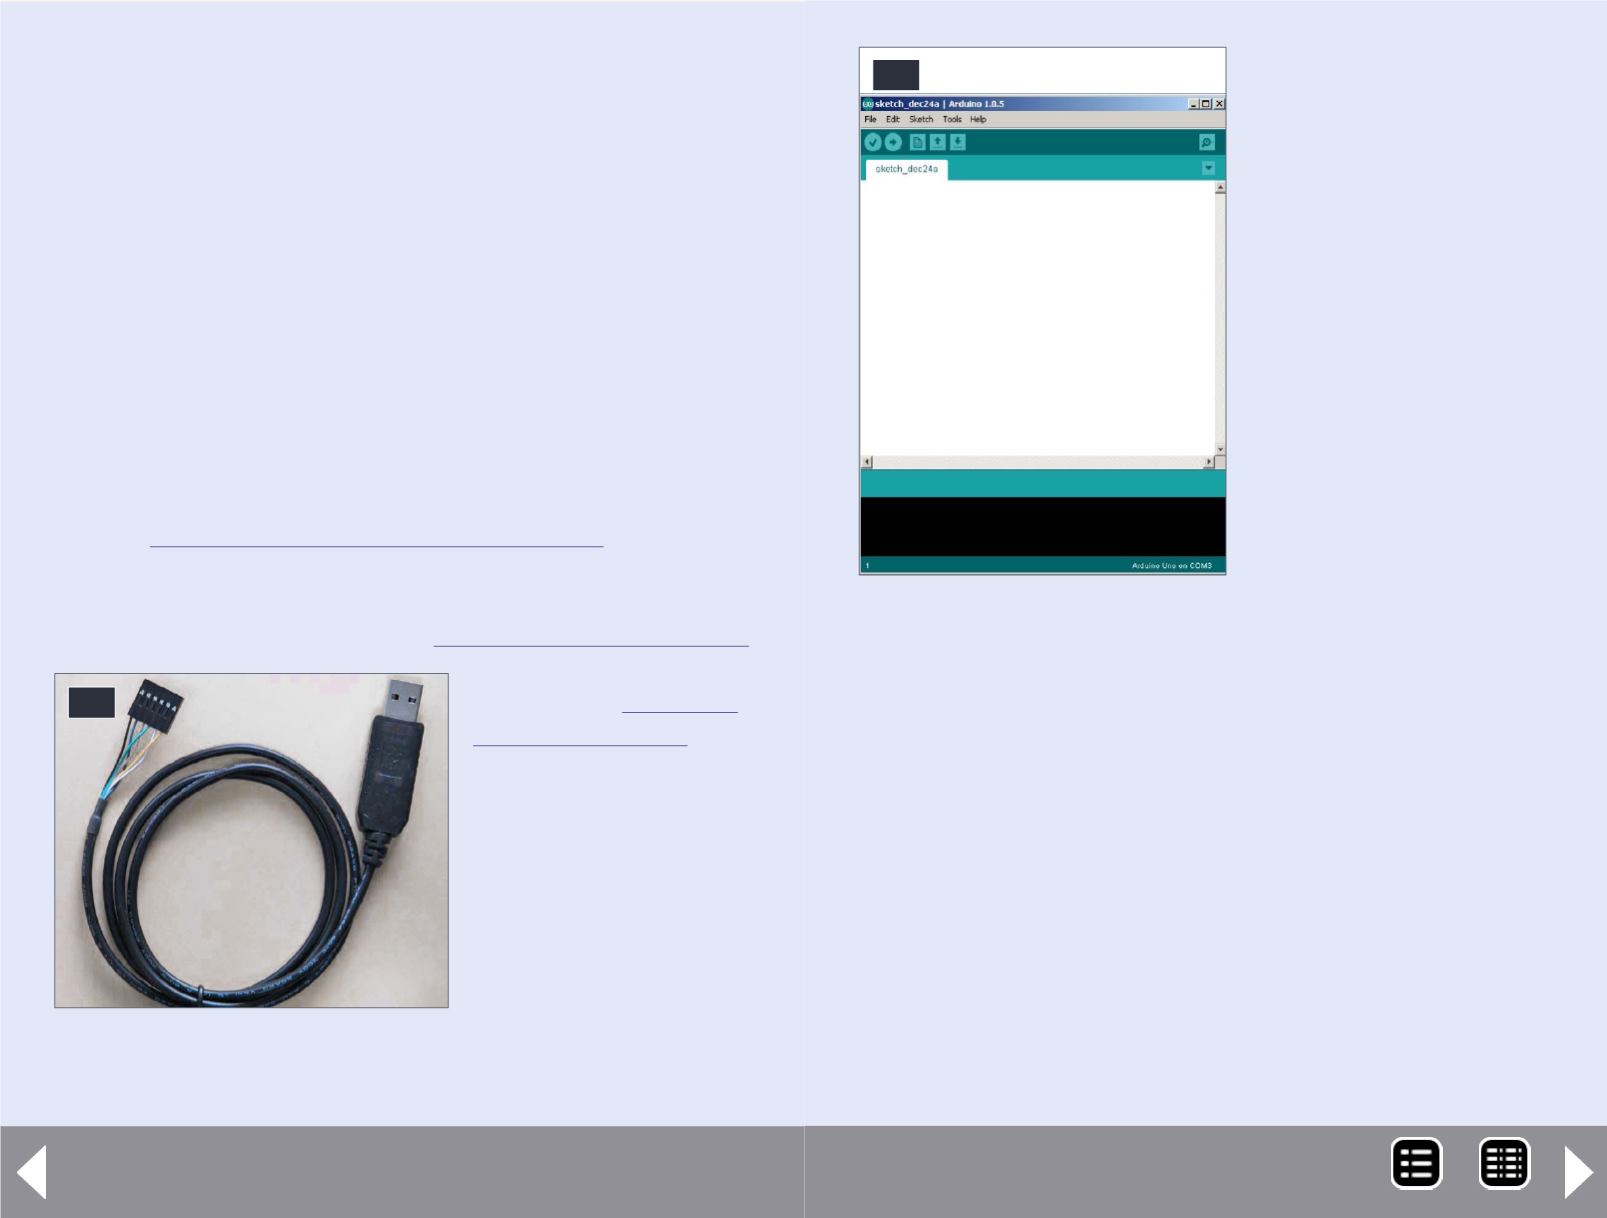
Remember the serial port
number for the serial
cable installation. Now
start up the Arduino IDE
software you loaded, and
you should get a window
like [43]: (All my exam-
ples will be MS Windows
based.)
42. USB to Serial TTL
Programming Cable.
42
Battery-powered models - 18
Starting from Scratch with an Arduino Pro
Mini (or Moteino)
Continued ...
This is the window for the
Arduino Editor, where you
can recall programs from
libraries or create your own.
Go to the top menu bar,
mouse click on Tools,
then Board, then Arduino
Pro Mini (5V, 16MHz) w/
Atmega328. This will place a
black dot next to your selec-
tion, and corresponds to
the Pro Mini Board I refer-
enced before.
Note that there are many
variations of Arduinos. They
all can run the same exam-
ples we will use. The Arduino Pro Mini is small, low power, cheap,
fast, and comes with a large programmemory. If you are setting
up for a Moteino, then select Arduino Uno instead of the Pro Mini
selection above.
Now go back to the top menu bar, mouse click on Tools, then
Serial Port. Select the Serial Port corresponding to the USB cable
you set up before. All that we’ve done so far only needs to be
done
once.
OK, now we are ready to do something with the Pro Mini. In the
open window of the Arduino IDE, click on File, then Examples,
then 01 Basics, then Blink:
And the window [46] should open.
43. Start-up window.
43
MRH-Nov 2014


