Starting from Scratch with an Arduino Pro
Mini (or Moteino)
Many projects can use an Arduino Pro Mini Board US$2.59 each
with free shipping off eBay. See:
Add a
USB-to-TTL cable to set up the programs on the little board, now
US$7.24 off eBay see:
While you are waiting to get these download the Arduino IDE
(Integrated Development Environment) free software off the net
from:
or
(for Windows specifically)
which has an editor, a library, and examples for you to use.
Note this IDE will run on Windows, MACs, and Linux machines, so
pick the right one for your computer. When you unzip the pack-
age, write down the full path name to the folder, like: C:\ardu-
ino-1.0.5 or wherever you put it. This will be important later.
Now take a glance at the Getting Started info:
and the info at
Just a quick read to give you some context. I
had people get lost at this point, so I’ll step you through the rest.
The accelerated learners among you can also glean more info
from:
There are a lot of
topics there:
or
These offer info at different learning levels so pick one you are
comfortable with.
Battery-powered models - 17
The Moteino used in the accompanying article is a repackaged
Arduino combined with the RFM12B radio module. You can
find additional information here:
and here
.
You can follow the steps below to use either a Pro Mini or a
Moteino.
Now you should have at least one Pro Mini Board, a cable, and
the IDE software loaded.
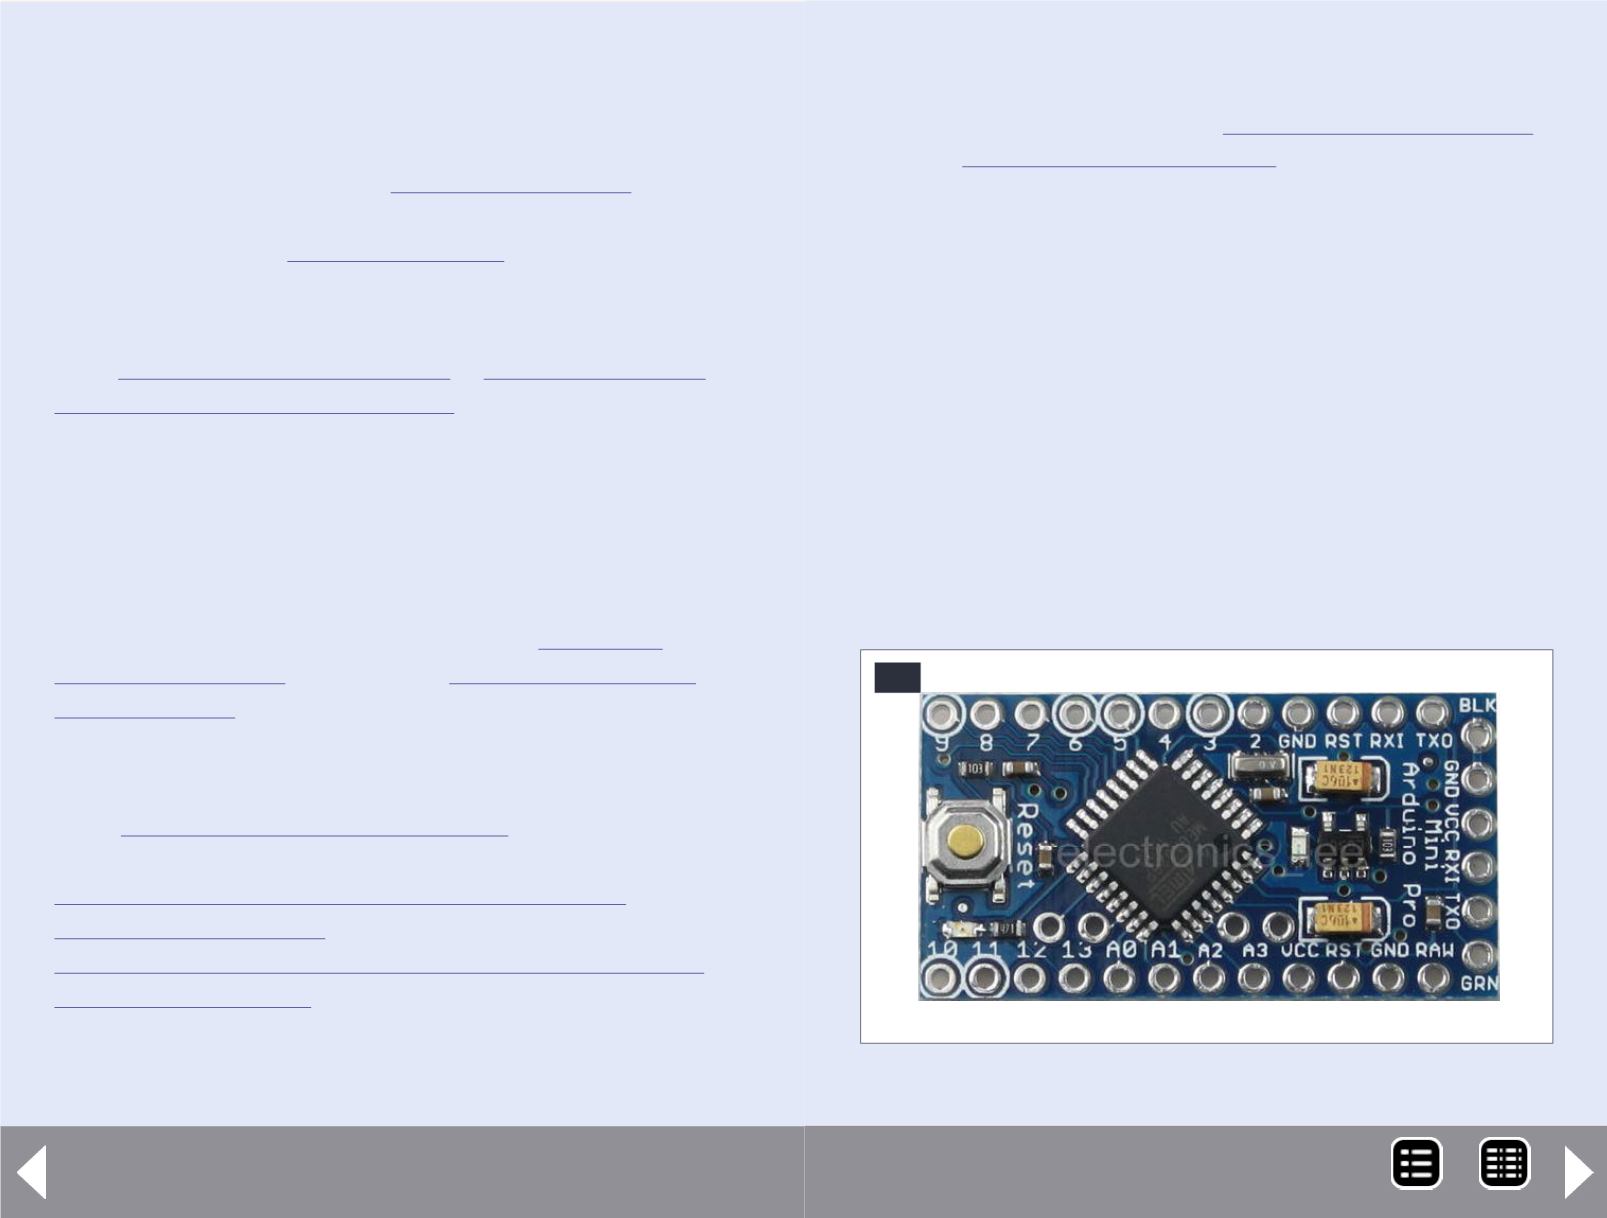
If you ordered the Pro Mini I referenced before, it came with a
set of header pins. Cut off a six-pin group and solder it into the
six holes on the end of the Pro Mini Board. Either side will do,
I prefer the header to stick out the component side with the
button on it.
In some model settings you may prefer not to solder the header
on at all. I’ll show you later how to deal with this. Notice that ends
of the six holes are either labeled BLK and GRN, or GND and DTR.
41. Arduino Pro Mini.
41
MRH-Nov 2014


