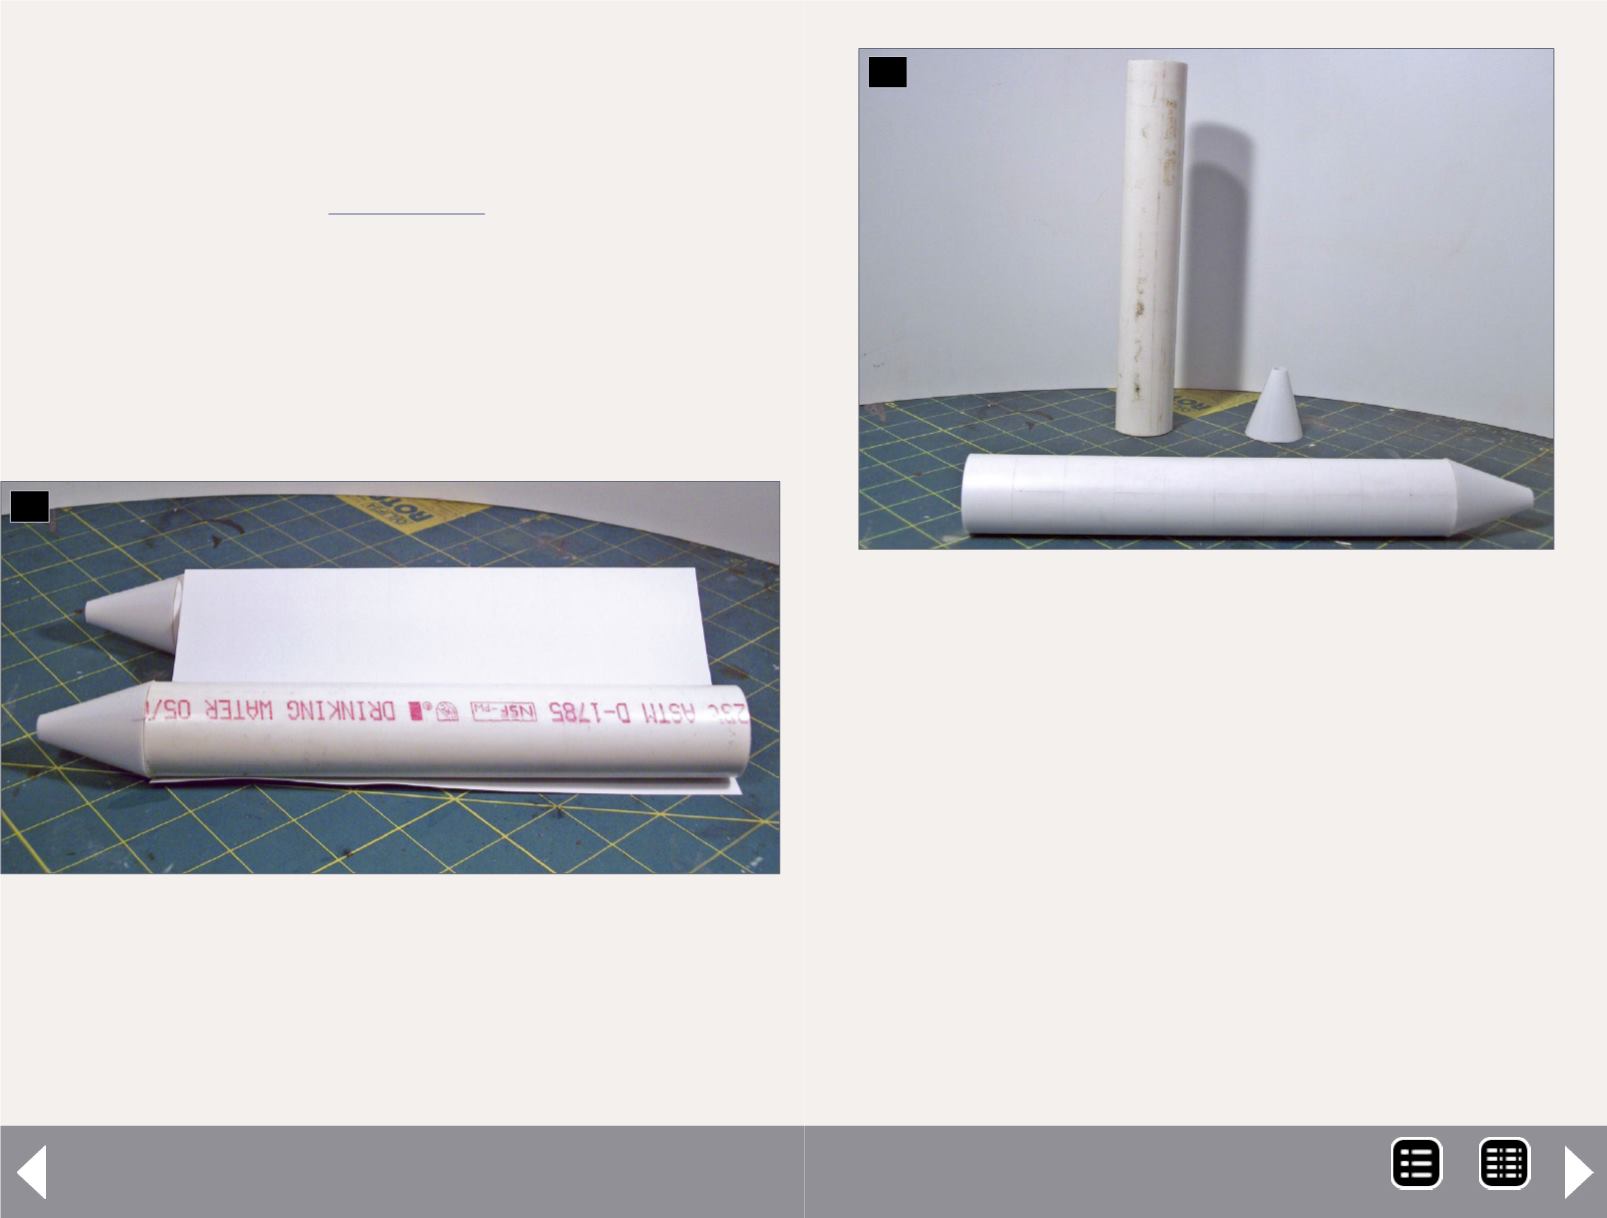
cone to the bottom of the PVC, allowing the slight overlap to
cover the seam. In reviewing the prototype construction, this is
also more accurate.
Once the silos were completed, I used two-pipe brass railings
from Mike Rose Hobbies
for the walkway around
the top. These railings were the perfect solution, since the
brass easily forms to the radius of the silos. The trick to instal-
lation is laying the railings flat on a piece of masking tape and
pre-marking the holes with the correct spacing to accept the
pins of the railings. Then apply the masking tape around the
silos, and drill the holes. Once all the holes are drilled, remove
the masking tape and gently bend the railings around the silo
22. This photos shows the styrene temporarily tacked
with CA cement to the PVC silo. The next step is slowly
wrap the styrene around the PVC spreading CA cement
every half inch and firmly pressing the styrene against
the PVC to prevent bubbles from getting between the
PVC and styrene.
22
Agway Feed Mill - 12
and install the pins into the holes. If you are careful, the tape
can be reused on several silos.
The last silo to be constructed at the end was done using 2” PVC
laminated with .010” styrene [24-25]. To replicate the proto-
type, I cut the styrene into panels seven scale feet in height and
used the same pounce wheel to create vertical rivet lines every
5’ on the panels. A .030” by .030” strip of styrene was wrapped
around the silo between each panel to represent the segmented
construction of the prototype. After the panels were completed,
I added a .040” roof and more of the brass two-pipe railings in
the same manner as the other 10 silos. [24 and 25].
23. This photo shows the completed details of the silos
and base.
23
MRH-Sep 2014


