Agway Feed Mill - 4
taken considerable more effort and quite a bit more real estate
than I had available.
Once the walls were assembled, I used masking tape to tempo-
rarily fit the building together. This is useful for determining how
the proportions of the model compared to the prototype (based
on my measurements). This proved useful, since I needed to
make few changes to the height and walls based on the partially
assembled model. Once the changes were made, I assembled
each wall and measured window and door locations. Alternately,
I could have taken the time to draw scale mockups of the walls
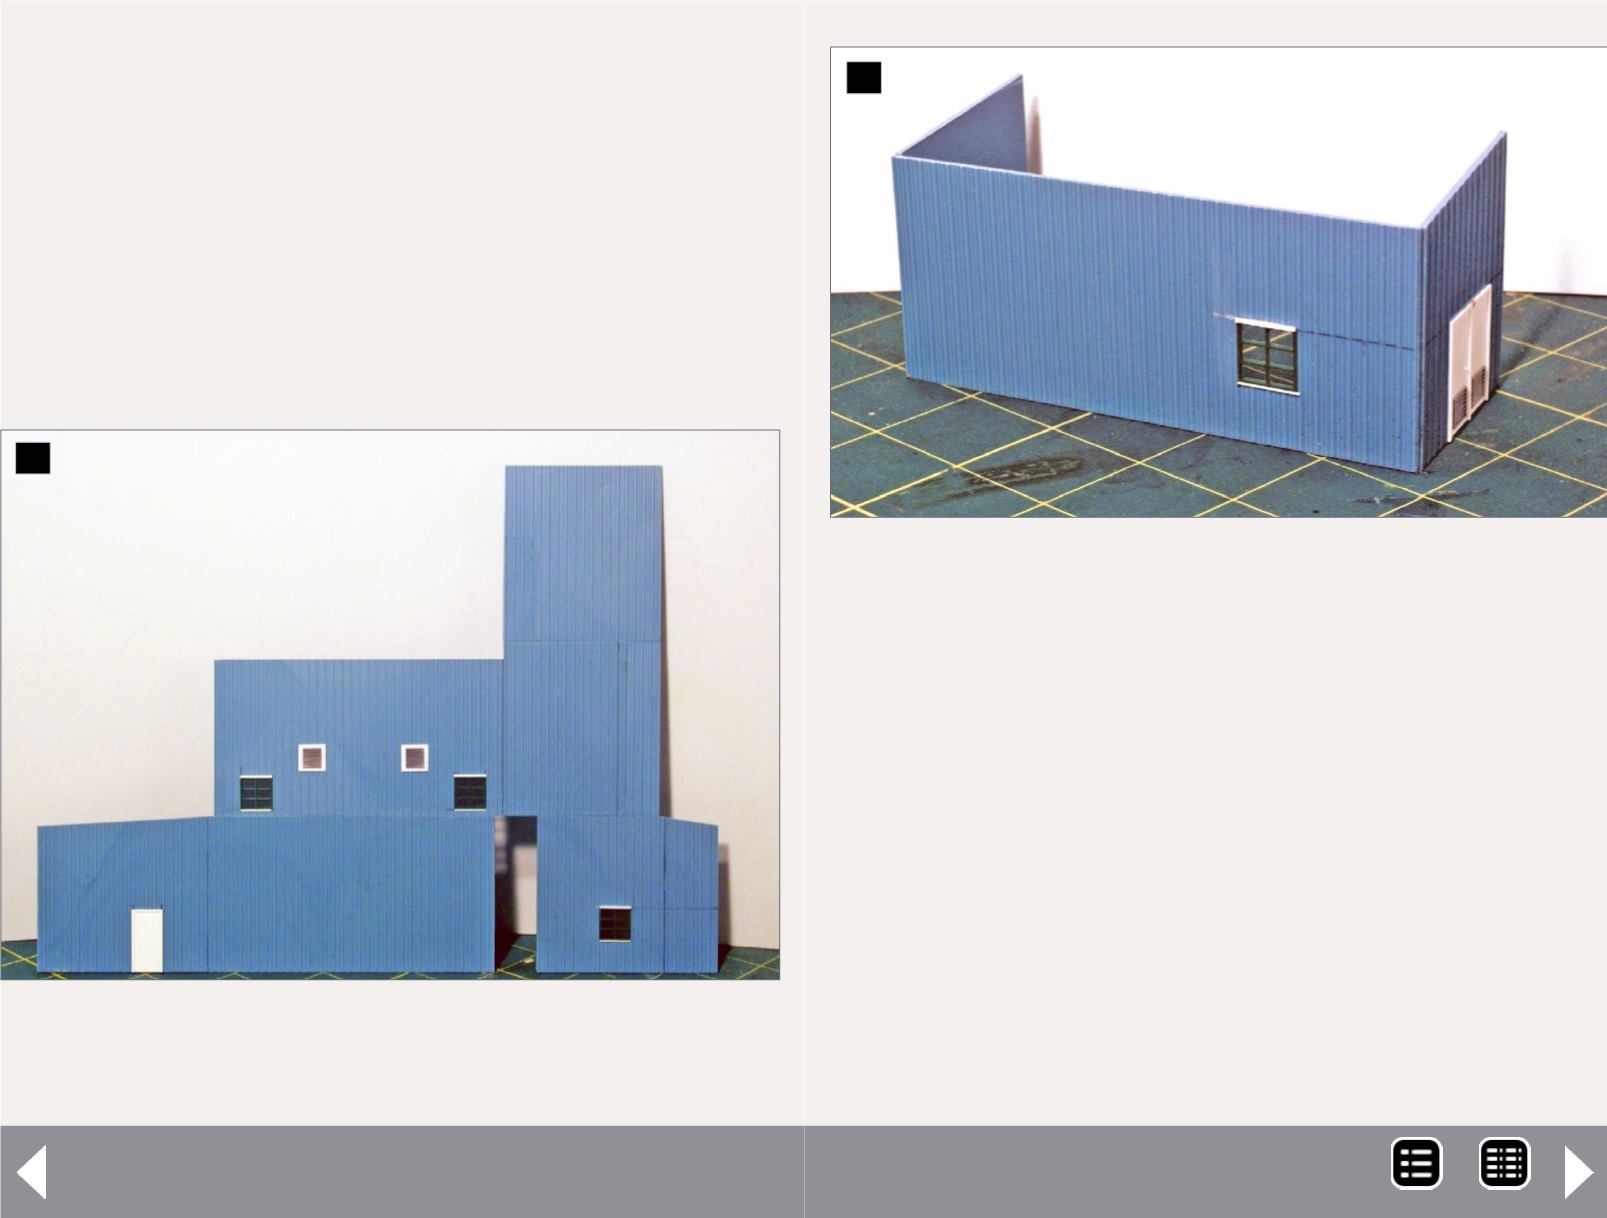
6. East wall of main structure showing windows,
vents, and door installed. Missing wall section will be
filled in later.
6
in plan illustrations 1-4 (see spread 8 of this article). This would
remove some of the guesswork during construction.
Unfortunately, as with most of my buildings, I’m somewhat
impatient, so I jumped right into construction of the model,
but these illustrations should certainly help those wishing to
build their own Agway mill, removing some of the guesswork.
However, I should mention, these illustrations represent the
dimensions of the model, not the actual prototype
The doors of the main structure were readily available from
Pikestuff. The windows were a bit of a challenge because there
were no commercially available windows that met the rough
dimensions and mullion size of the prototype. The solution
involved scouring one of my many scrap boxes from past struc-
ture kits. Buried in one of the boxes I came across the Pikestuff
7. Completed office addition ready to install on the
east wall.
7
MRH-Sep 2014


