The only building sections that require masking are the silo
base and silo support columns. Fortunately, I was able to touch
up the base with a brush after applying the white to the silo
support columns. After getting a full coat of white on each build-
ing, I sprayed the entire
model with Testors
Dullcote directly from a
can, since the Dullcote
won’t hide details like
paint. This is also the
simplest way to get full
coverage and provide a
base coat for weather-
ing the structure with
the artist oil paints.
Once the main struc-
ture is painted, I gave
the feed bin a coat of
Floquil High Gloss in
preparation for the
Agway Decals. The
decals themselves
are available from
Highball Graphics
as a
special-order option.
While not listed on
his website, owner
Jim Abbott was kind
enough to provide me
a few full-size sets that
38
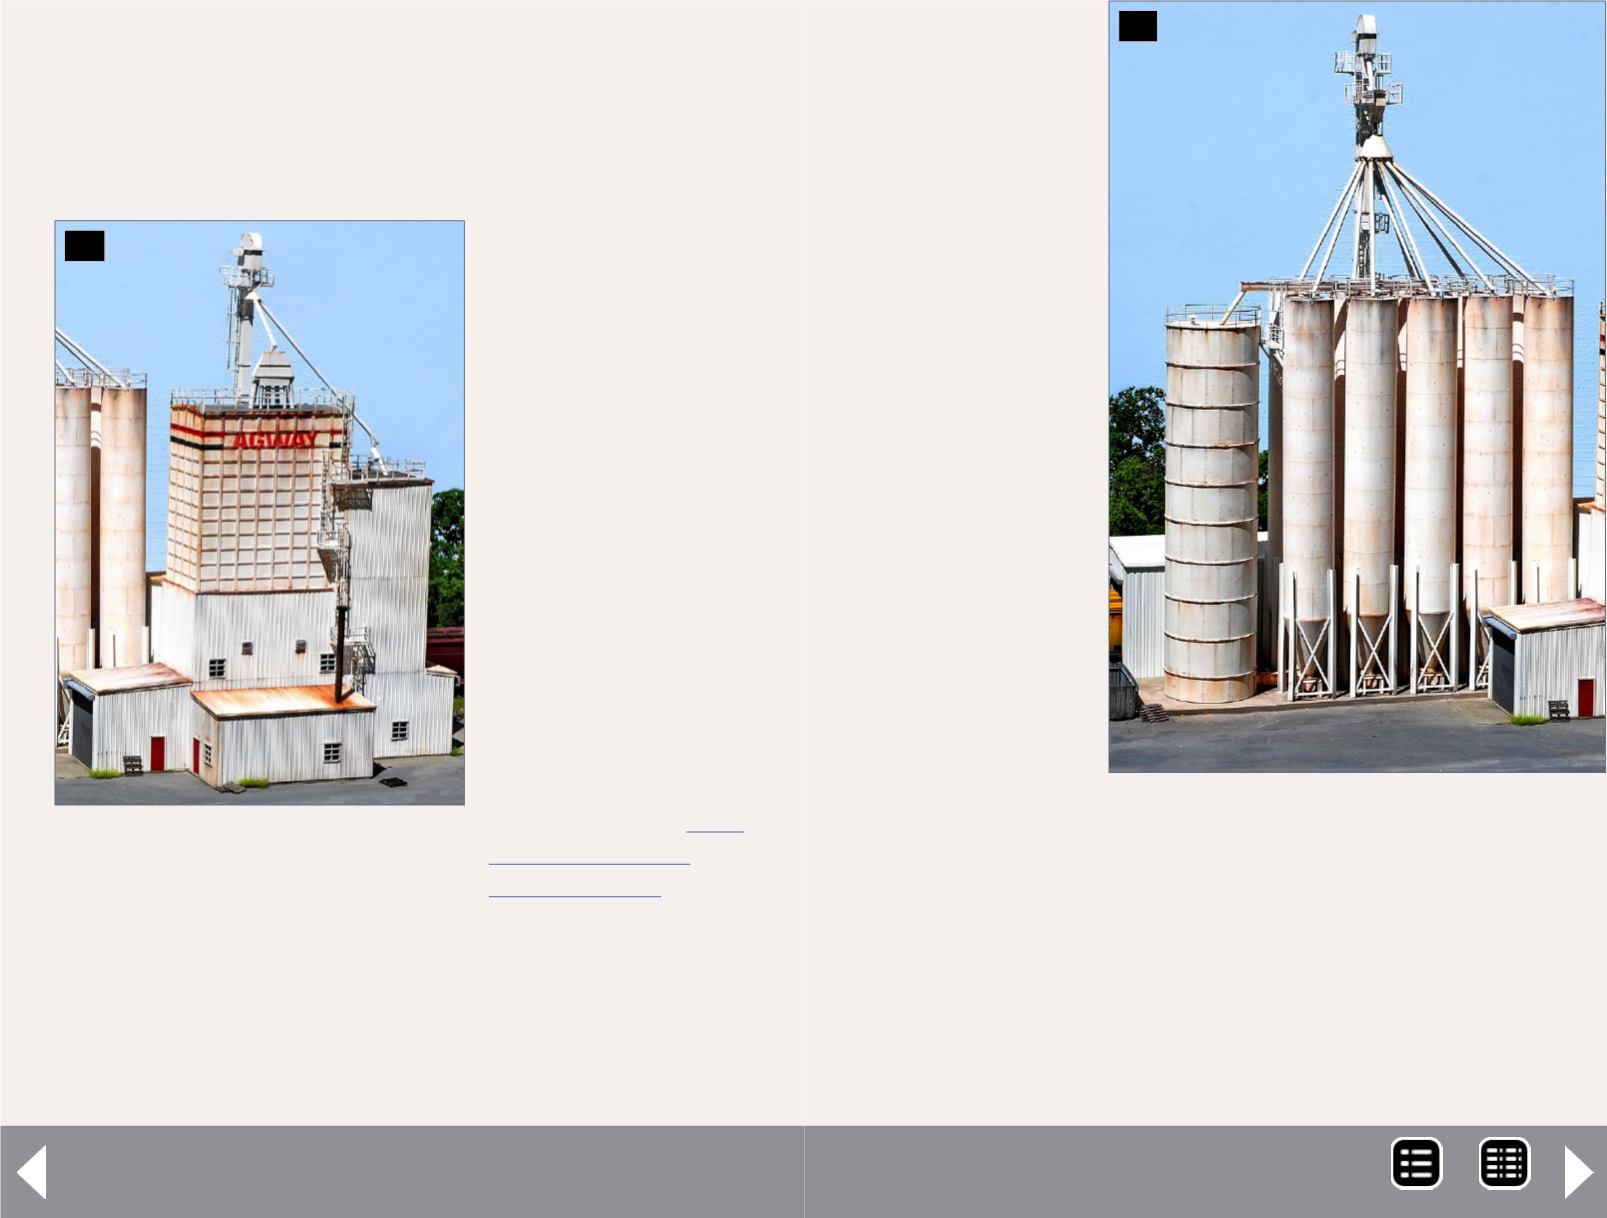
38. The completed main
structure with several light coats
of raw umber, burnt umber,
burnt sienna, and raw sienna
dry-brushed over the feed bin to
capture the look of the prototype
as it should have appeared in the
early 1980s.
Agway Feed Mill - 19
39. The com-
pleted silos
with a few coats
of artist oils
lamp black dry-
brushed from the
top of the silos
and lighter appli-
cations of burnt
umber down the
sides. I used #6
charcoal pencils
to gently outline
the weld seams
and rivet lines.
39
included multiple lettering sizes and striping to complete more
than one mill.
Weathering
The last step of this project involved weathering the mill as it
would have looked shortly after construction. The earliest photo
I could find of the prototype was taken in 1983, a few years
after construction. Even at that early stage, the mill was already
MRH-Sep 2014


