 
          separate boards on the ends. Install the bracket for the running
        
        
          board end braces. In the kit, one of the resin parts was a very
        
        
          small “L” shape. Cut this to the width of the running board and
        
        
          mount one on each end.
        
        
          Then, mount the running board. Check to make sure all of the
        
        
          mounting points on the roof are level and even. I needed to
        
        
          swipe mine a couple of times with a file to get the tops even.
        
        
          Apply a small amount
        
        
          of canopy glue to each
        
        
          mounting point, and
        
        
          attach the running
        
        
          board. Weights help it
        
        
          cure flat and straight.
        
        
          Now, add the running
        
        
          board end supports.
        
        
          These are supplied as
        
        
          resin parts in the kit but
        
        
          removing them is time-
        
        
          consuming and a bit of
        
        
          a chore, so I substitute
        
        
          styrene. They need to be
        
        
          .010” X .020” to make
        
        
          them look reasonable.
        
        
          Add two of these to each
        
        
          end with CA. I went a bit
        
        
          overboard and put some
        
        
          small links of chain at
        
        
          the bottom of the hand-
        
        
          brake link to add some
        
        
          extra detail.
        
        
          Build your first resin car - 13
        
        
          29
        
        
          29. One corner step installed.
        
        
          30
        
        
          30. Formula 560 Canopy Glue.
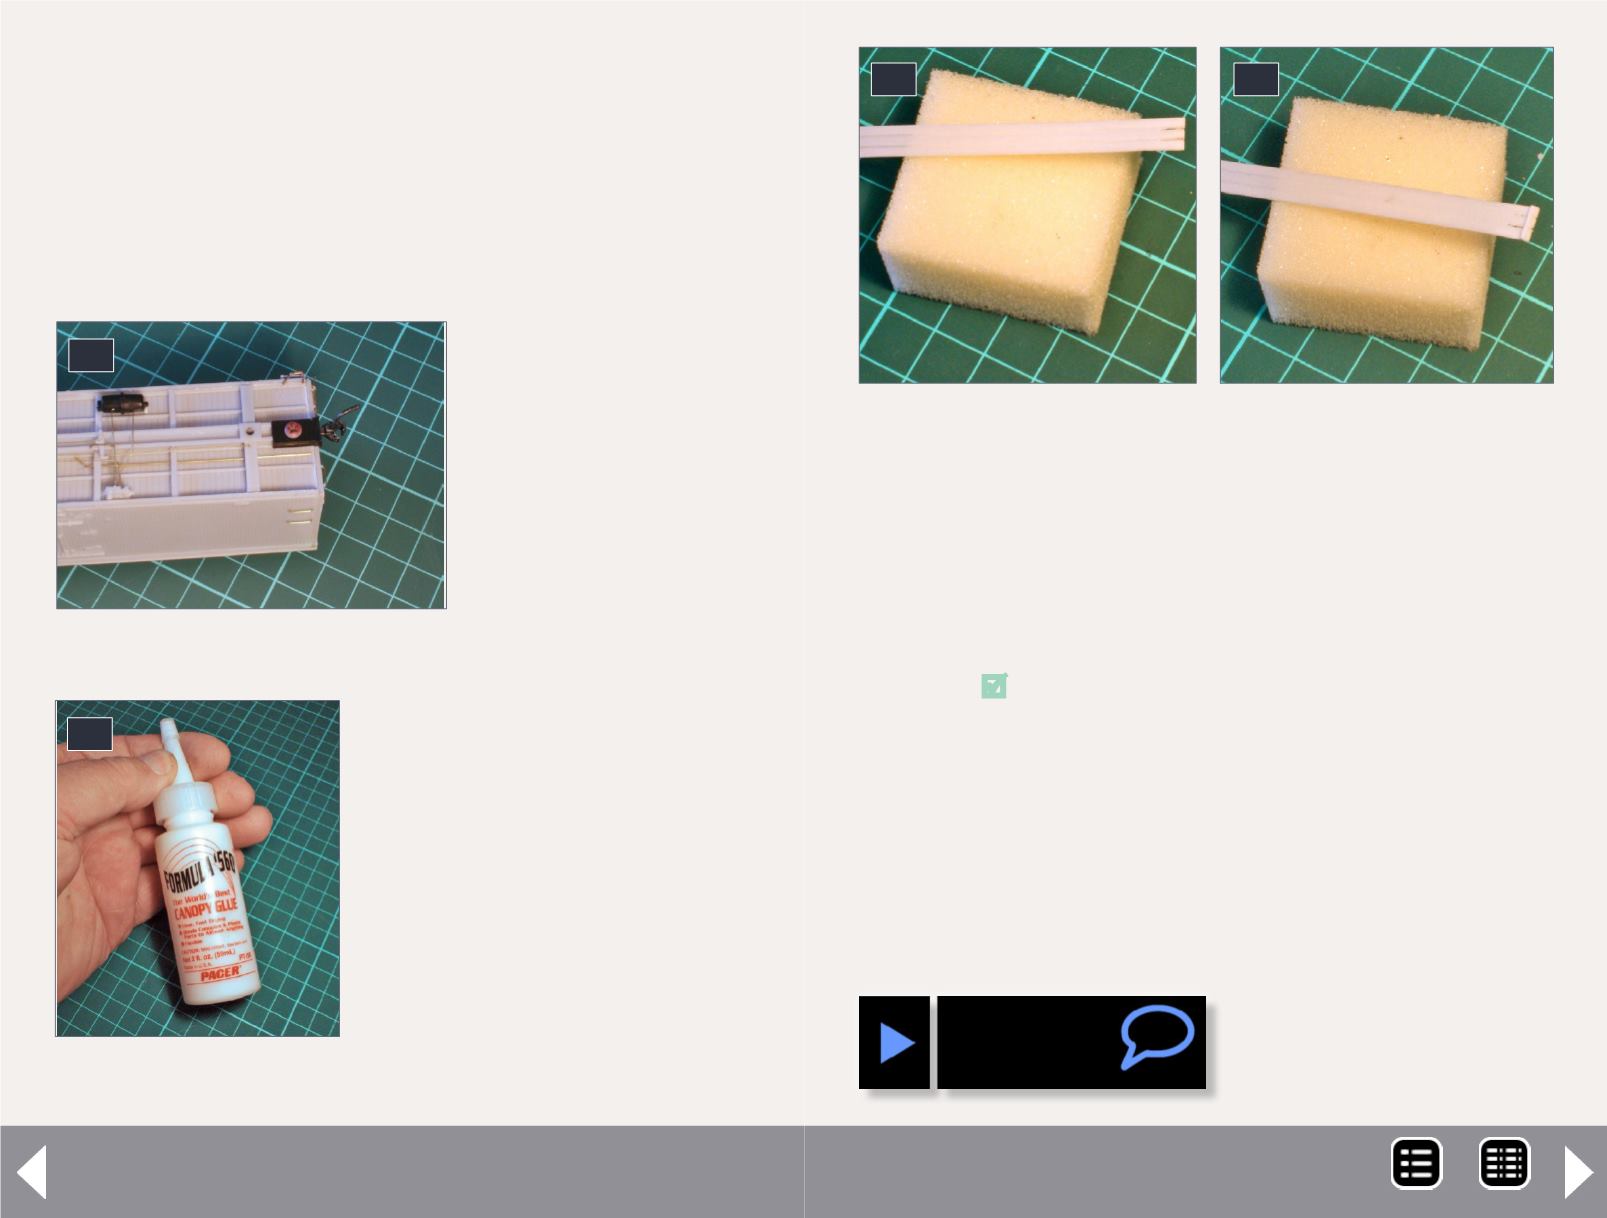
        
        
          31
        
        
          31. Ends of the running board have been notched for
        
        
          added detail.
        
        
          32. The end brace is attached to the underside of the
        
        
          running board.
        
        
          Now the kit is complete and all I have to do now is paint. That
        
        
          will be for a future article. For now I have the completed kit
        
        
          to admire.


          32


            Pictures continue on the next pages ...


          MRH-Aug 2014