Build your first resin car - 12
26
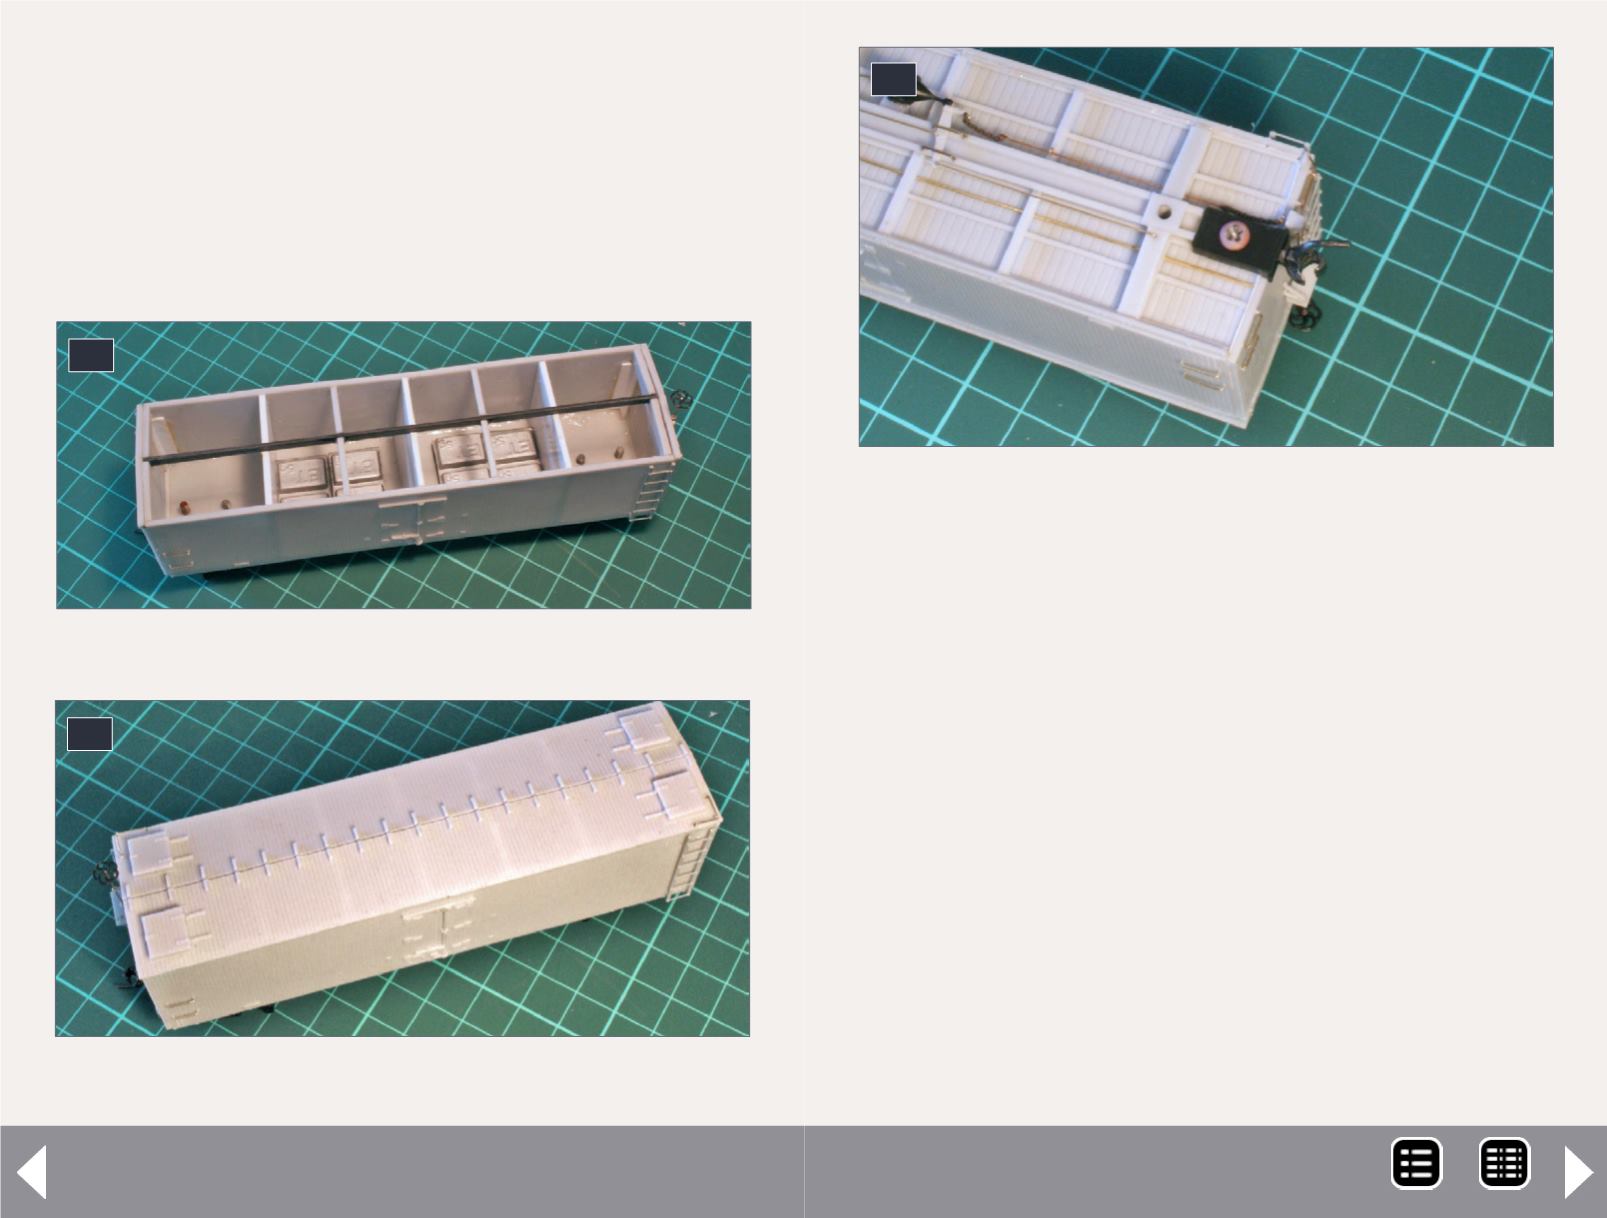
26. The center roof brace has been added.
Now it’s time to add the detail parts. All I have left to add are
the corner stirrups, and the center stirrup to be secured onto
the underframe of the car.
I drill number 72 holes into the underframe as close as I can get
to the sides. I have tried drilling into the sides before but find
this almost impossible to control. The outside of the under-
frame has mounting points with two NBW castings molded
27
27. The two halves of the roof have been installed.
28
28. The holes drilled for the corner steps.
on them. Get as close as you can to these. You can see my
attempt in [28]. I had to open up the one closest to the end a
bit to make it work.
With the holes drilled, go ahead and attach the stirrups with
CA. The parts supplied in the kit look like A-Line stirrups, so if
you make a mistake it is easy to get replacements.
To do the rest is just a matter of repeating the processes. Once
all of the supports are mounted I add the running board to
the car with canopy glue. The glue I used is from Pacer, but
there are others around. Fellow modeler Tony Thompson has
been extolling the virtues of this glue for some time and now I
understand why.
Before mounting the running board, I run the teeth of a razor
saw in between the boards to separate them for the first cou-
ple of scale feet [31]. It gives the impression that there are
MRH-Aug 2014


