Build your first resin car - 7
12
Now for the sides. The grab irons in this kit were larger than the
spacing for them between the nut-bolt-washer details. It was a
simple fix to straighten one side and re-bend them to the correct
length. Again, mark the holes and mount the grab irons. Now we
have the sides, ends and the underframe complete [15]. It’s time
to make the car into something more recognizable.
Building the box
How well the car turns out depends on the care taken in this
step. If you have all the parts square and true, then this should
be a simple assembly step.
TIP:
The corners where the ends and the sides meet are very
small in cross-section, so add square or angled styrene or simi-
lar material to strengthen the joint.
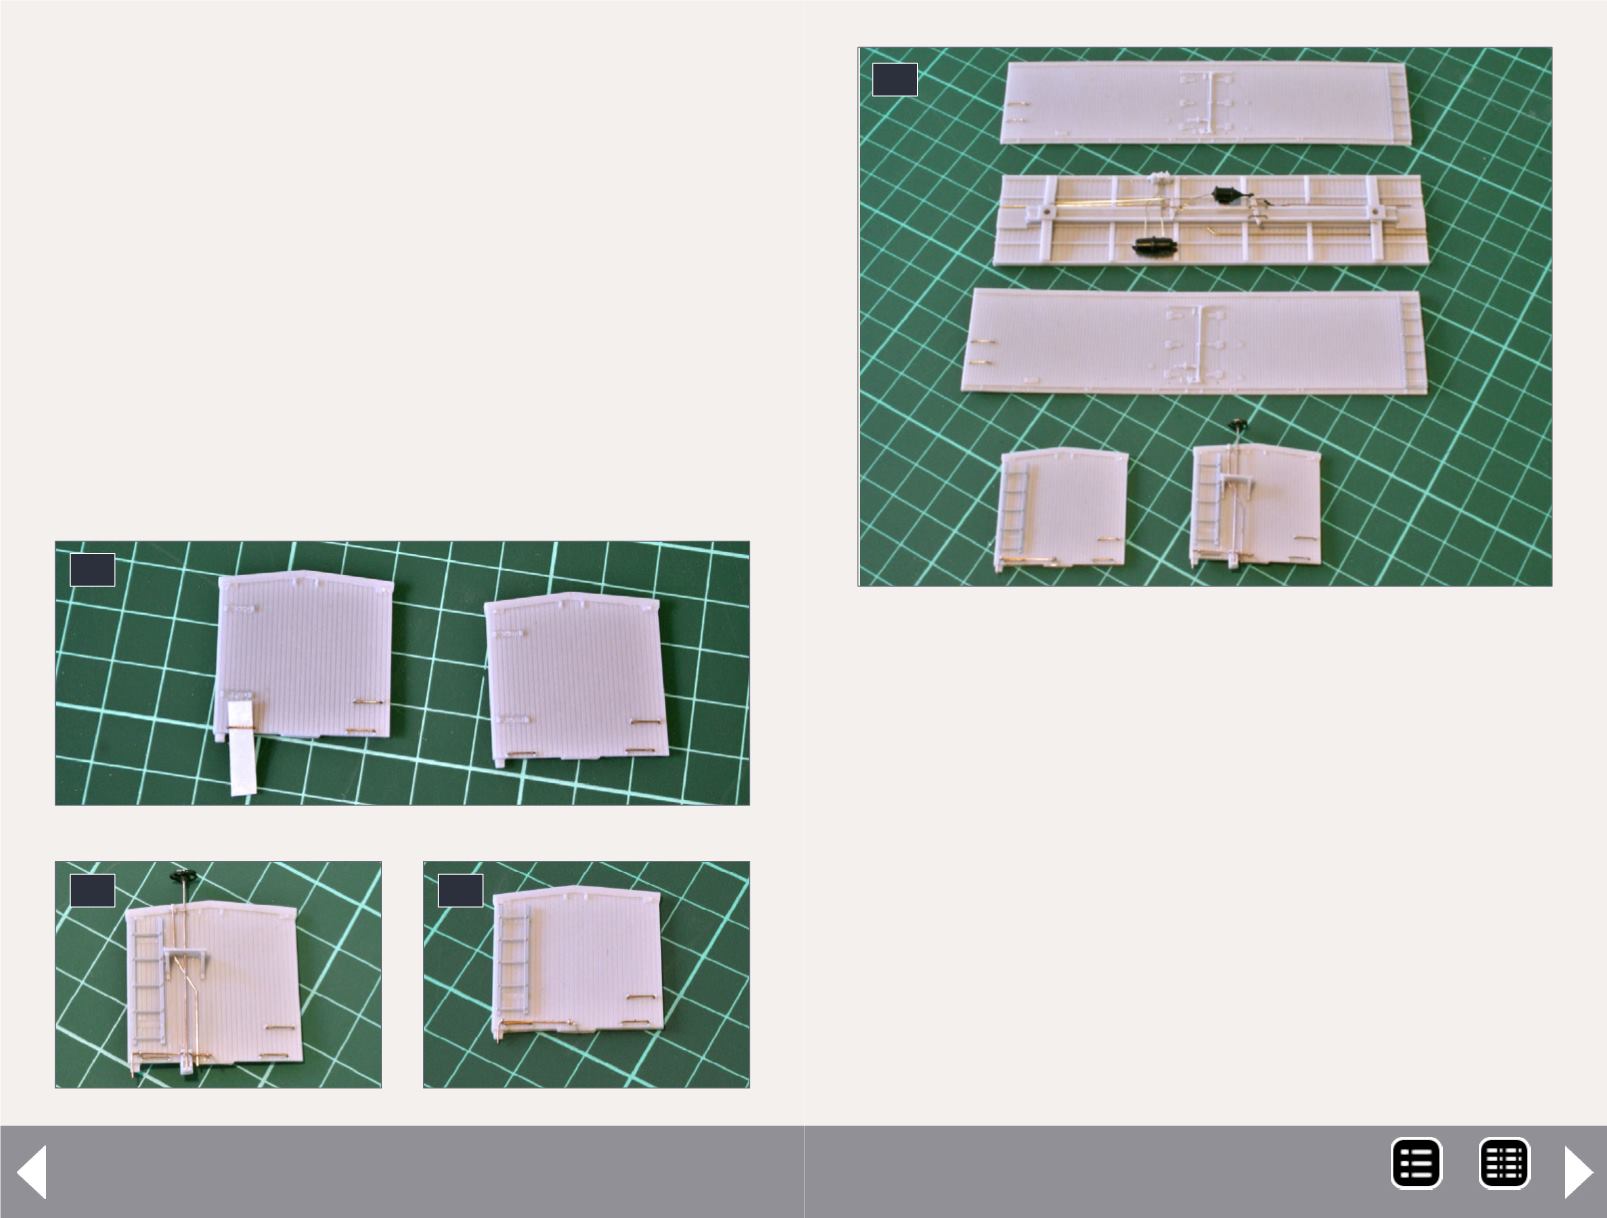
13
14
12. Installing the grab irons in the ends.
13. B end complete.
14. The A end complete.
15. The underframe, ends, and sides completed and
ready for assembly.
I didn’t have any square styrene and used “L” angle instead.
This gives more surface area for the glue to grab. Notice that
the angle doesn’t go all the way to the top or bottom of the
side. This is to allow for the underframe and roof bracing to be
fitted later. Take your time here and wait for each joint to set
up before proceeding.
15
MRH-Aug 2014


