Build your first resin car - 8
Don’t panic if the sides and ends don’t fit precisely. Two of mine
didn’t. That is what body putty is for. I use Squadron Green putty
because I am familiar with it from building plastic model kits.
Use whatever you feel comfortable with, but remember that
some putties shrink on drying. Test the putty on some scrap
pieces to make sure that it doesn’t attack the resin. Make sure
you leave sufficient material to be sanded down.
16
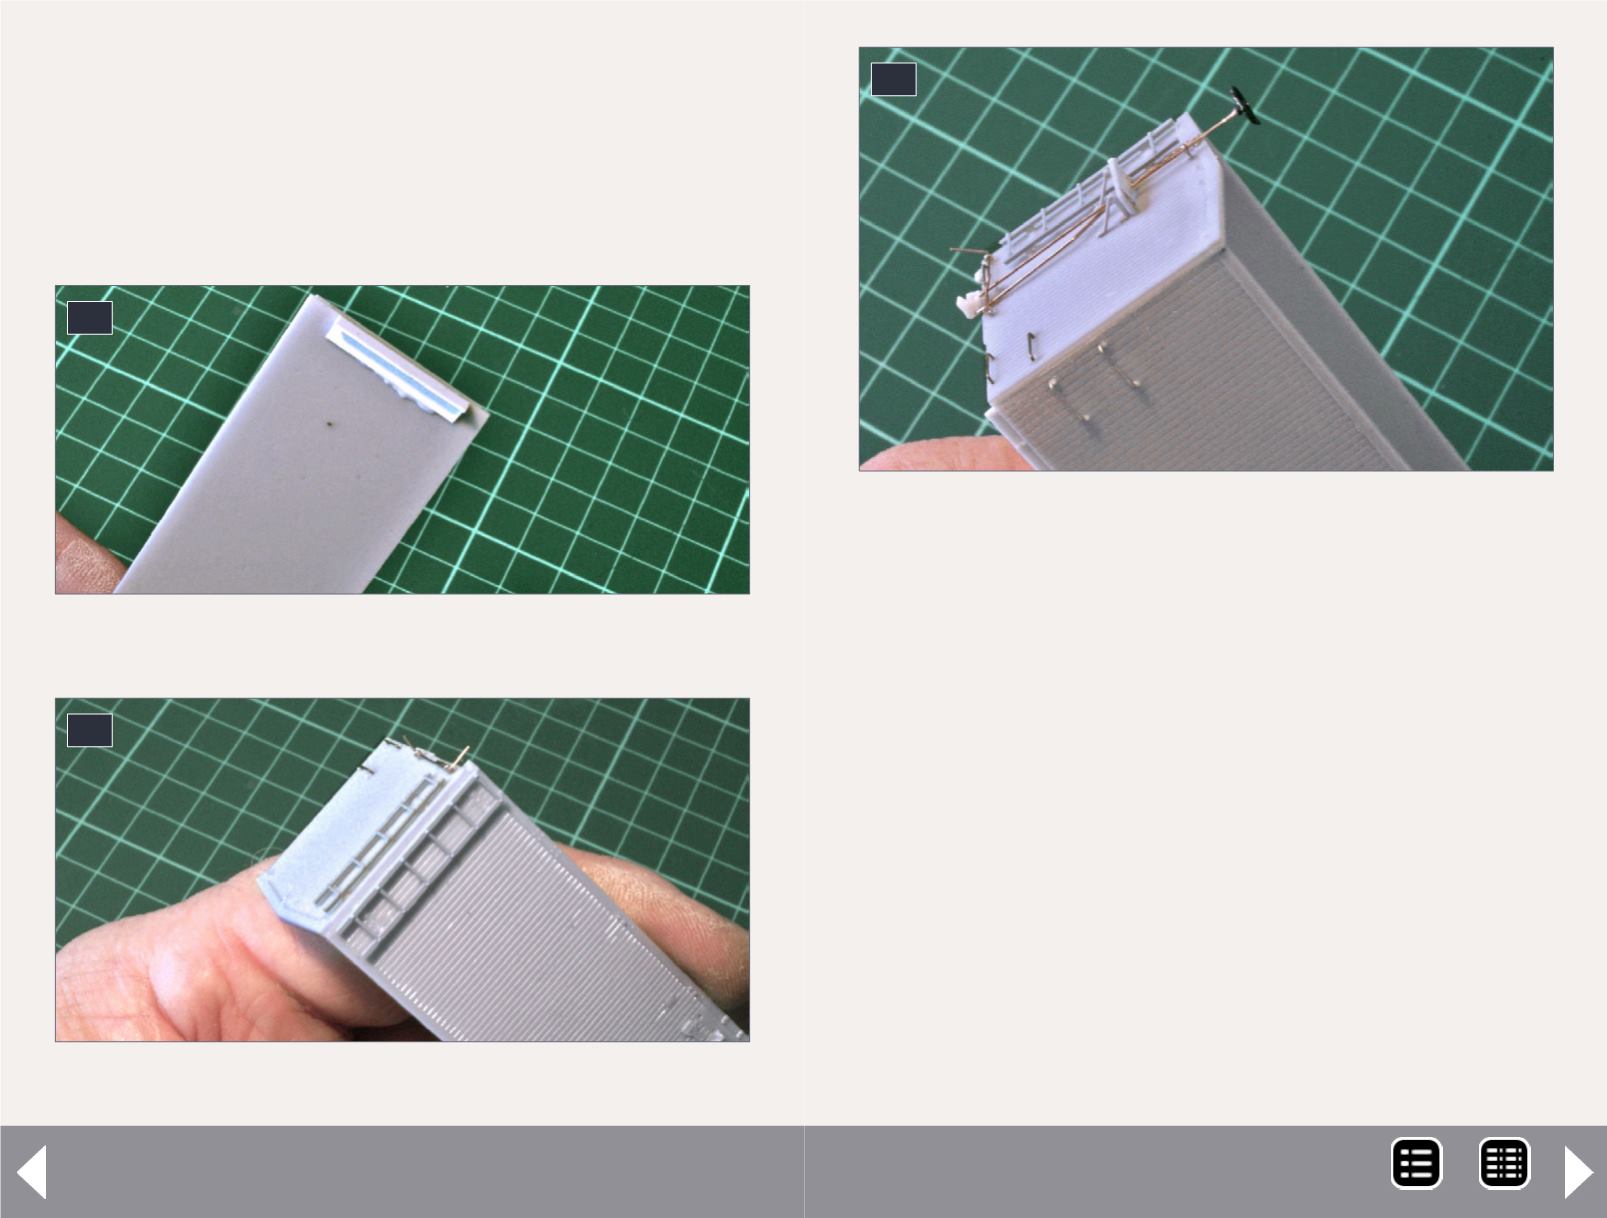
16. “L” angle installed on one end of the side.
17
17. A end and one side cemented together.
You can see what one of the puttied joints looks like when fin-
ished [18]. How did this happen? I wasn’t careful enough with
the file when finishing the parts and rounded off the top cor-
ner ever so slightly. When mated with the flat of the end, there
was a small gap at the top.
Add the underframe
Now that we have the box, it’s time to mount it to the under-
frame. Test fit it to make sure the fit is OK. With my kit, the
sides were a touch too wide. A few swipes with the flat file
fixed the problem. The underframe was also short. At either
end the gap was about .020”. I fixed this by gluing pieces of
.010” styrene to each end so that the bolster and truck center
spacing is not affected. If you glue the fix to only one end, your
underframe and truck spacing will be wrong.
18
18. Filler used at the top of the car to fix gap in join.
MRH-Aug 2014


