to practice some new skills and techniques in woodworking,
as well as to use some of the nice tools I have. In the end, both
workbenches are equally useful, the same size, and about the
same cost. The difference is that mine is a little rougher around
the edges and took a few hours, while his is as clean and as
square as I could manage, and took several days to build.
The materials are simple and inexpensive. At my local home
improvement store I found a laminated 16” x 36” x ¾” panel
for less than $7.00. I also bought a 6’ long 1” x 4” board, two
Portable workbench - 2
2
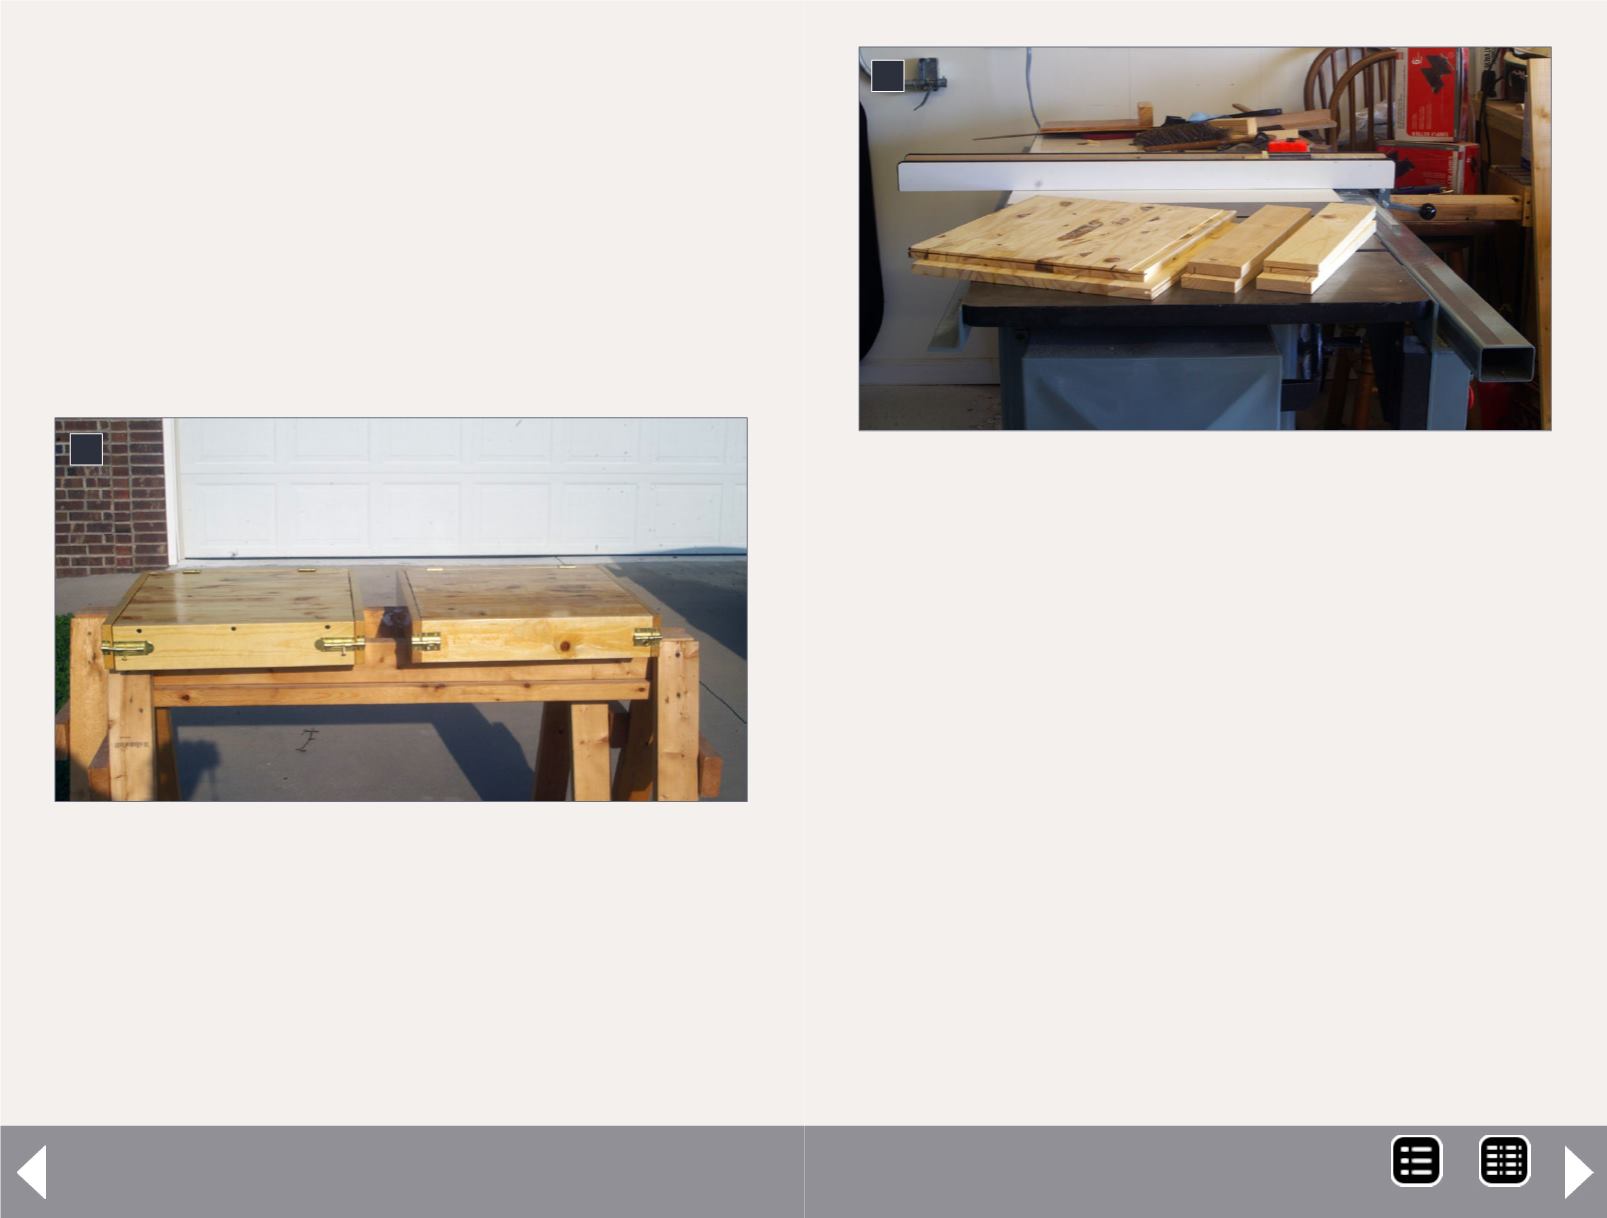
2. This is the workbench when closed. It’s simply a
box, 17½” deep, 19½” wide, and 3½” tall. The barrel
bolts keep it closed, and also prevent the lid from
closing too far and potentially crushing the contents.
Attaching the box front to the lid leaves a convenient
opening so you’re not working down inside the box,
while still having the other three sides to keep tools
and parts from falling off.
3
3. These are the parts for my friend’s workbench. The
36” long panel is cut almost perfectly in half, with the
top being left about
1
/
8
” shorter than the bottom. This
will ensure there is a gap when the lid is closed, and
prevent it from fitting too tightly between the sides. The
1” x 4” is cut into four pieces – the two sides are 17½”
long, the front is 17
7
/
8
” long, and the back is 18” long.
Make sure the front and back are the same lengths as
the top and bottom panels, respectively.
Since I have the tools and wanted to practice the skills,
this one was built with glued joints reinforced with
splines. The grooves in the edges of the parts are to
accept the splines. I also chose to cut a shallow groove
along the front edge of the work surface, to catch any
tools or parts which might be tempted to roll away. If
you have the tools, the joints I’m making here result
in an exceptionally strong and neat looking piece,
but they’re not really needed. The first version, held
together with nothing but screws, works just as well.
MRH-Oct 2014


