themselves connect without the ends of the modules getting
in the way [3-4]. The Kato Unijoiners will be doing all the work
holding the track together. (In fact, they can hold the weight of
an entire module; see picture [5].)
Draw a rectangle 2mm (or 1/16”) shorter than your refer-
ence track length, and 8¼” wide. You will also want two more
strips exactly the same length to be the front and back sides of
the module. The goal is to have a module that is 70mm (2¾”)
tall, so the height of these side pieces will be that measure-
ment minus the thickness of the board. In my case – where the
foam-core measured 5mm – my pieces were 65mm, but you’ll
$500 layout 3rd place - 5
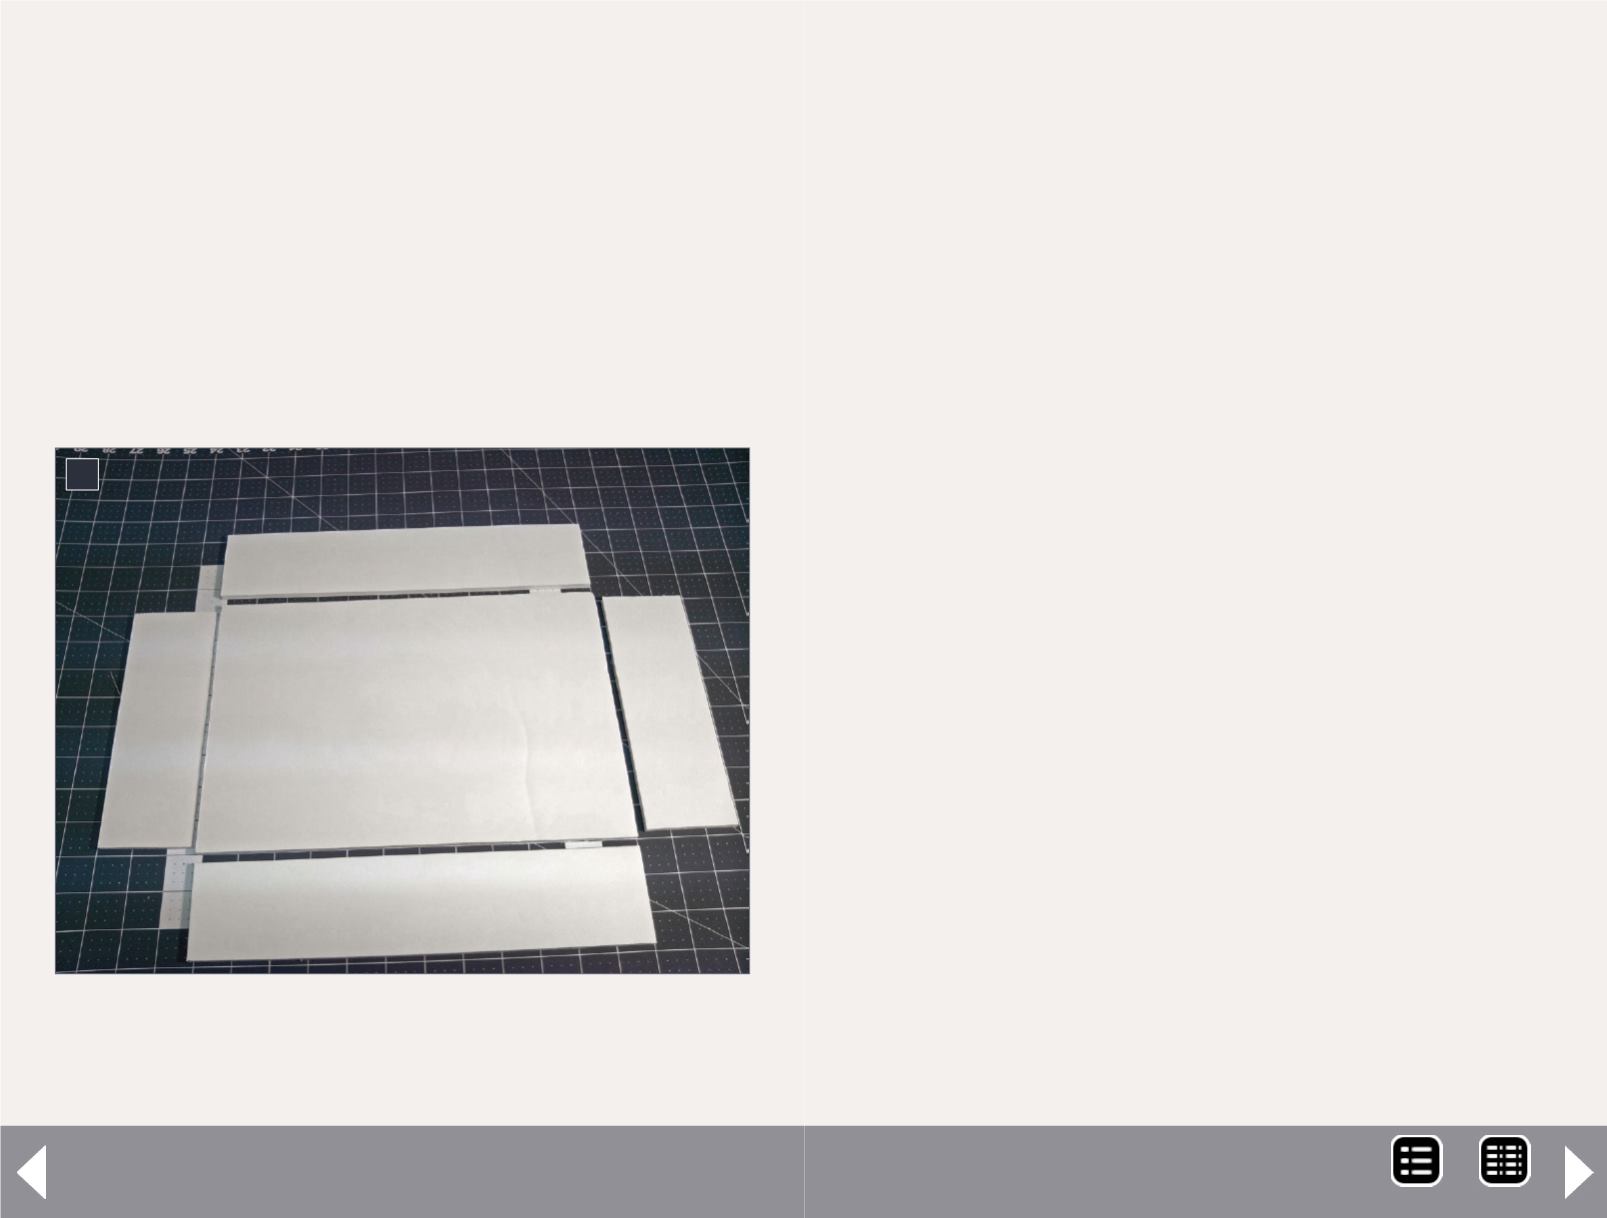
6. When all the pieces are cut out, they should look
like this. Note that the sides are as long as the top,
but the ends are a bit narrower.
6
need to measure against your specific board thickness. It does
vary. Once you determine what it is, remember that measure-
ment as being the height of the side pieces.
For the ends, measure out two pieces that are side-piece
height. again, one board-thickness short of 70mm, and two
board-thicknesses short of the module width (8¼”). These will
be the ends of your module [6].
By the way, take the time to make sure these pieces are mea-
sured precisely and are square. The extra time will make life
better later in the form of nicely fitting modules. Also, when
cutting, make sure the blade is sharp. A dull blade chews and
tears the foam, and leaves ragged edges. A sharp blade makes
clean, crisp, cuts. Take several passes, using a straightedge to
protect the “good” side of the cut and make sure you stay on
the marks. Again, don’t hurry; you’ll have a module soon.
Once cut, gluing-up is actually quite simple. Ordinary white
glue, or something like Aileen’s Tacky Glue, work just fine,
and once set, typically makes the joint even stronger than the
board. My experience – in the comparatively low humidity on
the Pacific coast – is that the glue sets in under 10 minutes,
giving you just enough time to work the pieces into exactly the
right position. When in place, secure the edges with blue paint-
er’s tape. The paper facing and foam core wick up the glue,
making a strong structural bond, and speeding drying.
As it happens, you’re likely to have leftover scraps of foam-
core. Here’s one very important thing to make with some of
those leftovers: a track-placement jig. T-Trak standard track
placement puts the front track at 38mm (1½”) back from the
front edge of the track, and a little jig helps make this easy (not
to mention helping keep the track straight.) Cut a bit of scrap
MRH-Oct 2014


