Now I can work on my models while I’m watching TV with my
family, or sitting in my recliner after work. It’s a perfect size
for working on a TV tray or on a lap, while still having enough
room to work on a freight car kit, decal project, or even some
Portable workbench - 4
6
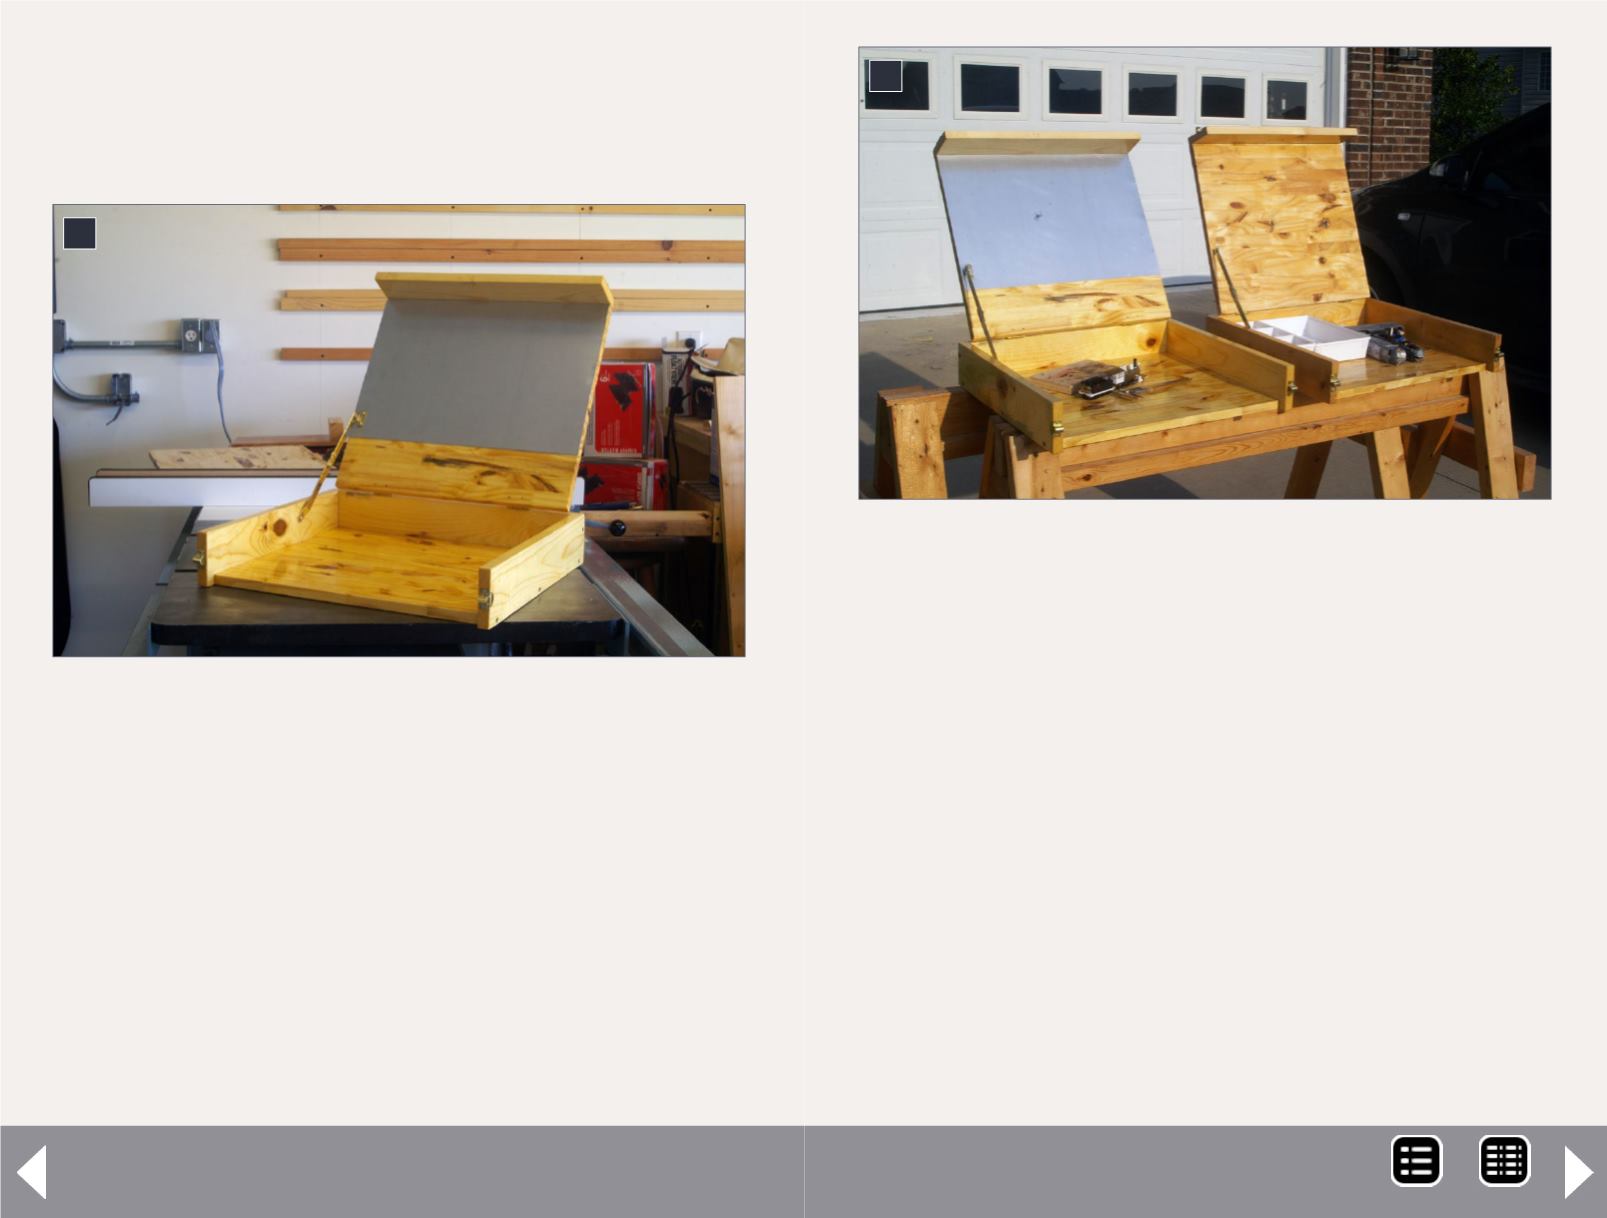
6. For the first workbench, I mounted the folding
support bracket 5½” forward from the back edge of the
top. Although it works, the top opens just far enough
to make me worry the workbench could tip over
backward. For the second one, I mounted the bracket
1
/
4
” farther forward, and you can see the resulting
change in the angle.
If you look closely at the workbench on the left, you
can see where the hinge screws protrude through the
inside surface of the top. The screws included with the
hardware are a bit too long, so for the second one I
ground the points off and took more care when drilling
the mounting holes.
7
7. There are a few differences between the two
workbenches. The second one (left) has a small lip to
prevent anything from rolling out. Rather than cutting
a groove in the bottom board, you could use edging
veneer designed for hiding the edges of plywood,
or even heavy cardstock. Once glued in place and
varnished, it would be more than strong enough.
I had to modify the barrel bolt latches for the
workbench on the right. They had a round tab on one
side, so rather than cutting it off I bent it around the
corner. A vise and a hammer made short work of that.
Since the loops were separate from the base plates, I
also soldered these pieces together. Sometimes cheap
or salvaged hardware needs a little modification to
work, but the price is right!
MRH-Oct 2014


