-
STEP 15: Finish the Layout Site
Continued ...
The gravel is a 3:1 mix of Highball N-scale limestone bal-
last that’s been sifted through an old stocking in order to
get the finest particles possible and Highball Products dirt.
Combining different shades of tile grout would achieve the
same kind of appearance.
I like to build up my scenery in layers, and I start by work-
ing my way in from the edges by first sprinkling on the
ground cover followed by some dirt and then the gravel.
This creates a natural transition from the vegetation on the
side of the road to the gravel.
For the coal around the tipple, I sprinkled on N-scale black
ballast. Once I’m happy with the overall appearance, I wet
the area with 70% isopropyl alcohol and then apply a 3:1
mix of wet water and white glue.
Once the base layer of scenery is dry, it’s time to come
back to apply the final layer. I wasn’t happy with the initial
layer of gravel, so I mixed three parts Highball Products
N-scale limestone ballast with one part finely sifted play
sand. I used real coal dust and coal around the tipple, and
covered the other areas with various types of ground cov-
ers to get the final look.
Once everything was in place, I applied isopropyl alcohol
and diluted white in the same manner as the previous step
in order to hold everything in place.
STEP 15: Finish the Layout Site
Continued ...
53a
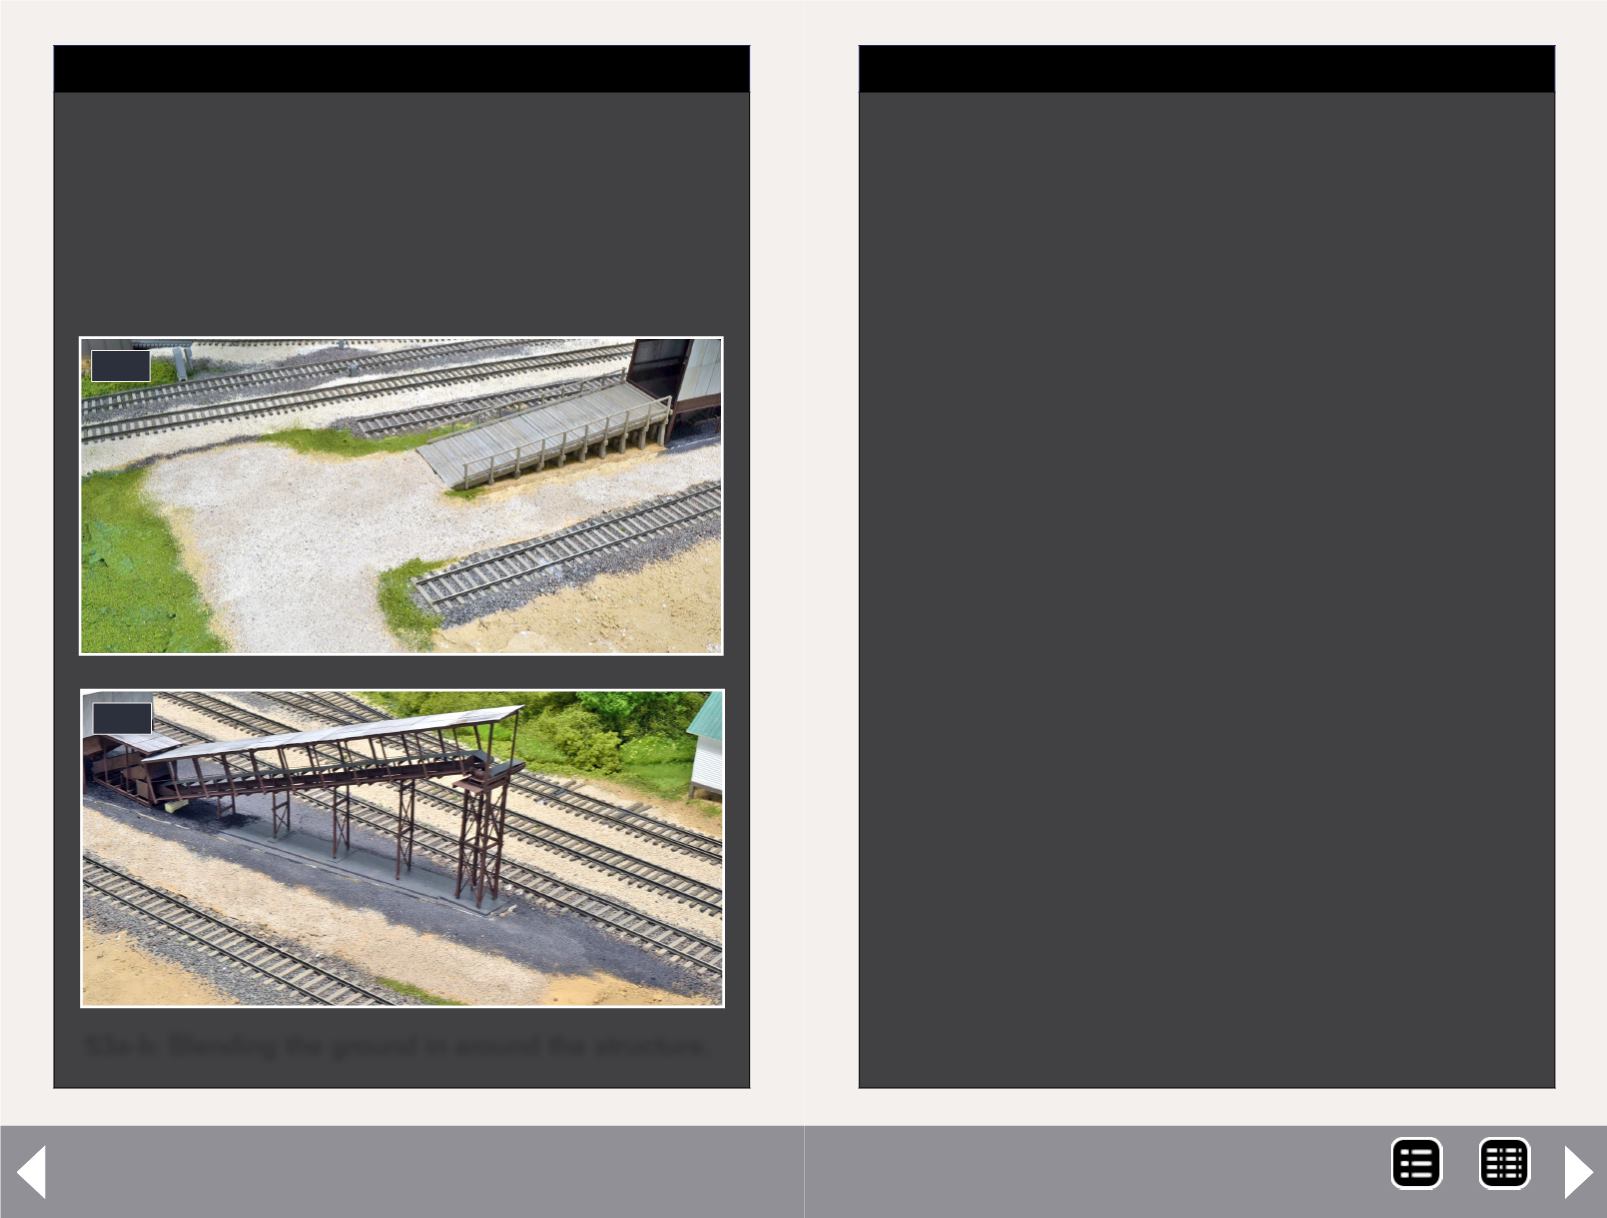
To begin the scenery work, start by applying a base layer
of ground cover, dirt, gravel, and coal. For the basic
ground cover, I use a mix of 3 parts Woodland Scenics
Grass T45 and 2 parts Woodland Scenics Earth T42.
I use Highball Products #172- Dirt for the dirt and Highball
Products N-scale black ballast for the initial layer of coal.
53a-b: Blending the ground in around the structure.
53b
Coal loader, p2 - 15
MRH-Jan 2013


