-
STEP 13: Apply Corrugated Siding
Continued ...
Finish the side by gluing the remaining pieces of siding to
the 1 x 4. You will need to cut the last piece of siding to fit
as it won’t be a full 4’ in width. Also, be sure to overlap each
siding piece.
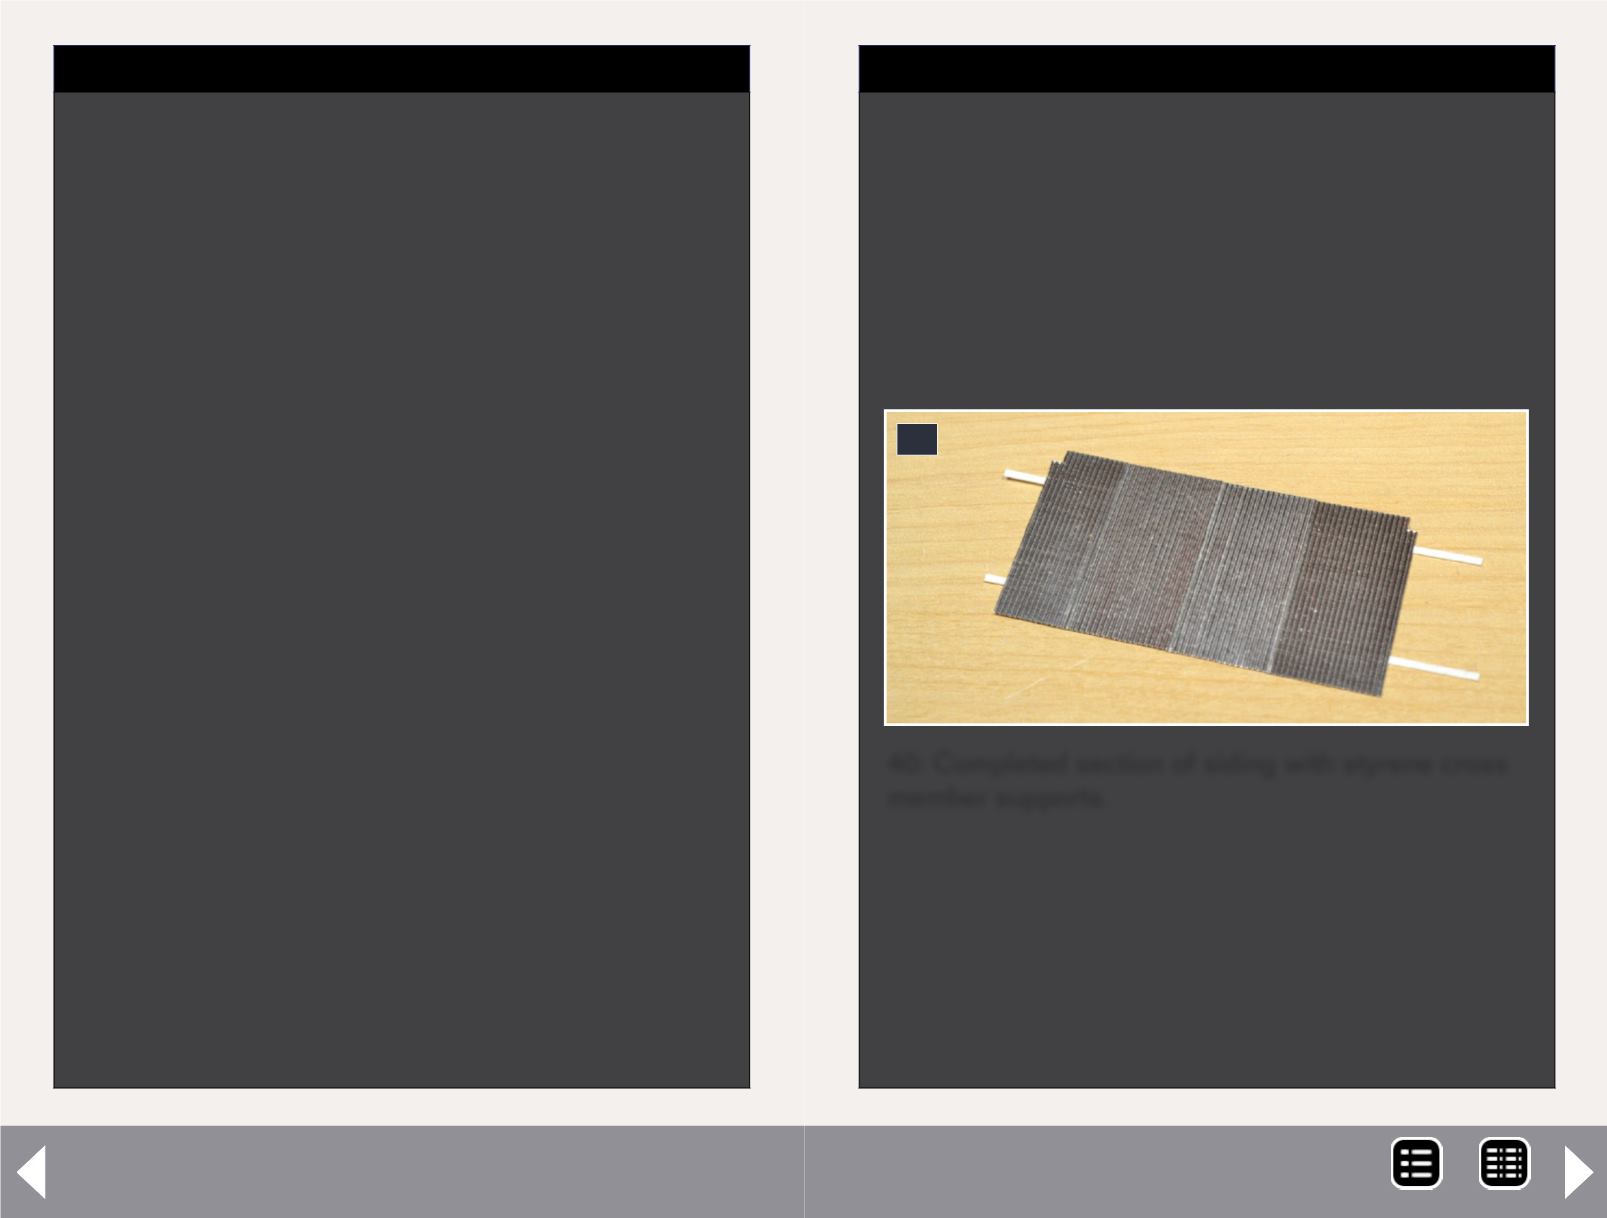
The photo here (40) shows the completed siding for the back
of the receiving bin. Note the small notches at the top cor-
ners- these are necessary to accommodate the channel for
the roof.
40: Completed section of siding with styrene cross
member supports.
40
-
STEP 13: Apply Corrugated Siding
I built the corrugated siding pieces for the roof and sides of
the receiving bin and the roofs of the conveyor and breaker
separately so that they could be painted and weathered prior
to attaching them to the structure.
Also, given the somewhat fragile nature of the sub-assemblies, I
didn’t want to build these surfaces directly on the various struc-
tural elements. I used Campbell ScaleModels corrugated sid-
ing for all of these pieces. While the Campbell product is some
of the finest quality siding I have found in terms of detail and
appearance, it can be difficult to work with.
The siding is very thin and easily damaged, so take your time
when handling the product and follow the manufacturer’s
instructions when cutting individual pieces.
We’ll start with the back wall for the receiving bin. I was
concerned about trying to handle and paint the siding so I
elected to use lengths of scale 1 x 4 to support the siding.
These pieces will be hidden behind the cross bracing on the
inside of the receiving bin.
Begin by cutting 2 pieces of 1 x 4 slightly longer than the
width of the back of the receiving bin. Next, cut 4 pieces of
8’ siding to a width of 4’. Measure the distance from the top
of the side of the receiving bin to the top of the first cross
brace. This should be approximately 1 3/4 scale feet.
Glue the first piece of 1 x 4 across the first piece of siding at
this height. Now measure the distance from the top of the
bottom cross brace on the receiving bin to the top of the top
brace. Glue the second piece of 1x 4 to the first piece of sid-
ing at this distance from the top of the first piece of 1 x 4.
Coal loader, p2 - 8
MRH-Jan 2013


