BURLAP HARDSHELL |
7
6. Use your hands to smooth the fabric into the tacky hot glue,
to create the contours you want.
7. Clean the edges up with scissors before adding plaster.
Otherwise, the hardened tufts will be difficult to remove.
It is a good idea to avoid frayed edges of burlap with loose-hang-
ing threads at seams running across open scenery expanses.
When these loose thread ends are covered with plaster, they
tend to stick straight up as the plaster dries, and become sur-
prisingly hard to remove. Clean up the edges with scissors [7]
before adding plaster.
Burlap, like other fabrics, comes with two kinds of edges:
smooth factory-finished edges that run the length of the fabric
as it comes off the loom, and rough-cut frayed edges where the
fabric is cut to length.
BURLAP HARDSHELL |
8
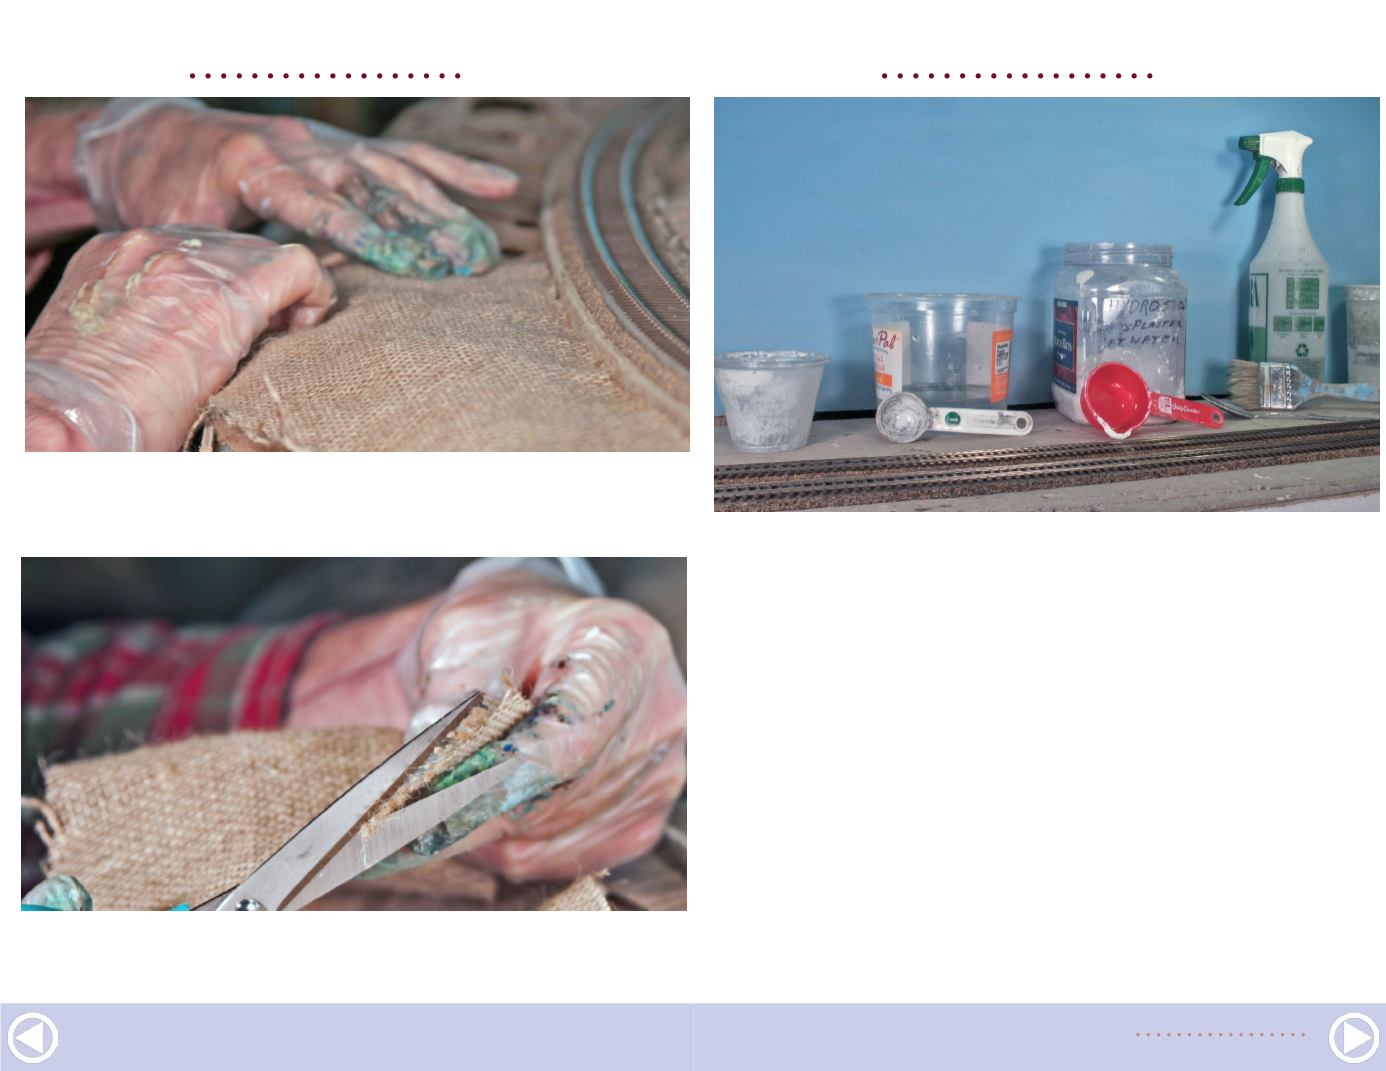
8. Materials, from left: Mixing cup, water, tablespoon measure,
plaster, ¼-cup measure, 2” paint brush, wet water sprayer,
and some water to keep the brush damp.


