BURLAP HARDSHELL |
5
When gluing burlap to the cardboard, use thin beads of glue
running along the strips [3] rather than larger isolated glue
“glops” placed at intervals.
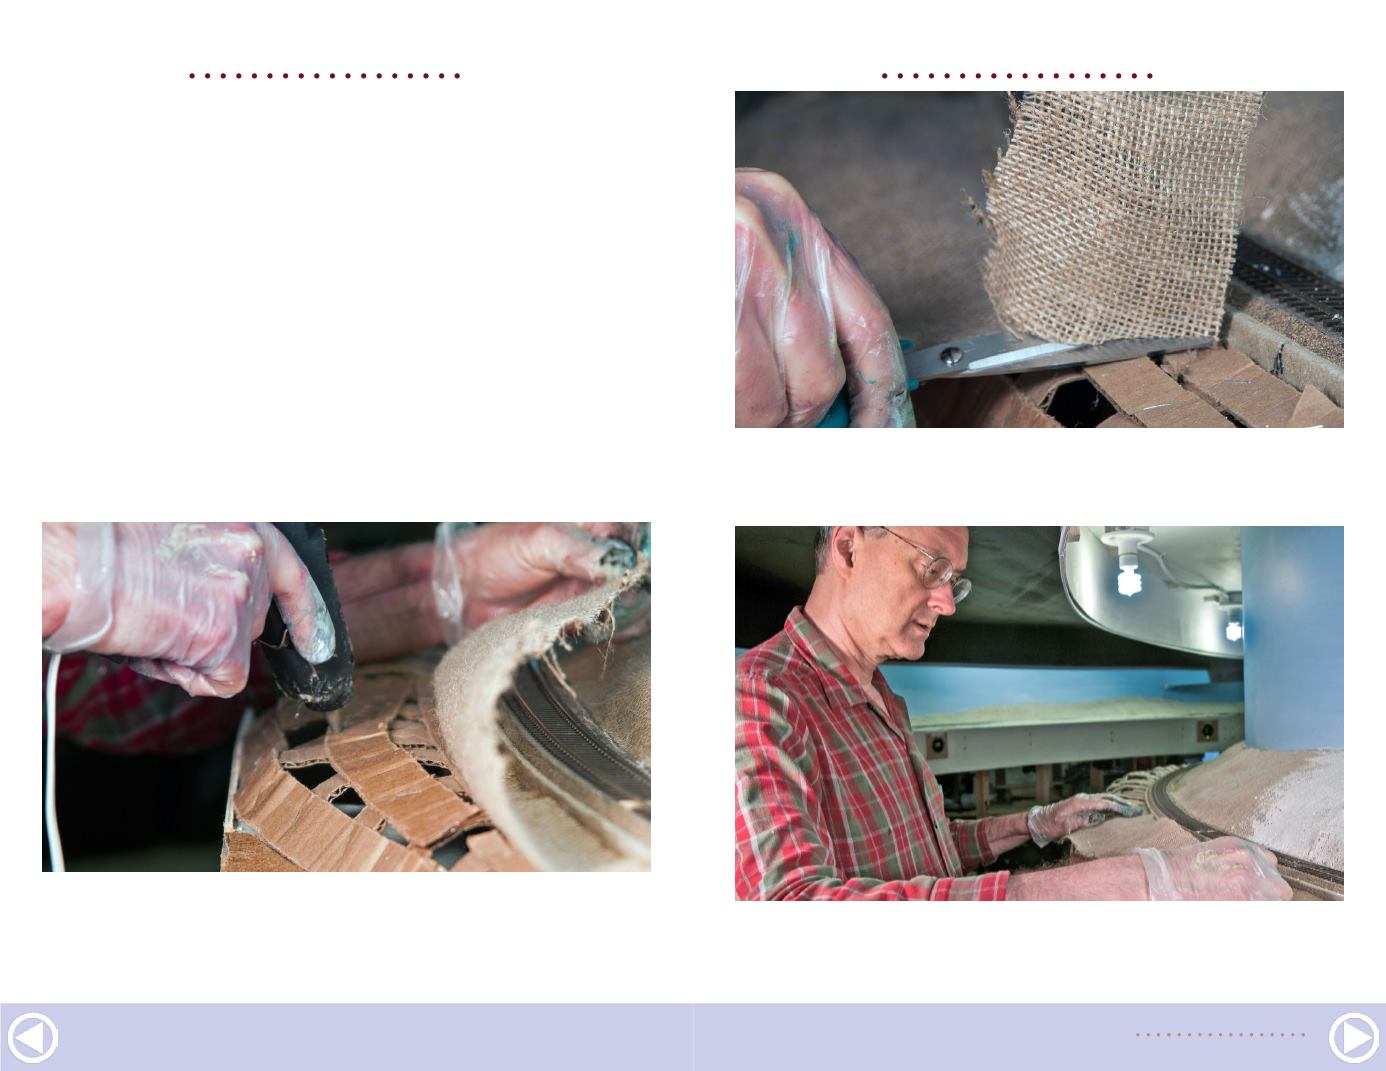
Because landforms are curved in three dimensions but fabric is
essentially flat, it may be necessary to cut out triangular “darts”
and add “panels” to make the burlap follow the land contours
smoothly [4]. Luckily, scenery is much more forgiving than
dressmaking, and after a little practice you will get the idea.
Thin plastic gloves keep the hot glue off of your hands [5].
Smooth the burlap into place starting with the cardboard strip
nearest the backdrop and use your hands to smooth it down
into the tacky hot glue on each row of cardboard strip, gluing
one row at a time [6].
4. Some scissors work will be needed to adjust the burlap to
lay flat over the cardboard matrix.
5. Thin plastic gloves keep hot glue from building up and burn-
ing your hands. Use low temperature hot glue.
3. To attach the burlap, run hot glue in thin beads instead of
random globs that might seal the fabric against absorbing the
plaster mix.
BURLAP HARDSHELL |
6


