Painting and decaling a resin car - 2
2. Car in its holder, ready for primer.
which my friends in the U.S. use. This product does not seem
to be available in Australia.
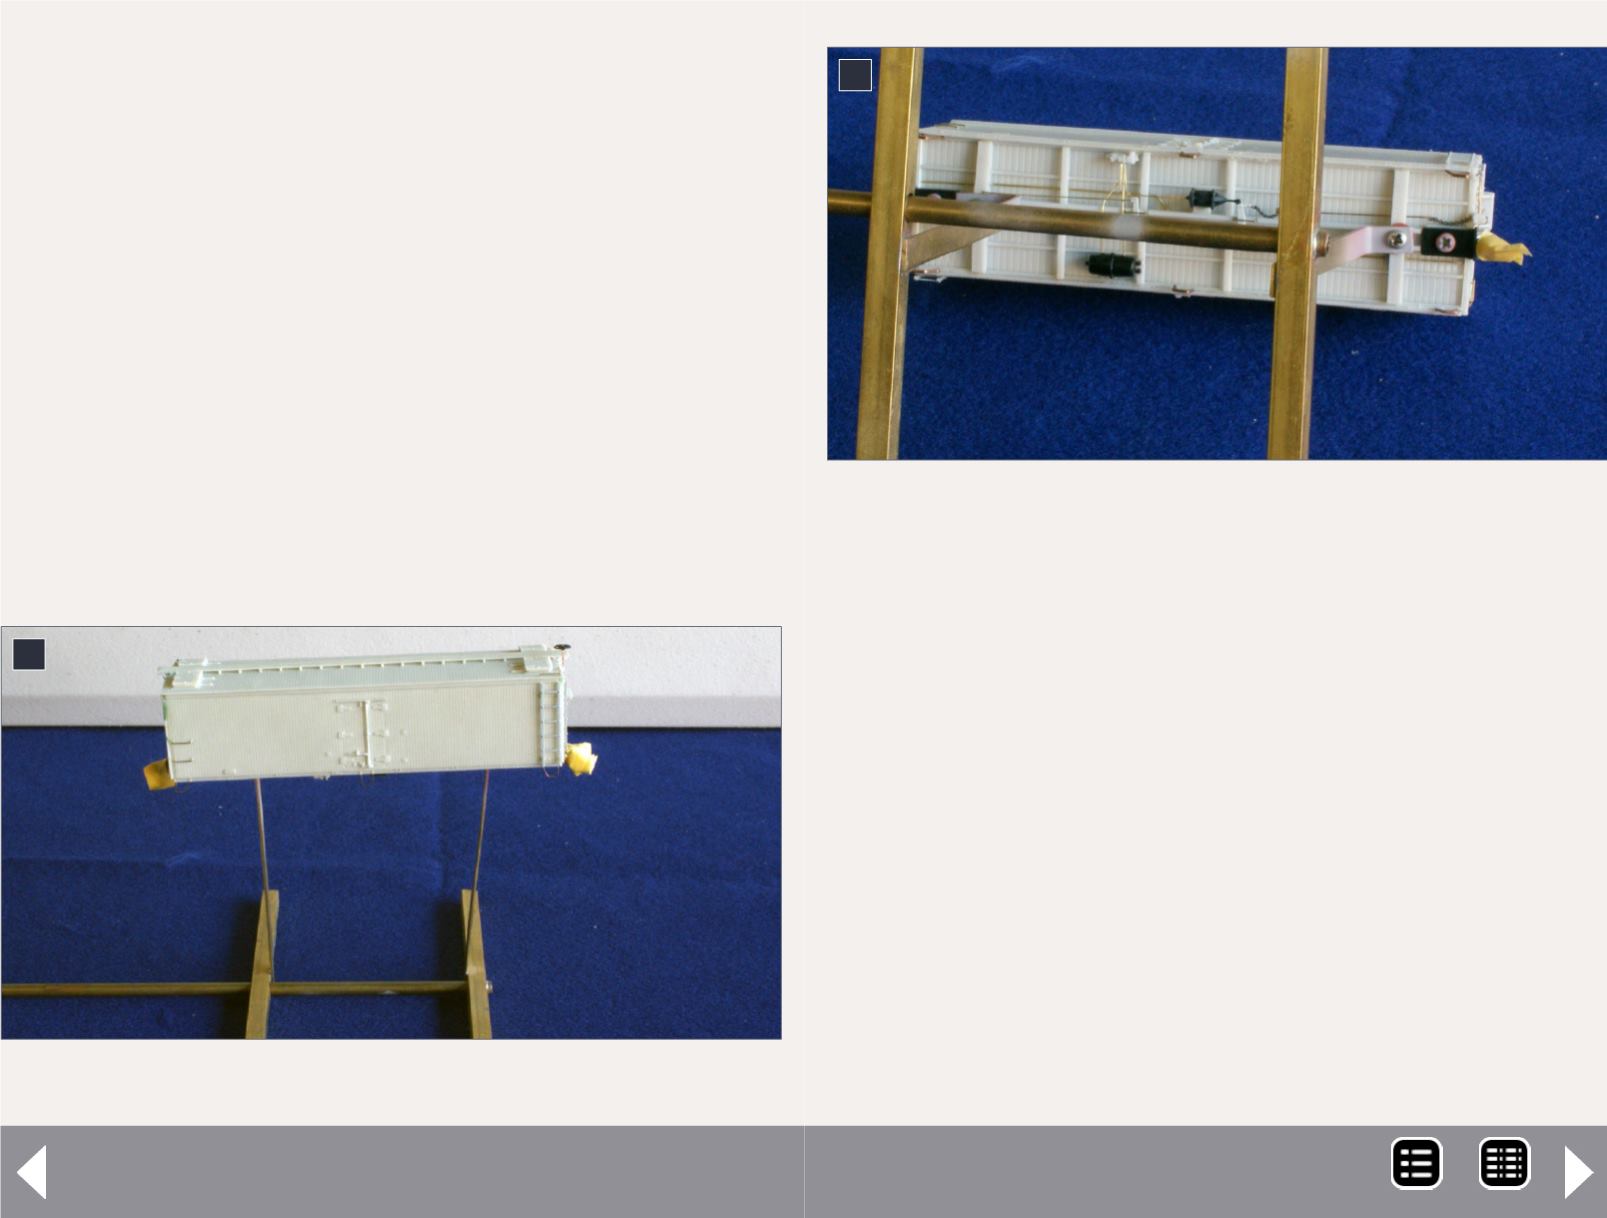
Prime the cleaned car. This gives us a solid base coat and it will
show up any small imperfections in the build. I use a holder
that I made out of brass stock that screws into the truck holes.
One end simply slides through the upright, enabling me to
have different sized cars on the holder [2 and 3].
When the car is mounted and ready for priming, tape over the
couplers with Tamiya tape to stop the paint from gumming up
the Kadee 158’s works. This tape has a low tack, especially if
you cut it to size on a glass sheet. I have never had it pull any-
thing off the car or remove paint.
Use a primer
For the priming coat, I use Rustoleum Flat Gray Primer with 2X
Coverage. Don’t be fooled by the name, as I have tested this
and it is not what I would call flat, certainly not like Dullcote. It
is more like a satin or semi-gloss finish. It is also self-levelling to
a certain extent and dries fairly quickly. It does take some time
to harden before you can add a top coat. I found it here in a
hardware store called Masters which I believe is the same com-
pany as Lowe’s in the United States.
The trucks, ready to be primed, are mounted to a piece of
brass shim stock and have the journals stuffed with some
masking tape to protect them as well.
The priming coat is a simple matter of following the instruc-
tions on the can and holding the can about 6” to 8” from the
work. Remember to use several passes and spray in light coats.
I don’t spray paint at the workbench, but take the model and
the rattle can outside to spray.
2
3. Holder attachment points to the car via the truck
screws.
3
MRH-Dec 2014


