off-black color which looks better under layout lighting and
details don’t tend to become lost. To mask then ends, I used
the thin strip technique again. You can see here that this time I
have covered the whole car including the roof; I don’t want any
over-spray hitting the sides or the roof at this stage. My tech-
nique of masking twice does use a lot of tape but when cars
are as detailed as these, I don’t take any chances.
I thin the mixed black paint 50/50 with thinners, painting at the
same pressure and distance.
On this job careful masking paid off. There was no bleeding
of paint under the tape anywhere on the model. Some areas
were missed, in particular the front of the coupler boxes, the
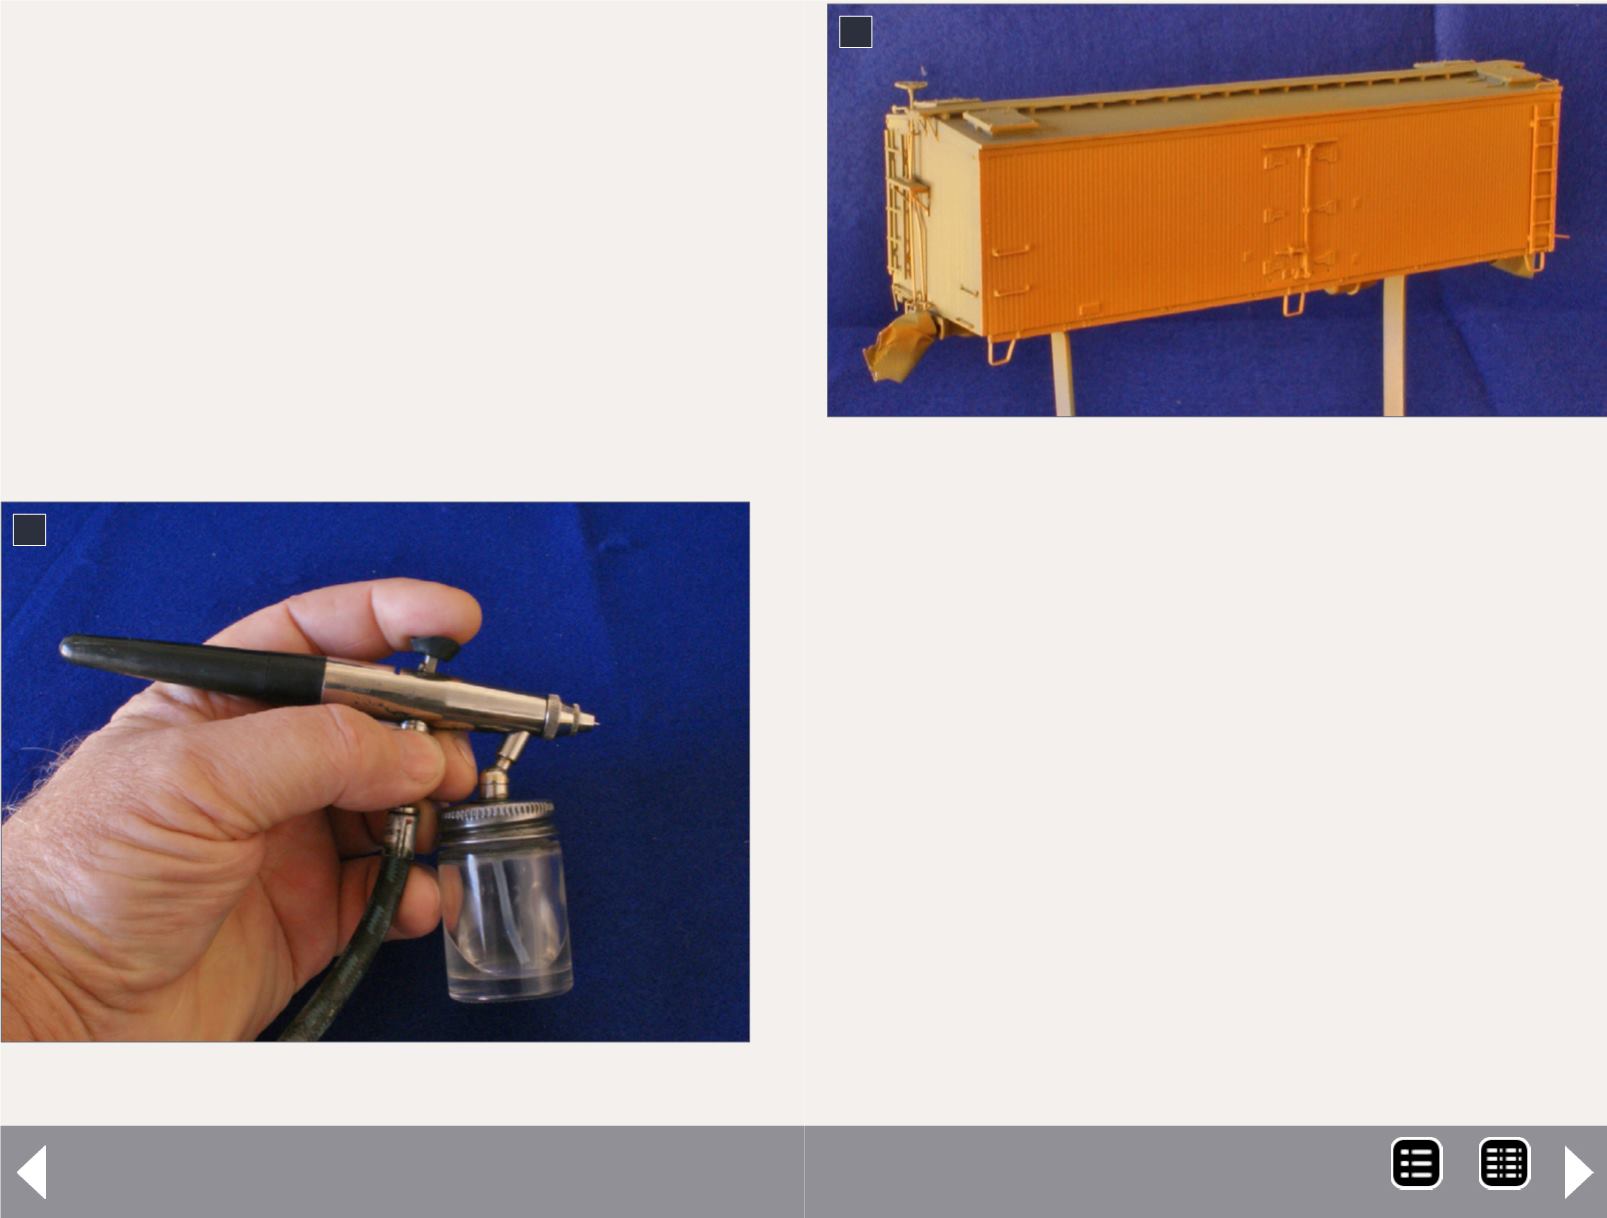
8. Badger Crescendo airbrush.
8
9. Car with the sides painted.
Painting and decaling a resin car - 5
uncoupling lever handles and the side and corner steps. These
were touched up with a brush.
Trucks
Rapido have not yet, at the time of preparing the article,
released their Barber Stabilized S1 trucks as separate items,
but I “borrowed” a pair from a painted but undecorated reefer
I have. These were primed and then painted along with the
underframe. I will use the wheels that came with the truck, but
am waiting for some semi-scale wheels to arrive. These look
much better on detailed resin cars. To paint the wheels I use
Floquil Paint Pens [16] that give good coverage and are easier
to use than a brush.
I leave the wheels out of the truck and paint the faces with
Weathered Black. In my era, the cars had solid bearings as
opposed to roller bearings and the journal boxes were loaded
with waste covered in grease. This migrated to the wheel face.
9
MRH-Dec 2014


