I have not had problems putting lacquer over enamel, provid-
ing the enamel is completely dry and there is no smell left on
the painted surface.
Once the gloss is dry, it is time to apply the decals. In the past
I have had problems with old decals breaking up when trying
to apply them. Now, as a precaution, I use a wide, soft brush
to apply a coat of Microscale Liquid Decal Film over the decal
sheet to be used. You might say once bitten, twice shy. In any
case, decals in these kits are probably not what you are used
to. They’re not like Microscale decals where the decal carrier
film is located close to the design. The carrier sheet on these
decals usually covers the whole sheet and you need to cut out
the decals individually as close to lettering as you can. You will
need a good pair of sharp scissors for this, or a new blade in a
hobby knife.
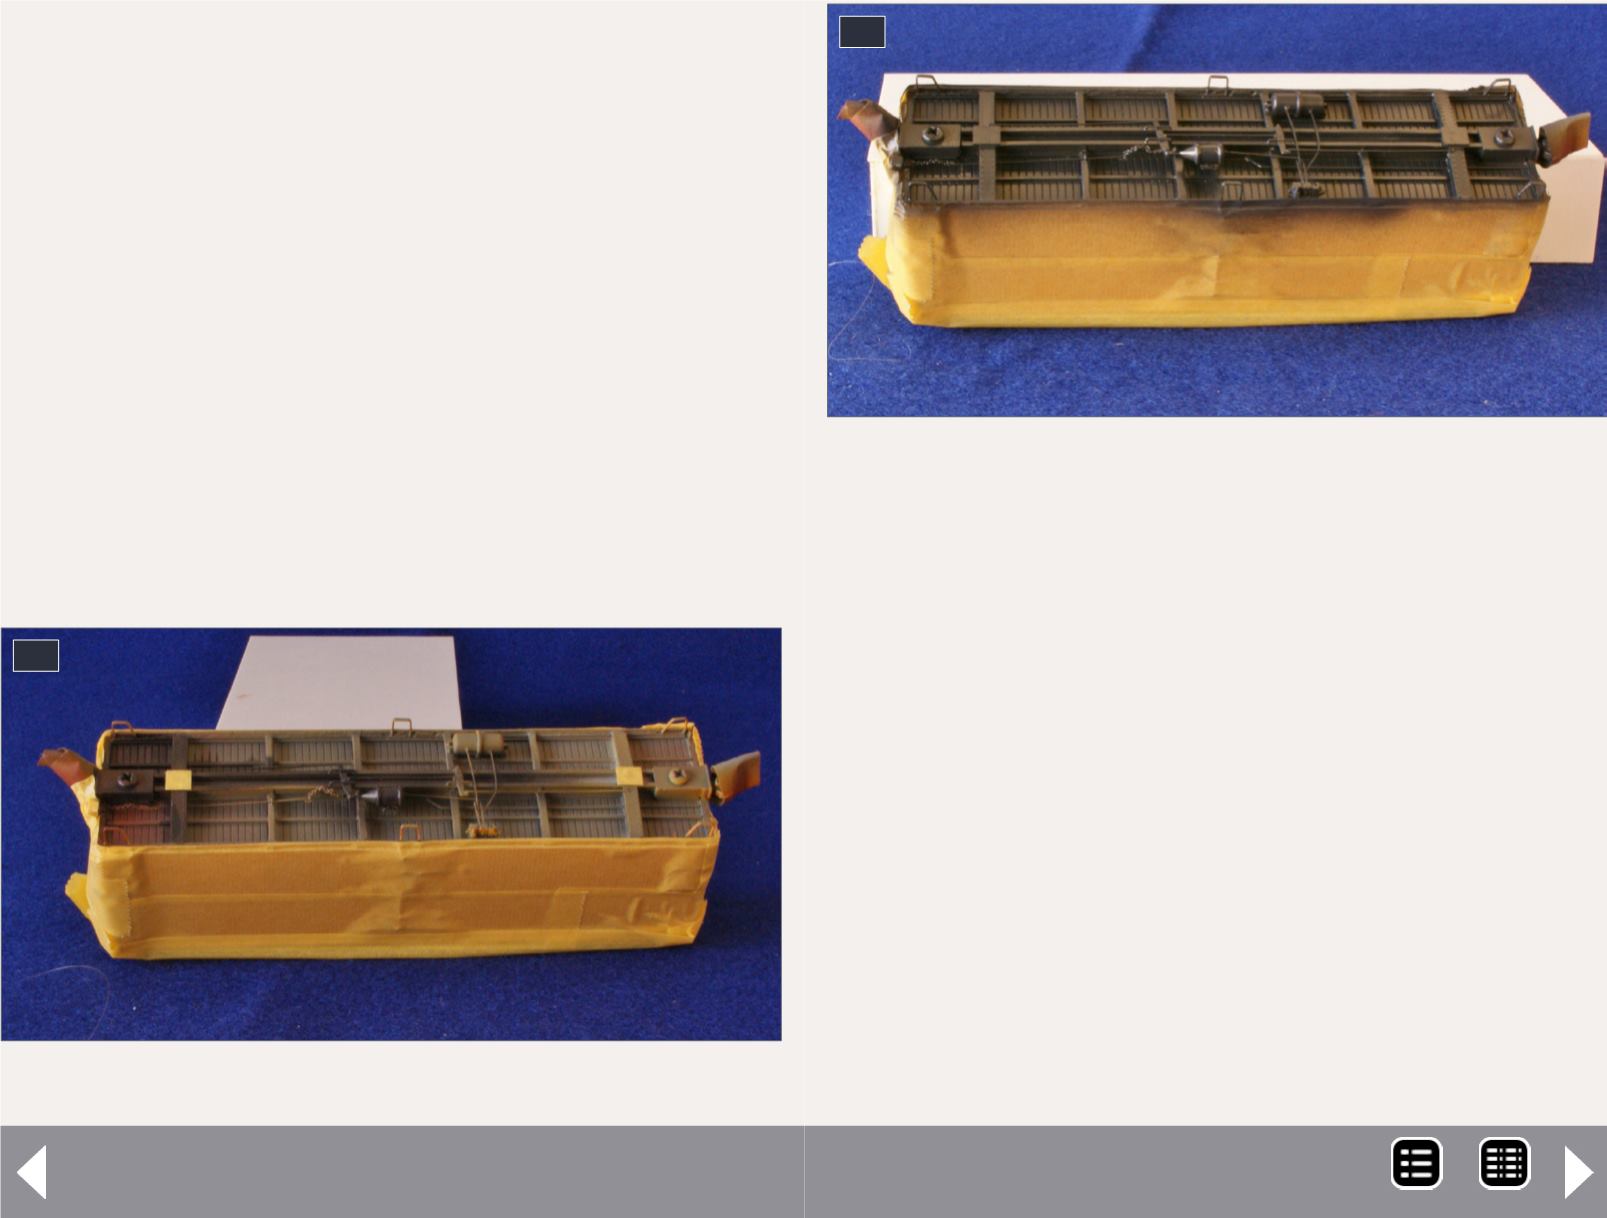
13. Roof and sides masked, underframe ready for paint.
13
14. Underframe painted.
14
Painting and decaling a resin car - 7
For my era I will not be using the large red blocks [17] or the
large “Swift” lettering. These came into being in 1948, after
my modelling period. It is always handy to have a picture of
the prototype car to help with location of lettering and report-
ing marks. I wasn’t able to find one of the 2500 series reefers
but was able to locate one of a similar car. This, along with the
instructions from Sunshine, was good enough to help me posi-
tion the decals.
To apply the decals, I use distilled water in a jar and soak the
cut-out decal for 15 to 20 seconds so that the backing paper
is wet. You will know this when it goes a darker shade. I then
remove the decals and place them on my glass sheet at the
workbench. A foam cradle to hold the car is handy but not
essential. A piece of cloth will do; all you are doing is protecting
the car side opposite to the one you are going to decal first.
Leave the decal damp for a few minutes and then check to see
if it can be moved with a small brush. Pick up the decal and
MRH-Dec 2014


