backing paper with a pair of tweezers. With some water on a
brush, wet down the place where you want to place the decal.
This will help reduce the air bubbles that will form under the
decal; it does not eliminate them. Place the decal where you
want it and slide it off by holding the decal with the back of a
hobby knife and pulling the backing paper out. Some people
put decal setting solution on the car before applying the decal. I
don’t do this because it can be difficult at times to get the decal
in the right place before it starts to react with the setting solu-
tion. In any case, this takes longer to explain than it takes to do.
Setting solutions
You can see in [19] how close the decals are trimmed to the
lettering. The more you leave, the harder it is to get the decal
15. Masking removed to show the color separation.
15
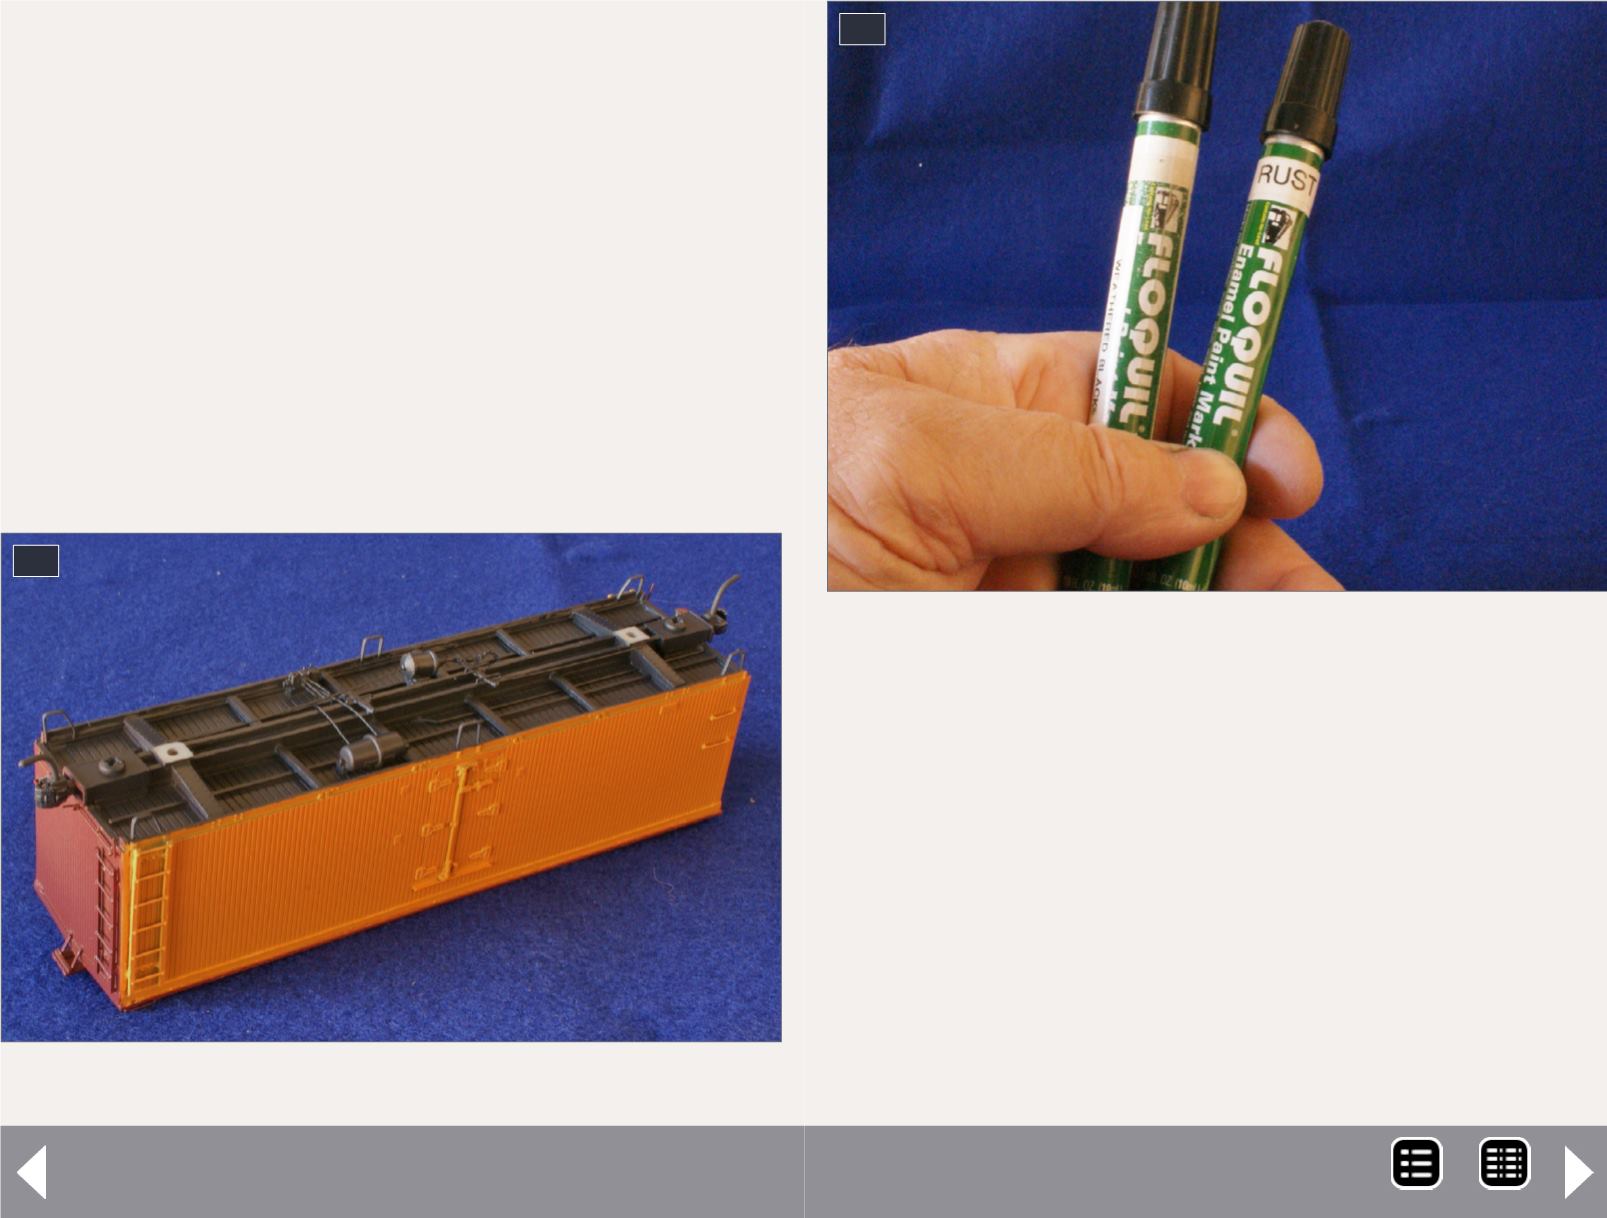
16. Floquil paint pens in Weathered Black and Rust. I
had to relabel the pens because they have been with
me for a while and the color marking has worn off.
16
Painting and decaling a resin car - 8
to settle down on to the details later. Once the decal is posi-
tioned you can use some setting solution on it to help it con-
form to the details of the car. I have both Microscale Decal Set
and Walthers Solvaset on hand; if one doesn’t work well then
the other usually does the trick. Be careful with Solvaset. It is
quite strong and can damage the decal if you are not careful. I
start off with the Microscale and if it is having trouble settling
the decals then I try the Solvaset.
No matter what solution you use, you may find that nothing
would help to settle down the decals between the board lines
MRH-Dec 2014


