When I do the top coats I set up a workbench next to the door
of the garage, where the compressor and airbrush are. I don’t
have a proper spray booth with an extraction fan, and all the
painting is done outside. Gloves, eye protection and an air fil-
ter/respirator take care of any potential problems.
Masking off
Now it’s time to mask for the roof and ends. I use Tamiya tape,
which is available in a number of sizes with its own dispenser.
It is a low-tack tape which does not remove paint or details,
especially if it is cut into strips on a sheet of glass. Apply the
tape in thin strips in those places where the details are close to
the end or sides, such as the ladders and the grab irons.
Because the tape is a yellow-orange color I have adjusted the
exposure on [10] to make the tape stand out. Here you can see
what you need to do with thin strips to mask around the detail
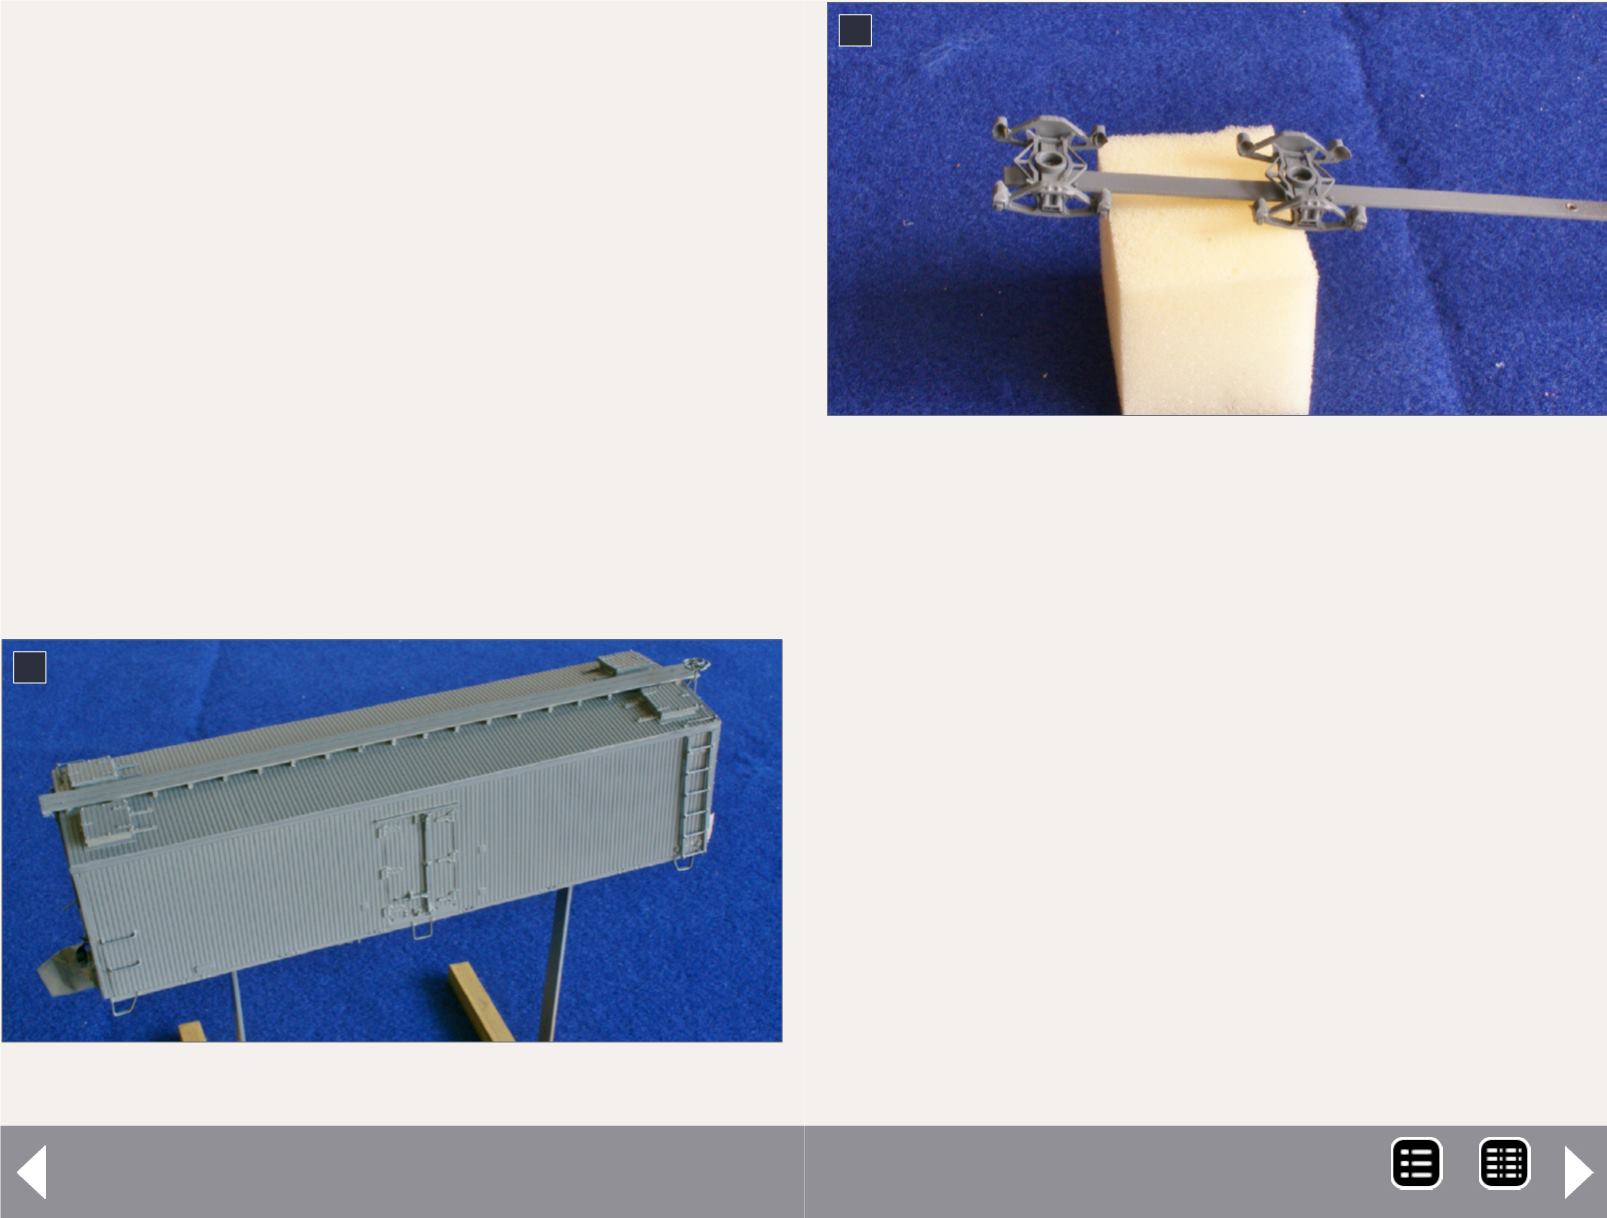
6. Body of the car primed.
6
7. Trucks primed.
7
Painting and decaling a resin car - 4
parts. This is so the tape can be removed later without causing
damage. Finish off the masking using the wide strips from the
tape reel [11].
Now spray the roof and the ends Boxcar Red. Some people
like to spray the tape edge with the last color used to prevent
bleeding. I have not needed to on most occasions. I have had
some over-spray creep under the masking tape once or twice
in my painting efforts but it is easy to remove with some thin-
ner, rubbing gently with a cotton swab while it is still fresh. I
remove the tape after about an hour or two. Waiting for the
paint to dry only hardens the bond between the tape and the
paint. I would rather remove it now and re-mask, rather than
have the tape bond too hard to the surface.
Wait for the red to dry before masking these areas for the
underframe to be painted black. I use a 50/50 mix of Floquil
Engine Black and Weathered Black. This gives a slightly
MRH-Dec 2014


