Maintenance flags - 5
A combination of the yellow flag over the red flag indicates to
the train crew that a slow order is in effect and that a stop will be
required. These flags are one piece and are generally the same
size as other flags used on the railway. Yellow-over-red flags are
always placed on the right side of the track. As with the red and
yellow flags, yellow-over-red flags must be published in GBO and
in DOB [6 and 14]. See rule 842 in the sidebar.
Green flags indicate that a train may resume normal operating
speed for the track that is being used and are always placed on
the right side of the track. (Note: Some railways used a white
flag in earlier eras to designate that a train could resume normal
operating speed.) See Rules 843 and 845 in the sidebar [13].
Rather than waste my brass wire (I live in a hobby shop-void
area) I use the excess wire I clip off LEDs and resistors to
make my flags. The resistor wire is a little stronger and round,
whereas the LED wire is somewhat weaker and square. The dif-
ference in wire profile is really not noticeable in HO scale once
the flags are placed on the layout. I’ve used colored 24-pound
paper for my flags that would be rail-mounted and styrene for
signs that would be mounted on a central stake to a tie, and for
the trackside signs. One strip of paper, or styrene, makes lots of
flags which you can then share with your modeling friends [7].
To make blue or red paper flags, start by carefully cutting a
scale 12 inch strip off a sheet of blue paper. (Note – I used yel-
low paper in the photos so the paper would show up against
the blue cutting mat.) Tape this strip to your cutting mat and
carefully align your scale rule or use an inch scale along the
strip of paper. Mark off every 36” with a sharp pencil. This is
the line you use as a guide when gluing your wires to the paper
strip [8].
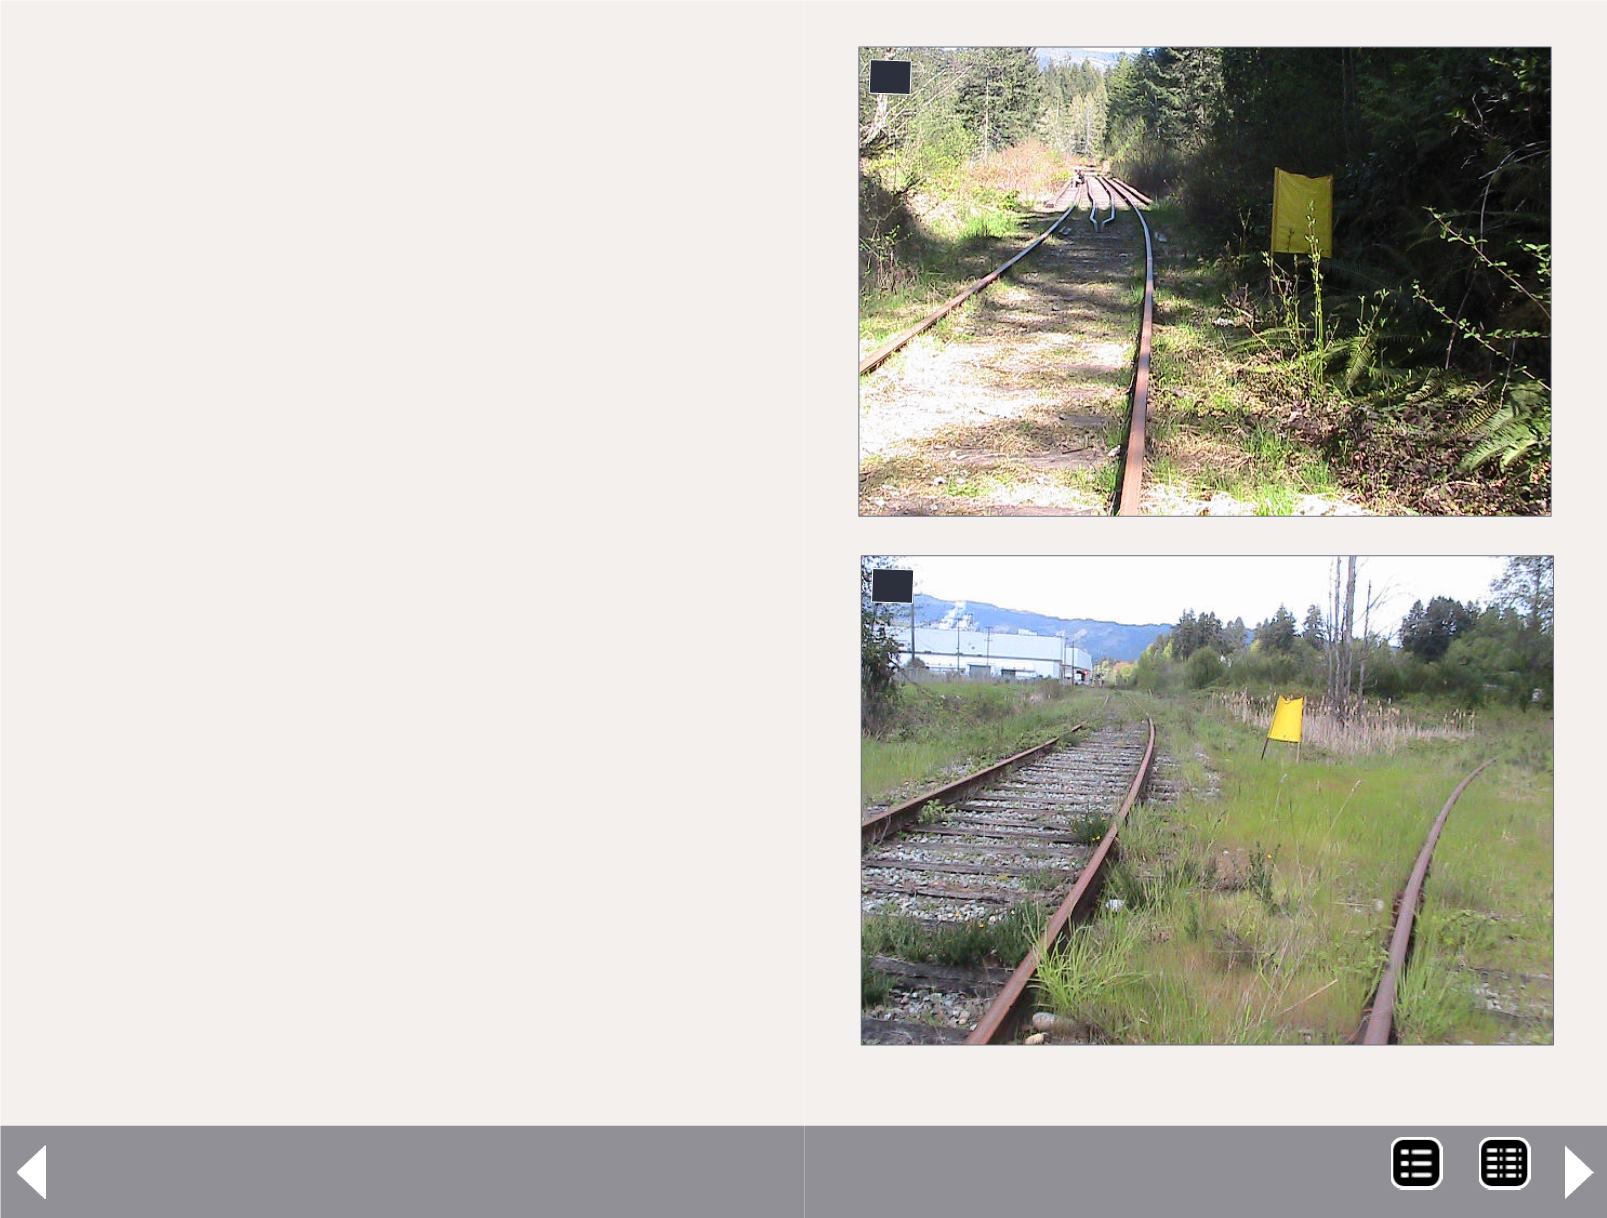
6a
6b
6a-6b. Prototype yellow flags.
MRH-Dec 2014


