on the model. This will show up as a white line behind the
decal where it has not settled down. The solution to this is to
slice them ever so gently with a hobby knife down the length
of the board through the decal. I don’t use a sharp blade for
this as it can wander if you are not careful. Use a used blade,
not one that is blunt, but just not that new. The rest is a simple
matter of repetition. Take your time and position the decals
where you want them. The same applies to the ends of the car.
Once the car is completely decaled and dry, it is time to put on
another over-spray, this time of Dullcote or another flat finish.
This helps to hide the edge of the decal film and makes the let-
tering and heralds blend in to the sides and ends of the car. It is
also helpful in giving the finish some “tooth” for weathering.
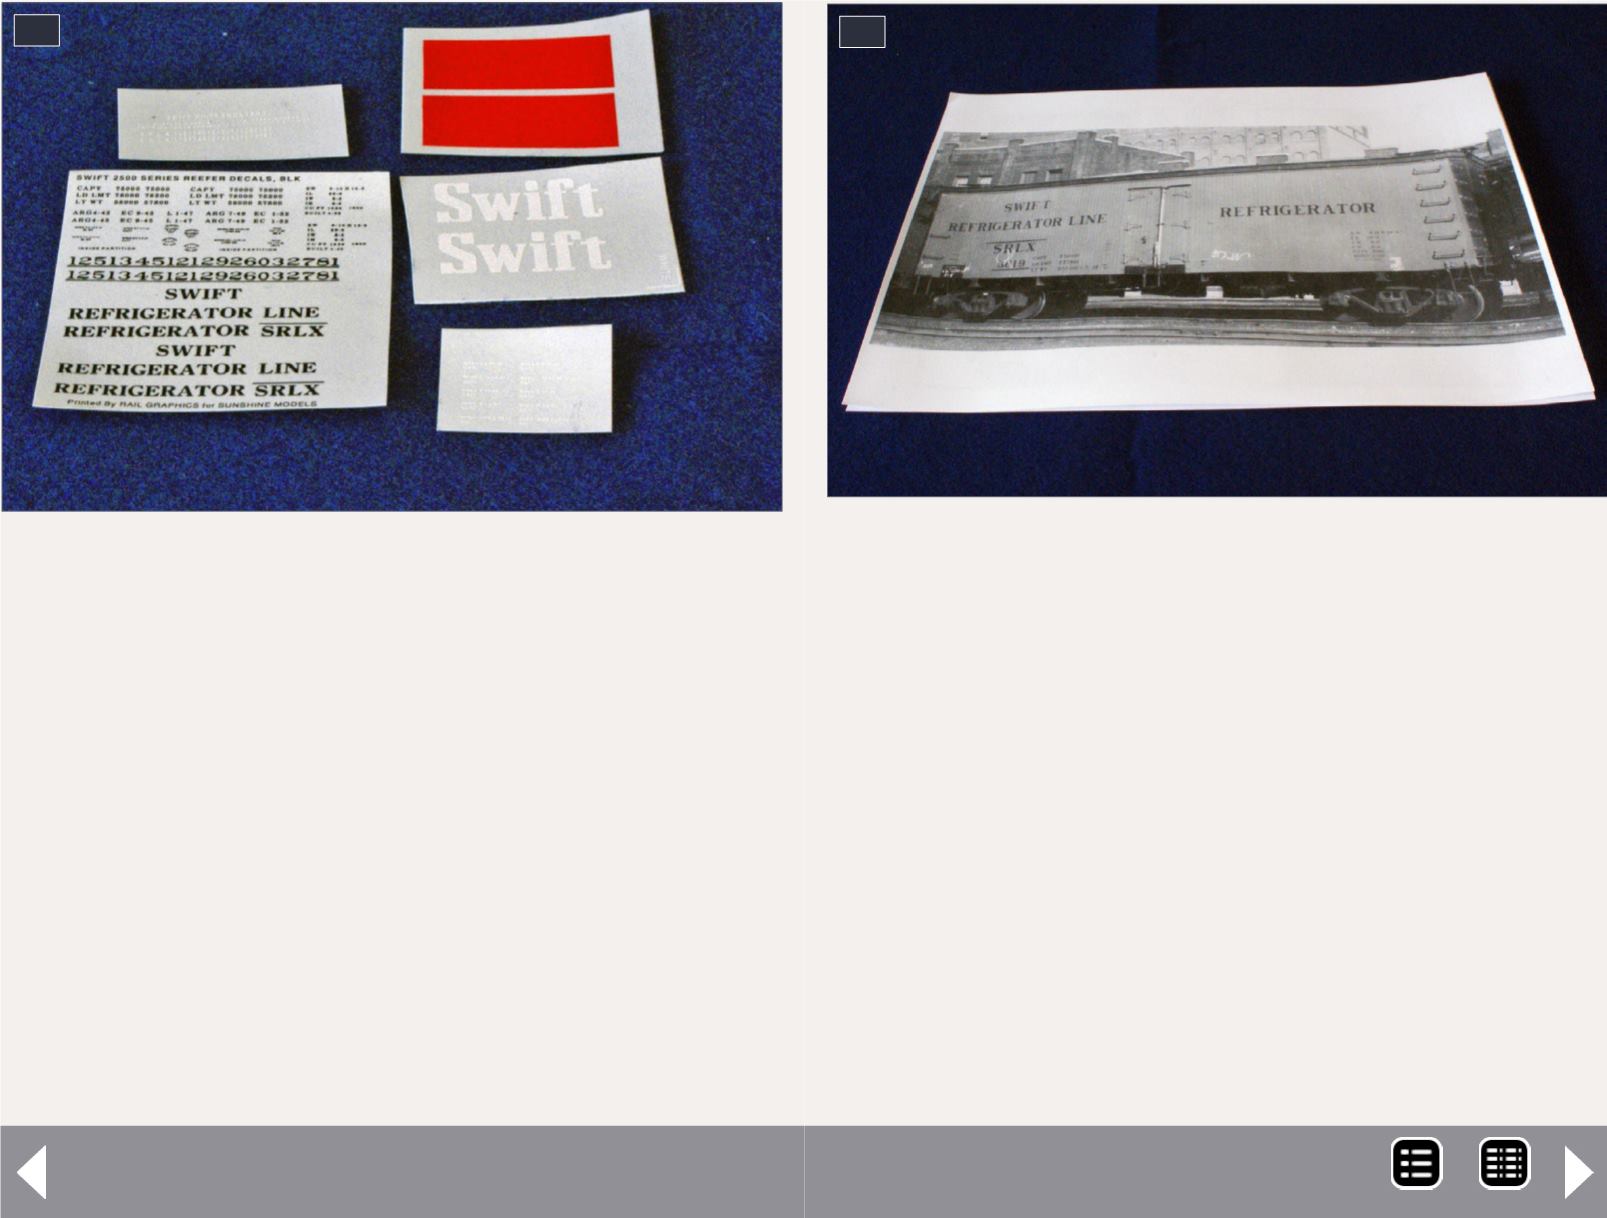
17. The decal sheets supplied with the kit.
17
18. The photo of the prototype.
18
Painting and decaling a resin car - 9
Once Dullcote has been applied and has dried, it is time to do
some basic weathering. For me, a little grime on the roof and
down the sides of the car simulates soot from the steam loco-
motive exhausts at the time. Some earth coloring along the
bottom of the car and the ends simulates the dust and earth
that is thrown up under the car. Once that is completed it is
time to re-assemble the car.
The centering hole in the Rapido truck bolster was too large for
the 2-56 screw that I use to secure the truck to the underframe.
My solution was a piece of 1/8” plastic tube drilled out with a
tap clearance drill and mounted as a sleeve in the truck center-
ing hole. You can see the finished item in [22]. It is essential for
future operation that the truck spins freely on the mounting,
otherwise you will have trouble with the car tracking.
MRH-Dec 2014


