14. Using Tamiya clear red paint to color the clear EOT
lens red. I painted the inside bottom, plus at the top. I
did not paint the lens exterior.
14
15. The interior after being painted gray. The areas
around the electrical contacts that had been taped off
were hand-painted gray. The circuit board on the roof
was later removed.
15
Extended-vision caboose - 7
Don’t paint the outside of the lens where you’ll be looking at
it – build up the paint on the inside in small layers. It took three
coats before it reached the density I was looking for. With all
the interior pieces painted, I glued them in place using cyano-
acrylate (CA) glue [15] and [16]. Now I turned to installing the
new LEDs. Also before wiring, I painted the areas around the
electrical contacts.
Lighting and electronics
Don’t be afraid of electronics. Bruce Petrarca’s “DCC Impulses
Column” and the forums on
Model Railroad Hobbyist’s
web-
site are very helpful. I asked my fair share of questions on the
forum, and those who responded were very helpful and kind.
One slide switch, one bridge rectifier, one capacitor, one
diode, two potentiometers, three resistors, and five LEDs are
all it took to build the circuit. Fellow MRH forum user Ken
Klipple drew and posted the initial schematic. I modified it to
show how I wired the lighting. [17] shows the circuit used for
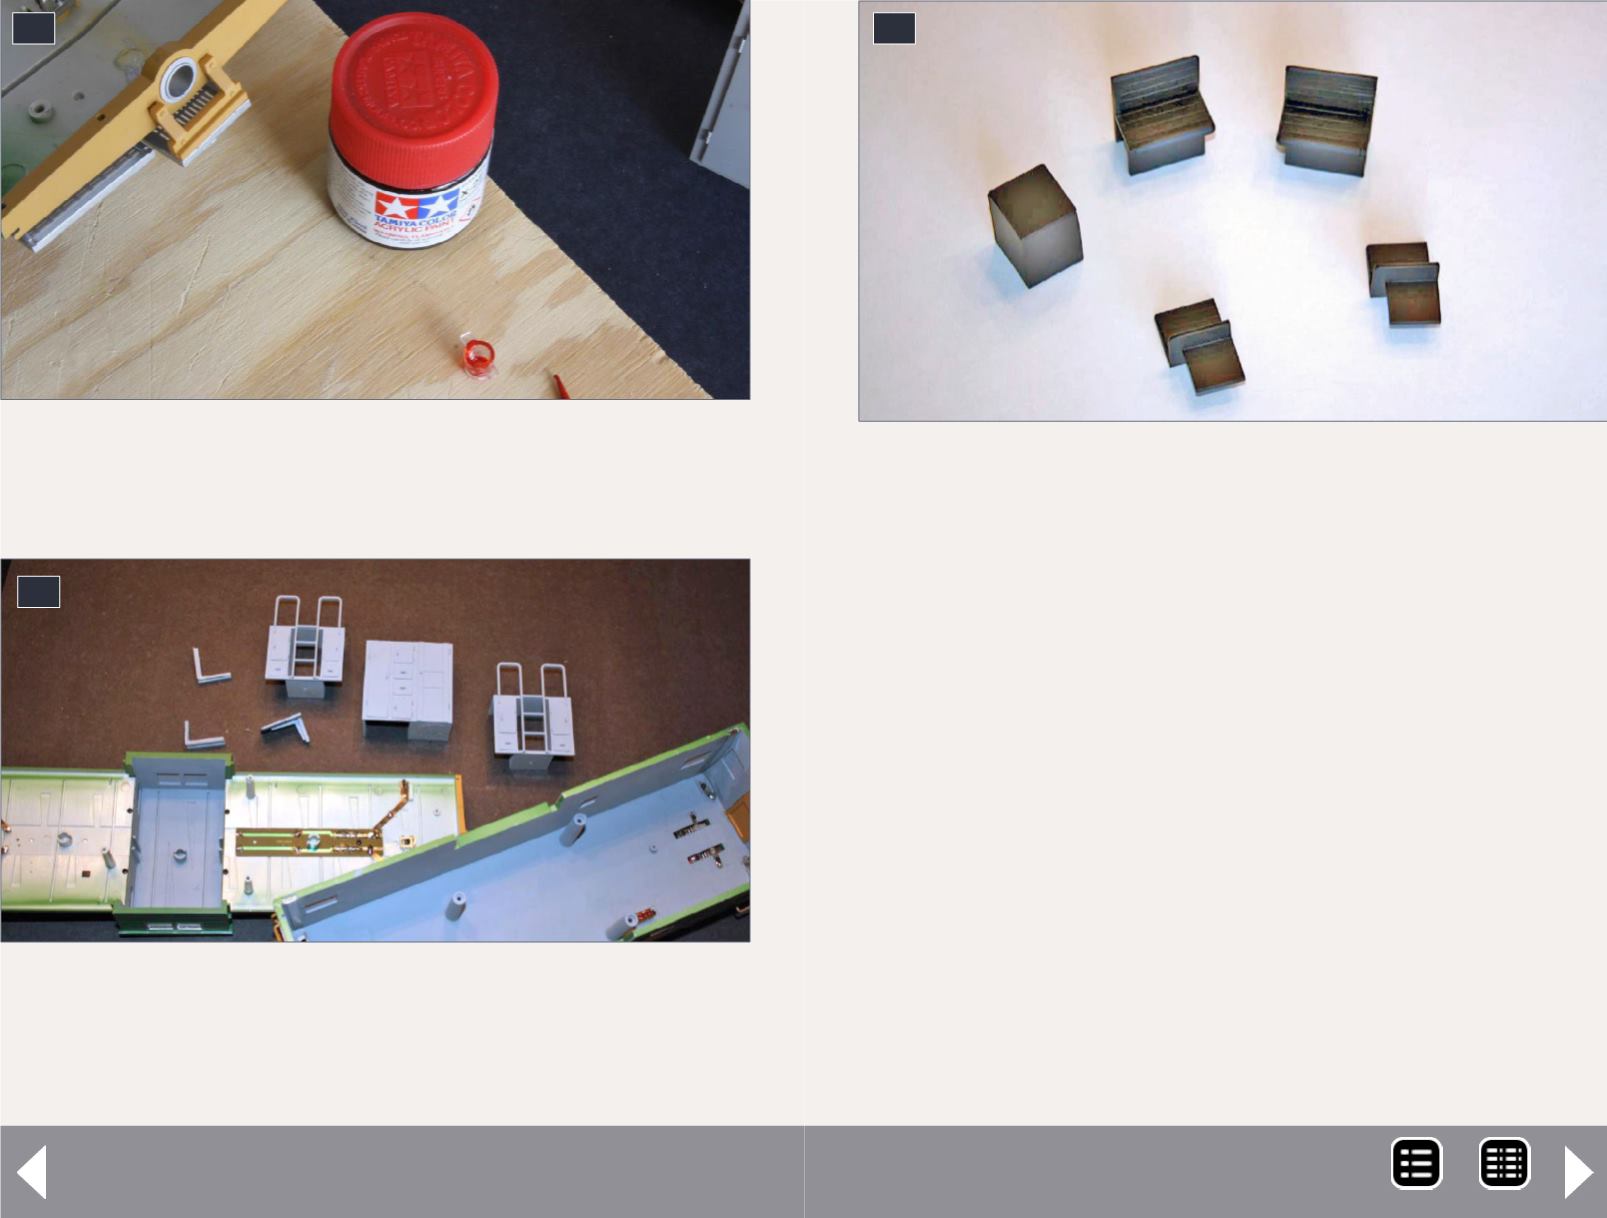
16. Chairs and stove painted black.
16
MRH-Nov 2014


