One YouTube video artist recommended using Caucasian flesh
color for the primer. Another recommended using light gray.
I chose light gray. It will show through a bit after the figure is
painted, but this will add highlights to the figure. I dry-brushed
the figures. With dry-brushing, the goal of this is to have only
a little paint on the brush. It allows you to build up the paint in
layers rather than having thick coats.
I washed the figures in warm soapy water, then airbrushed
a primer coat. Next I painted the eyes white. After the eyes
dried, I used a fine brush to add tiny black dots for pupils.
Place the pupils in the center of the eye, or off-center if your
figure is looking to one side. The next step was to paint all the
exposed flesh (face, neck, hands, etc.). I used red paint for
the lips, but it was too bright. I went back and dry-brushed
the flesh color very lightly, this helped tone-down the lips. For
the hair and clothes I dry-brushed the main color, then added
some lighter and darker colors for highlights.
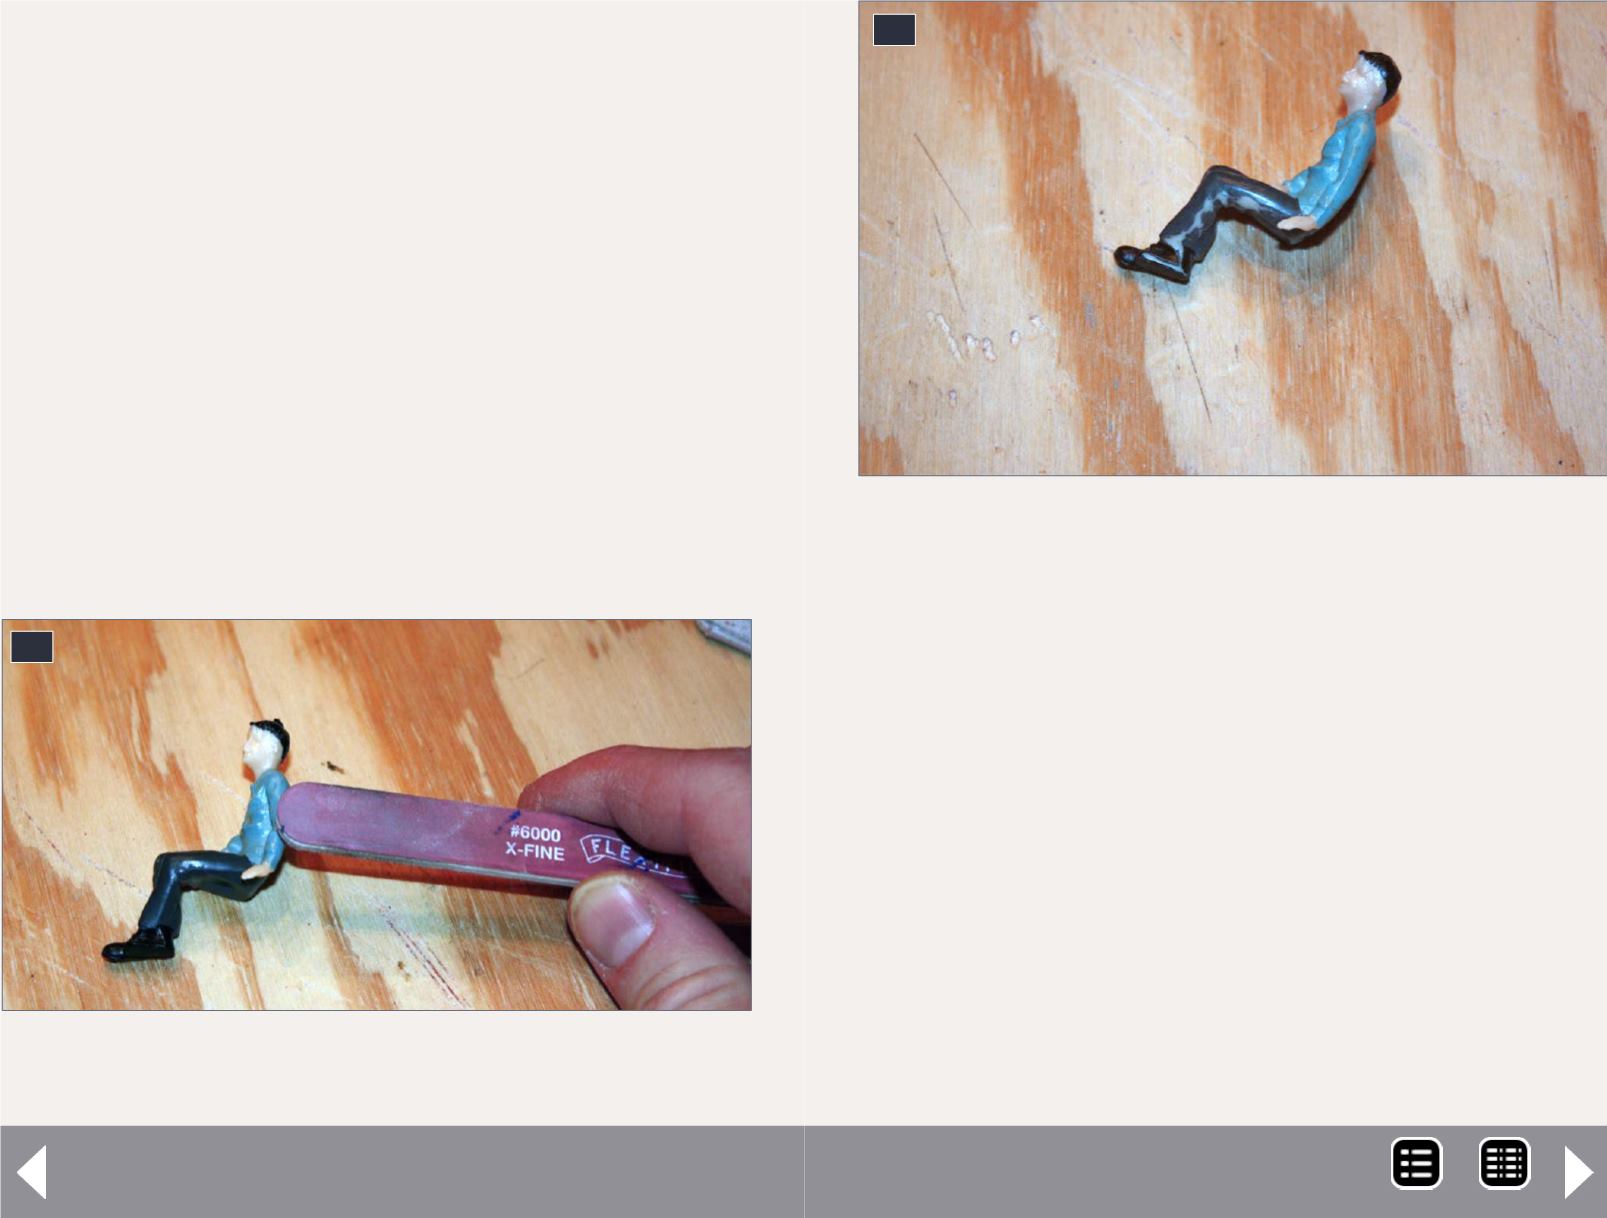
35. Using a sanding stick to remove molding lines on
arms and legs.
35
Extended-vision caboose - 15
After all the painting was complete, I airbrushed the figures
with a flat clear overspray. [40] shows the painted figures. Have
fun painting the figures. If you don’t like the way they look, you
can always start over.
Windows
I didn’t glue the figures into the caboose yet. The original win-
dows were fogged, so I replaced them. I carefully pushed each
window out from the inside. The silver frame around each
window holds it in. The frame is held in place by a pins in each
corner. No matter how careful you are, these pins are bound to
break [41].
After all frames and windows were removed, I gently put
them back in. Why did I not replace them with clear styrene?
36. The sanding is complete and the figure is ready to
be repainted.
36
MRH-Nov 2014


