Burlington Northern cabooses. There are lots of great websites
for doing this, such as Google, Flickr,
,
and
.
I already have most of the standard tools needed for model
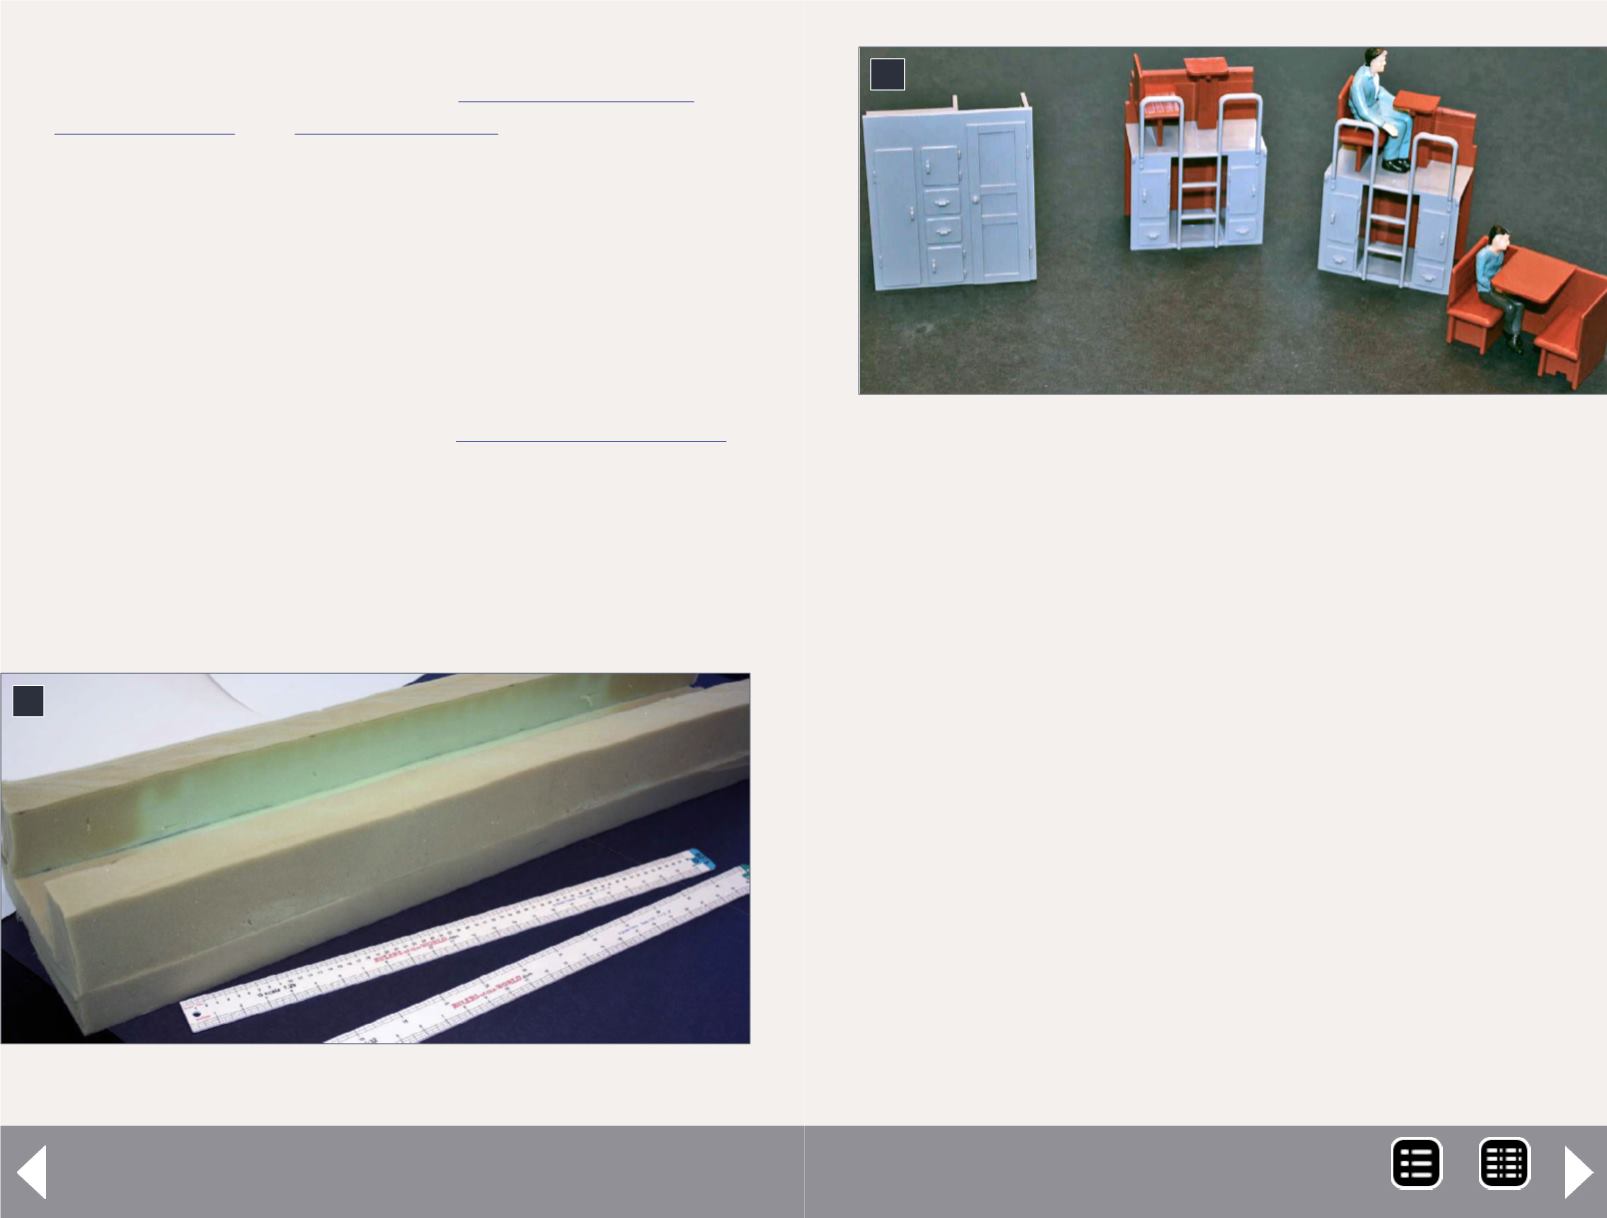
railroading, but realized I lacked a few things. One was a foam
cradle for holding locomotives or rolling stock while working on
them. I went to a craft store and purchased a piece of foam 2”
thick. I cut the bottom a little longer and wider than my larg-
est locomotive. I then cut the sides to be halfway up the sides
of the locomotive. I used Woodland Scenics Foam Tack Glue
to glue the cradle together. I also realized I didn’t have scale
rulers. After a Google search I found
where I purchased 1:29 and 1:32 scale rulers. These rulers are
made from 0.060” or .10” plastic, and come in various lengths.
They work great for measuring, but I still turn to a metal ruler
as a guide for cutting things [3].
3. Homemade foam cradle and scale rulers.
3
Extended-vision caboose - 3
After looking at photos of extended-vision caboose interiors,
I noticed a few common things. These are the upper-level
viewing area, a chair and table, and a stove. I turned to eBay
to see about caboose interiors, and found some LGB interior
parts that would work [4]. I even picked up a few people to
put in the caboose. As for the stove, I couldn’t find anything
that matched what I was looking for; the stoves in the pictures
appeared to be black rectangles. I decided to scratchbuild one
from styrene.
Disassembly
After forming a plan to detail the interior, I took the caboose
apart. I placed it in the foam cradle with the bottom side
up. [5] shows the screws that need to be removed. With the
screws out, I removed the caboose from the cradle and placed
it on a flat surface right-side-up. Next I removed the end plat-
form, ladder, and details. I started by gently pulling up the end
ladders and moving them to clear the rooftop [6]. The rest of
the details are held in place by three small plastic pins located
4. Interior pieces and figures.
4
MRH-Nov 2014


