Interior details
First I prepared the interior for painting. The walls appeared to
be primer-gray in the photos I looked at. [9] shows the interior
pieces in their respective places as I was test-fitting everything.
Before masking the exterior for painting, I wiped it down with
window cleaner and paper towels. Normally one washes parts
with warm soapy water to remove fingerprints and oil, but
I wasn’t removing the trucks so I used the window cleaner
method. I masked the exterior with tape and newspaper [10].
The cupola is held to the roof by four small screws. I removed
it and painted the interior. I didn’t bother masking of the inside
of the windows, because the original panes were fogged, and I
replaced them (more on this later).
I changed some of the interior detail pieces. I used a small
hand saw and an X-Acto knife to cut the chairs and tables free
from their sprues, then sanded these pieces smooth with
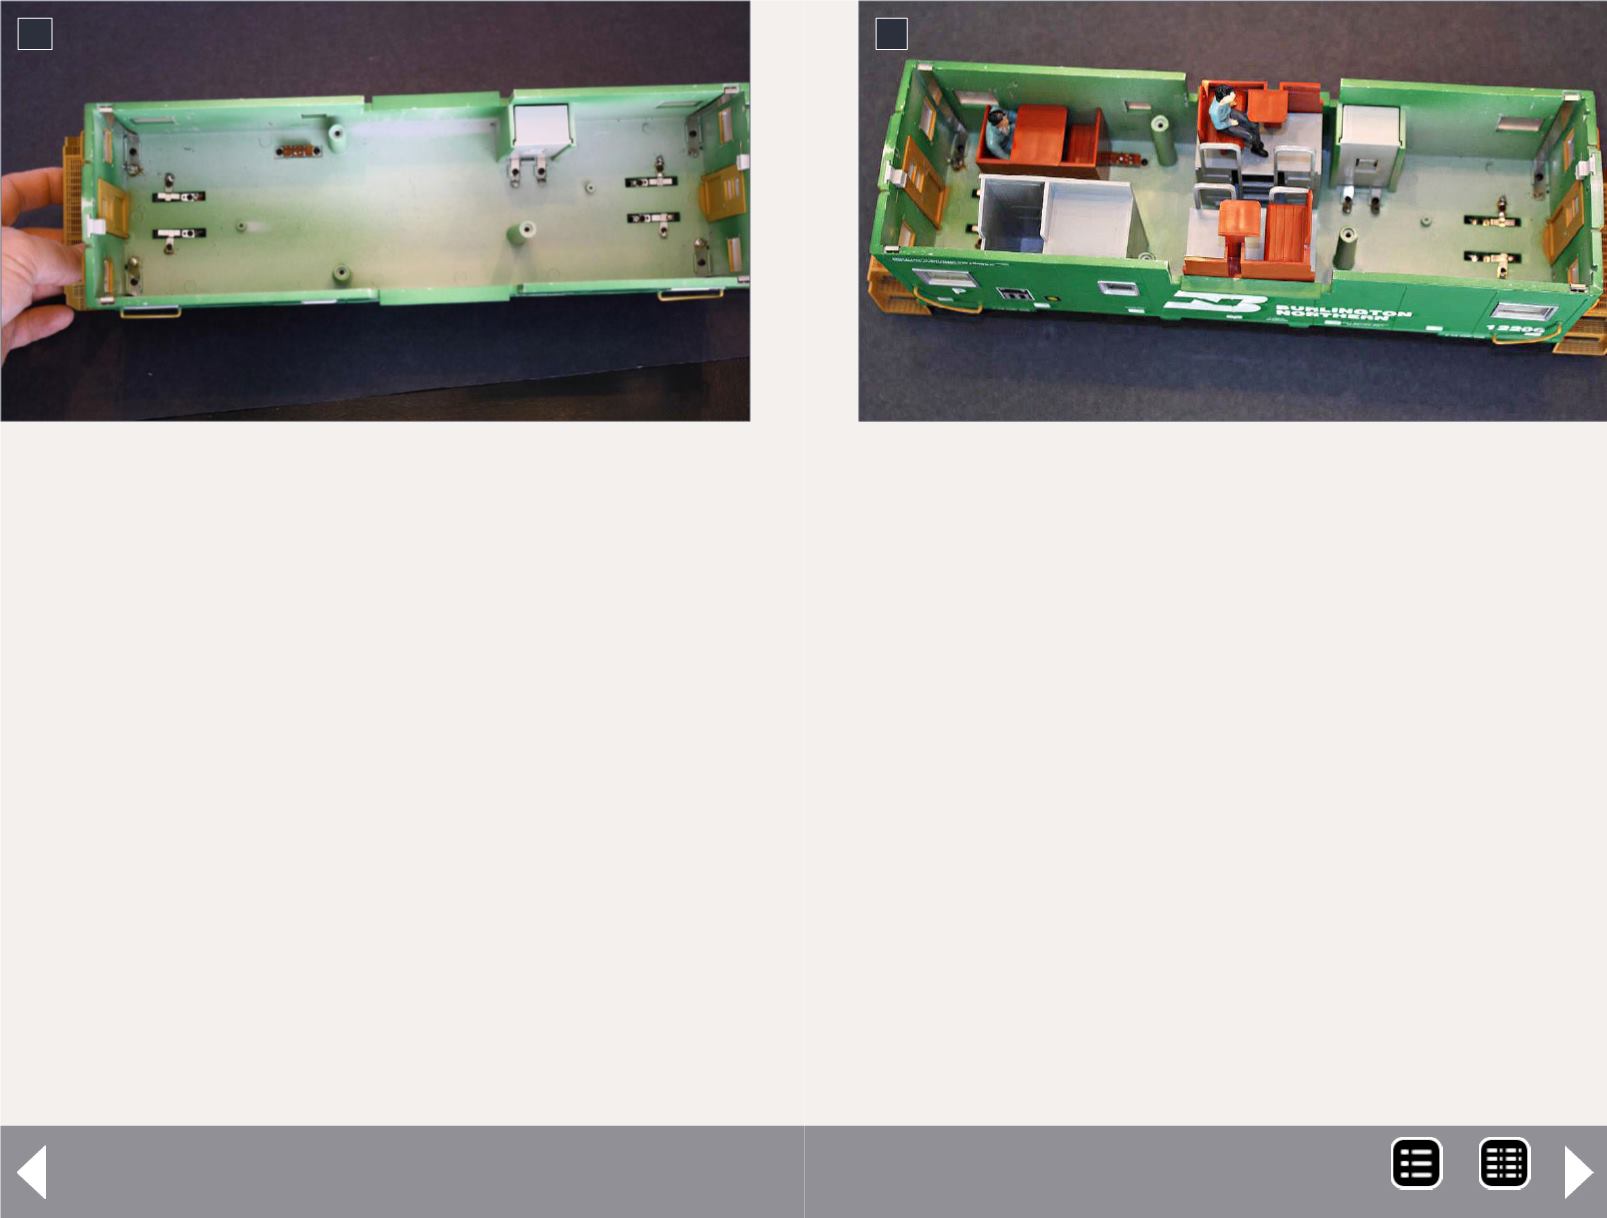
8. The interior of the caboose. The manufacturer’s
electronics were removed prior to this photo.
8
Extended-vision caboose - 5
9
9. Test-fitting the interior pieces.
coarse and fine sanding sticks. [11] shows the tools used and
the detail pieces after cutting them from their sprues. I made
an airbrushing jig from clothespins and a block of wood [12]
and [13], as described in Pelle Soeborg’s books “Done in a Day”
and “Detailing Projects for Freight Cars and Locomotives.”
I built the stove to 1:29 scale from sheet styrene. It is 2’ wide
by 3’ high. This looked close to the real-life pictures. I first
marked the dimensions on the styrene, then carefully scored a
line with a sharp X-Acto knife, using a metal ruler as a guide. I
cleaned up the edges with sanding sticks. I glued the four sides
together with liquid styrene cement, then measured and cut
the top, and glued that in place.
While the paint was drying on the interior and detail parts, I
removed the end-of-train (EOT) lens and painted it red. The
clear lens was easy to push from inward from the outside. I
used Tamiya clear red paint on a toothpick to put a tiny bit on
the inside and at the top of the lens [14].
MRH-Nov 2014


