farther forward than a standard SD45. Follow photos to glue
the air tanks in the right position.
The moisture ejectors on the rear of the air tanks are fragile
and can be easily broken off. To make them stronger, drill #80
holes and insert pieces of .010” wire as shown in [29]. Next
trim off the pieces of wire so they are flush. In this photo you
will also see the truck air cutoffs from the Details West detail
kit. One of these is glued above each truck with the front one
under the right side sill and the rear under the left. I found
these parts to be quite fragile and accidentally broke them off
several times. Eventually I decided to leave them off so you will
not see them in later photos.
Add the air filters from the Details West detail kit. Shorten the
smaller filter as shown in [30], drill a #79 hole in the top, and
make a new mounting pin from a short length of .012” brass
wire. I tried using the air piping from the detail kit as well but,
did not have much luck with it. I decided to bend the air piping
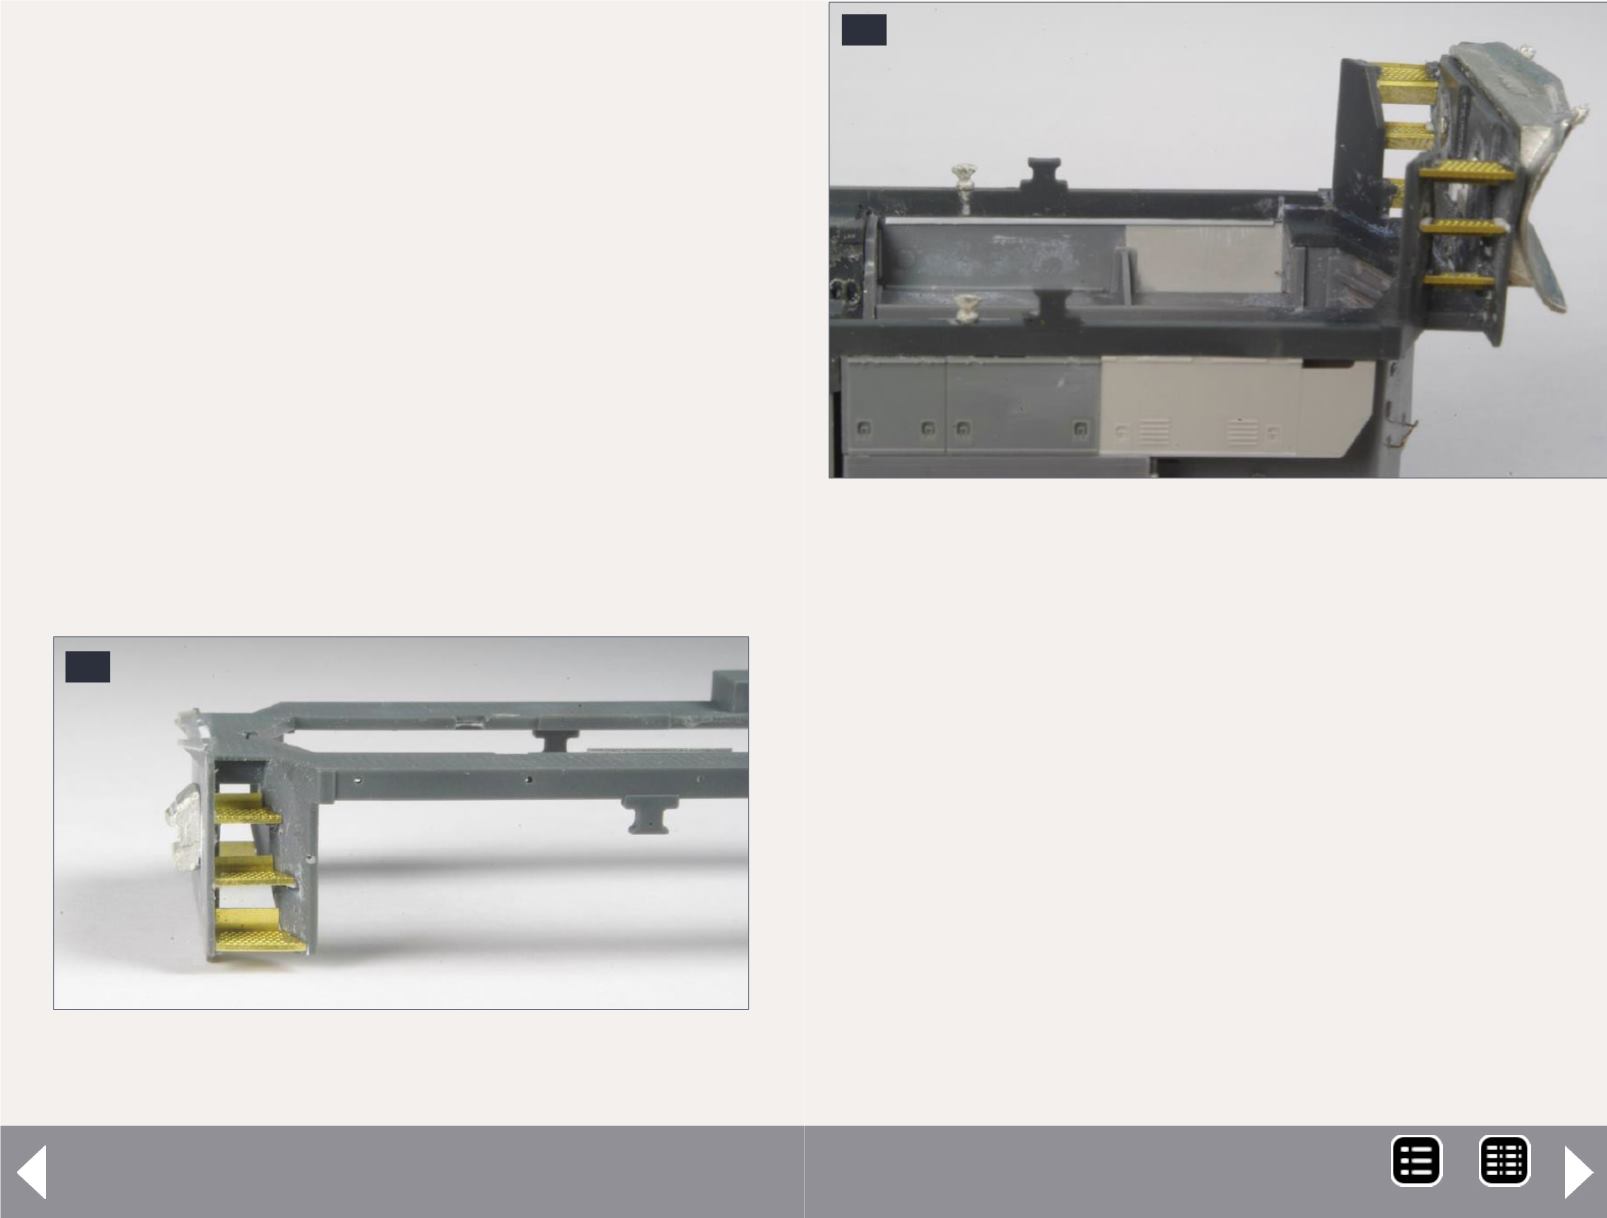
27
27. Cannon steps and Details West buffer plate
installed.
Pan-Am Railways SD45R - 13
28
28. Underside view showing reinforcing strip between
cab sub-base and sill unit.
from .015” brass wire instead. Use either method to install the
air piping on your model.
Figure [31] shows the pilot details. Drill two #52 holes in the
front pilot .175” from the bottom and .460” apart for mounting
the plow. Take one plow from the Details West SD45 detail kit
and file off the MU hose doors. Drill four #80 holes in the top of
the plow, bend two grab irons using .008” brass wire, and glue
them in place. Drill a hole in the plow for the Details West 267
brake hose and glue it in place.
I used Details West 295 for the front MU hoses. These are four-
hose clusters; if you remove the largest hose, it gives you a
three-cluster set of long MU hoses. This is perfect when you
are modeling MU hoses which feed through a plow as on this
model. Glue the MU hoses in place, bend them so they stick
MRH-Oct 2014


