If you choose to use the Details West scale coupler buffer
plates. you will have to fill part of the hole for the coupler box.
If you decide to stay with the Proto 2000 coupler boxes, you
will not need to make these modifications. Cut four pieces of
.030x.060” styrene strip .140” long and glue to the sides of the
coupler box holes. Remove .025” from the top of the coupler
box opening. Install the Details West coupler buffer plates.
Install the Cannon anticlimbers.
Assembling the shell
25
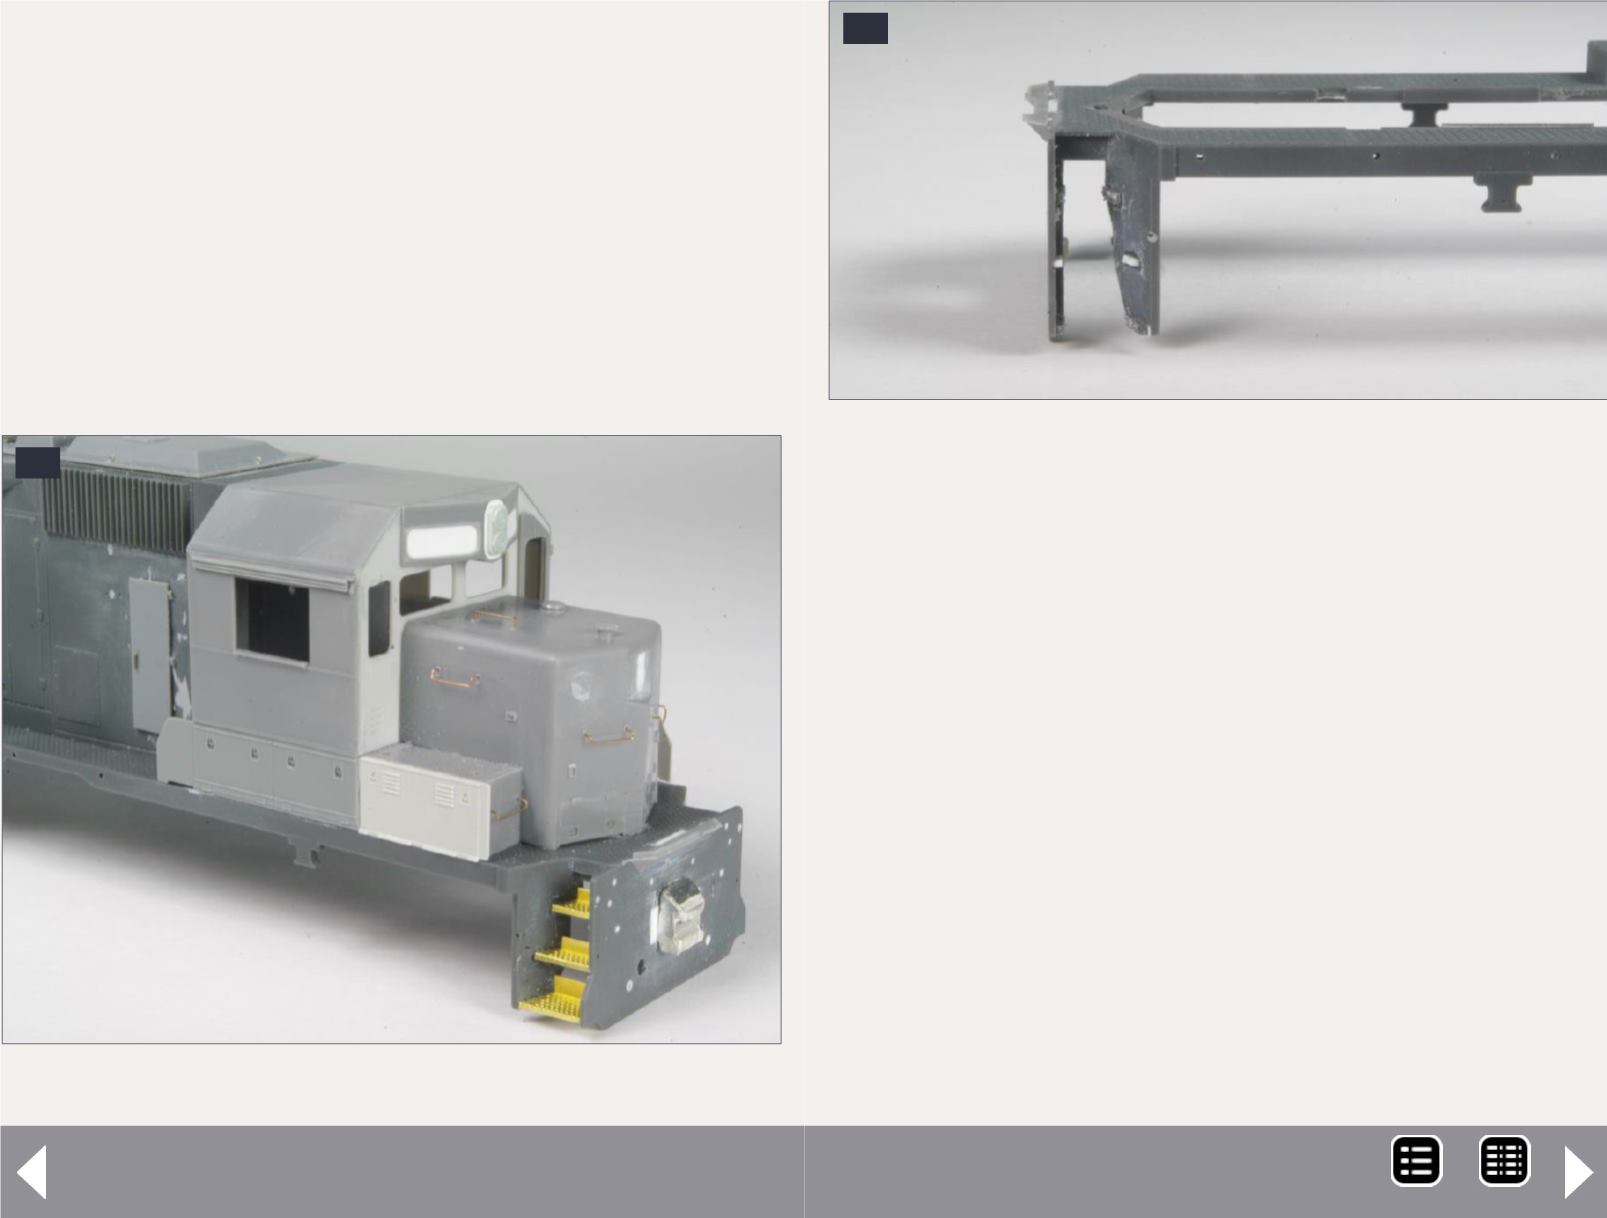
25. Cab and short hood right side view.
Pan-Am Railways SD45R - 12
26
26. Sill unit with steps removed and Cannon
anticlimber installed.
Now it is time to start joining the sub-assemblies to complete
the shell. First attach the long hood to the sill unit. The small
tabs will hold the two parts together, but I suggest you also
glue them. Next I attached the cab and short hood assembly to
the long hood and sill unit. Glue pieces of .020” styrene rod in
the joint between the cab sub-base and sill unit to strengthen
the joint as shown in [28].
Assemble the Cannon air tanks and drill the ends with a #73
drill bit. The Cannon instructions specify the side sill should be
.055” thick, so build up the area where the air tanks will mount
using a strip of
.010”x.010” styrene on the right side and .010”x.040”on the
left. Also, you will have to file the top of the right-hand air
tank a bit so it will fit in place properly. This is due to the
Proto 2000 walkways being thicker than what the air tanks
were designed for. Note the air tanks on this model are
MRH-Oct 2014


