number boards. Cut a piece of .05” styrene to .140”x.250”,
round the corners with a file or sandpaper, and glue it in
place between the number boards. Glue a Detail Associates
1003 headlight on top of that. Once the glue is dry, drill out
the headlights with a 1/16” bit. Glue on the sunshade tracks
from the Cannon cab kit and drill #76 holes for the windshield
wipers.
The cab sub-base has several doors that were unique to the
Southern Pacific. When you are assembling the Cannon cab
sub-base kit, substitute doors 1 and 6 from Cannon 1203 and
the other doors from Hi Tech Details. Once again the Hi Tech
Details package has several different parts and no instruc-
tions; select the longer doors and test fit the parts before glu-
ing them. When you are assembling the doors note the tops
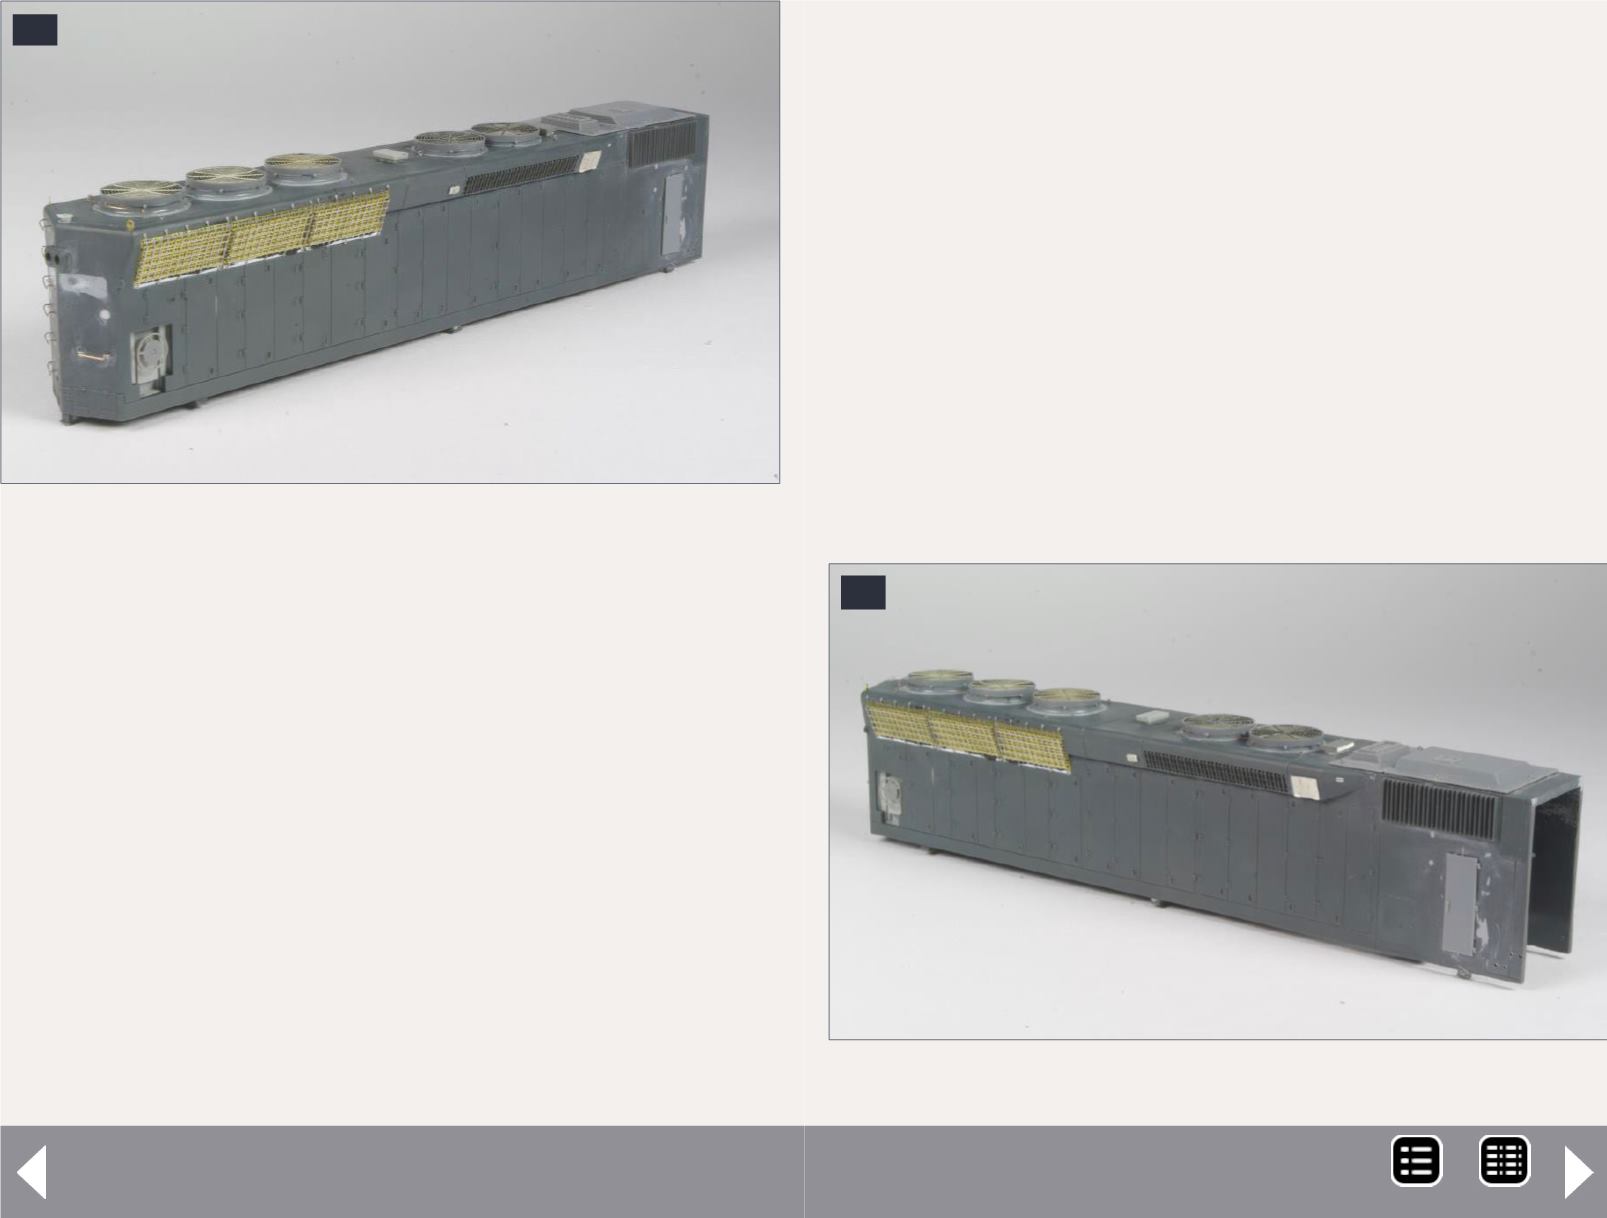
21. Completed long hood right rear view.
21
Pan-Am Railways SD45R - 10
22
22. Completed long hood right front view.
should line up but the bottoms do not. Drill #80 holes for grab
iron on the front of the right sub base.
Moving on to assembly of the short hood, select the left side
with no brake wheel or hand brake. Build up the inside of the
front of the nose with .020”x.080” styrene strip as seen in [24].
Once the glue dries, file a notch in the top front of the short
hood that is .250” high and .200” wide. The bottom of the
notch should be tapered, and the top curved as seen in [23
and 25]. At this point I also removed the classification lights by
applying putty and sanding until the area was smooth.
Drill a #64 hole in the top of the short hood that is .300” from
the rear and .170” from the left side, install vent #13 from the
Cannon short hood kit. Drill all the grab iron holes with a #80 bit.
MRH-Oct 2014


