.010” brass wire and glue it into the holes in the pilot. Unless
you look really closely, the middle part now appears to be
attached to the two outer parts. If all this bending sounds like
too much work, I suggest using Detail Associates 2211 or Cal
Scale 522 instead.
Continuing with the front pilot, you can next build the
ditch lights. Cut two squares of .010” styrene that measure
.140”x.140”. Cut four strips of .030”x.060” styrene strip to a
length of .140”. Glue two of these pieces on edge to the back
of each of the .010” thick squares you just cut. Again following
pictures, glue these two assemblies to the front pilot so they
go over the coupler lift bars. Take the Detail Associates 1013
ditch lights and drill them out with a 1/16” drill bit. Glue the
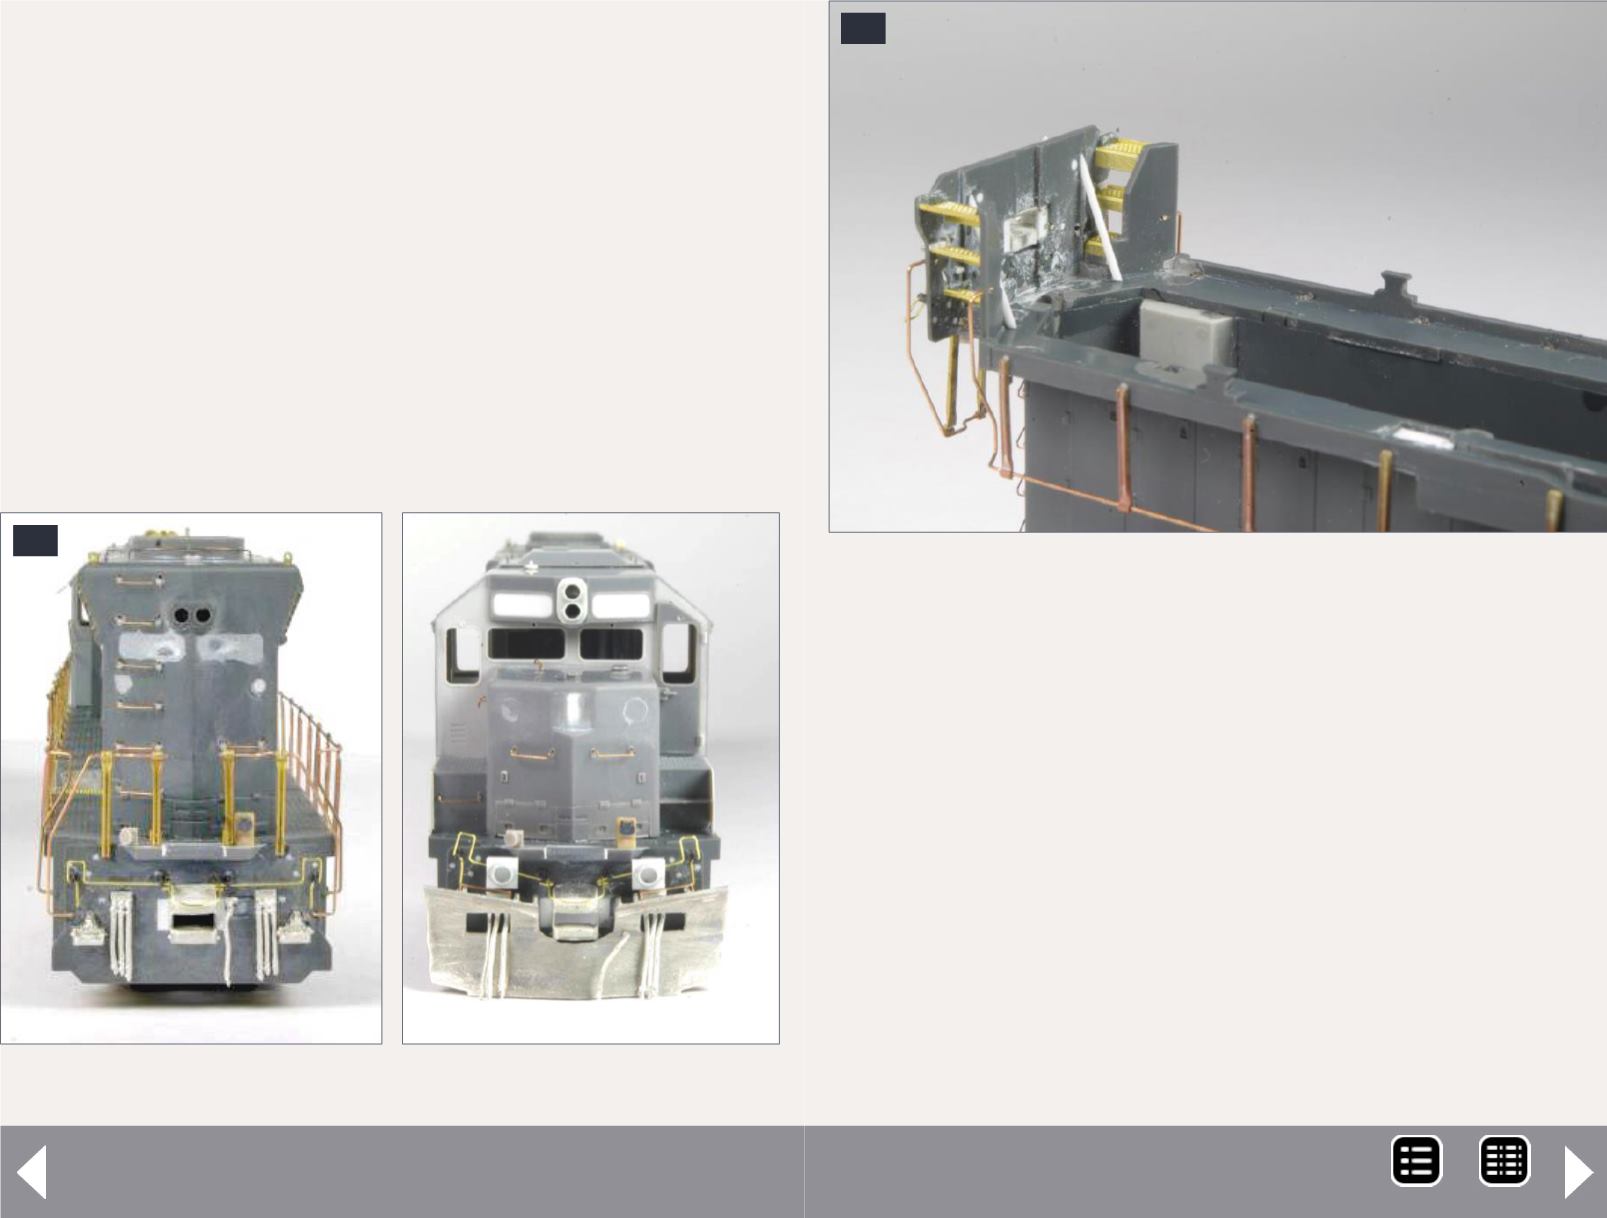
31. View of finished rear and front pilots.
31
Pan-Am Railways SD45R - 15
32
32. Styrene rod used to represent pilot braces.
drilled-out ditch light castings to the mount you just glued on
the front pilot.
Drill two holes in the rear pilot for mounting the Details West
196 spare knuckles and glue them in place. Add one Detail
Associates 1505 MU stand and one Detail Associates 1509 MU
receptacle on top of each anticlimber. Glue the Detail Associates
drop steps in place, I had to add a strip of .010” styrene to both
sides of each drop step to get them to fit and look right.
Cut four pieces of .030” styrene rod to a length of 9/32”. Angle
the ends and glue them in place behind the pilots as seen in
[32]. Make sure these pieces are as far apart as possible so
they do not interfere with the frame, test fit the frame to make
sure everything still goes together as intended.
MRH-Oct 2014


