slowly that it takes upwards of 20 seconds to move the distance
between two ties on the track, and that’s just using the build in
“auto tune” function of these decoders. While I know that such
speeds will rarely be used in the real world, it is very important
for the transition from standstill to moving, or vice versa, and to
have a very smooth running loco with no sudden speed changes.
With the exception of the red emergency lights, I used individual
0.8 mm micro LEDs in warm white color to light the headlights
and the gyralights. Eight are used. I parallel wired two of them
to each decoder light/function output. These already have build
in 2200 ohm resistors so no external resistors are needed. As
you can see from the pictures, the lights are more than bright
enough, but can be
further dimmed by
using the correspond-
ing CVs if you so wish.
As these are very
small LEDs, the best
way of fitting them
was to add a drop of
Micro Krystal Klear
to each lens open-
ing with a toothpick.
I guided the wires
through from the
outside very gently,
until the LED is just
recessed inside the
lens opening. Once
this dried, I add more
to seal it up and form
a clear lens. Doing this
12
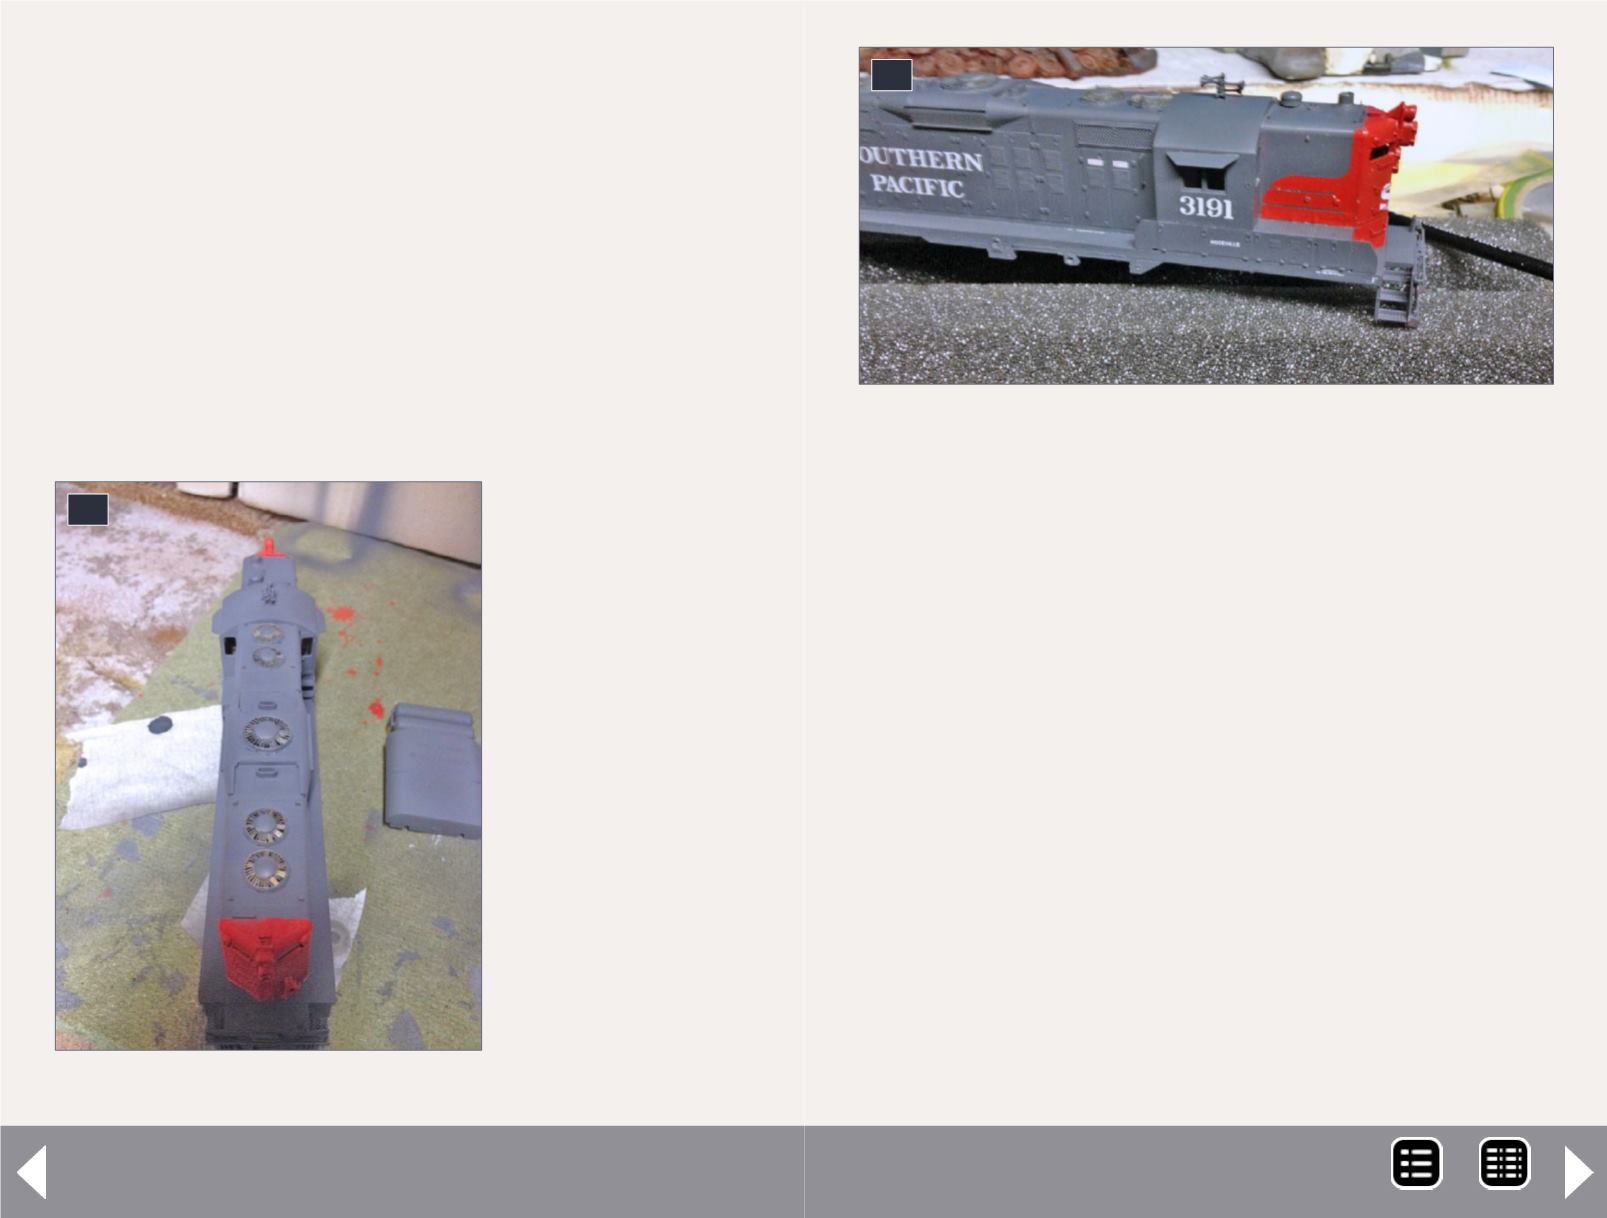
12. The Cannon fans installed.
SP GP9 commuter loco - 7
any other way will just end in frustration as the slightest move-
ment will ensure the LED drops out into the shell, and you can
start again.
Using Krystal Klear makes the installation more or less perma-
nent. As these LEDs last a lifetime, that shouldn’t be a problem.
I see absolutely no reason to use grain of wheat bulbs or those
that you find in the current Athearn models. (For these there is
no excuse, I feel. Athearn, please consider changing these). The
quality of these LEDs and their natural light color is great and
worth the extra expense. The emergency lights were modelled
using MV Products lenses.
Sound
The speaker was mounted in the cab, as this is where the shell is
the widest, and I can get a larger speaker built in. Placing one in
the long hood is also possible, but might require you to cut away
13
13. The shell is being decaled. Note the difference
and improvement in the gray color after the gloss is
applied. The wings were still being maneuvered into
place in this picture.
MRH-Sep 2014


