and if not, you probably know someone who does. So scan the
kit signs to a digital image.
I’m going to show you how simple it is and how realistic the
results will be. If you’re like me, you probably have been sav-
ing signs and posters for your models for a while, so you
should have a nice selection. Above are the signs I chose for
this tutorial.
Tools
The tools you will need are:
Color ink jet or color laser printer
Hobby knife with a new blade
Straightedge for cutting
3M mending tape (the type that looks frosted)
Tape measure or ruler
Regular printer paper
White glue or matte medium (either one mixed 50/50 with
wet water)
Lint-free cloth (an old T-shirt)
Airbrush
50/50 mix of Testors Dullcote
Tissue paper, the type used for gift wrap.
Artist tracing paper or architectural tracing paper
OK, let’s get started ...
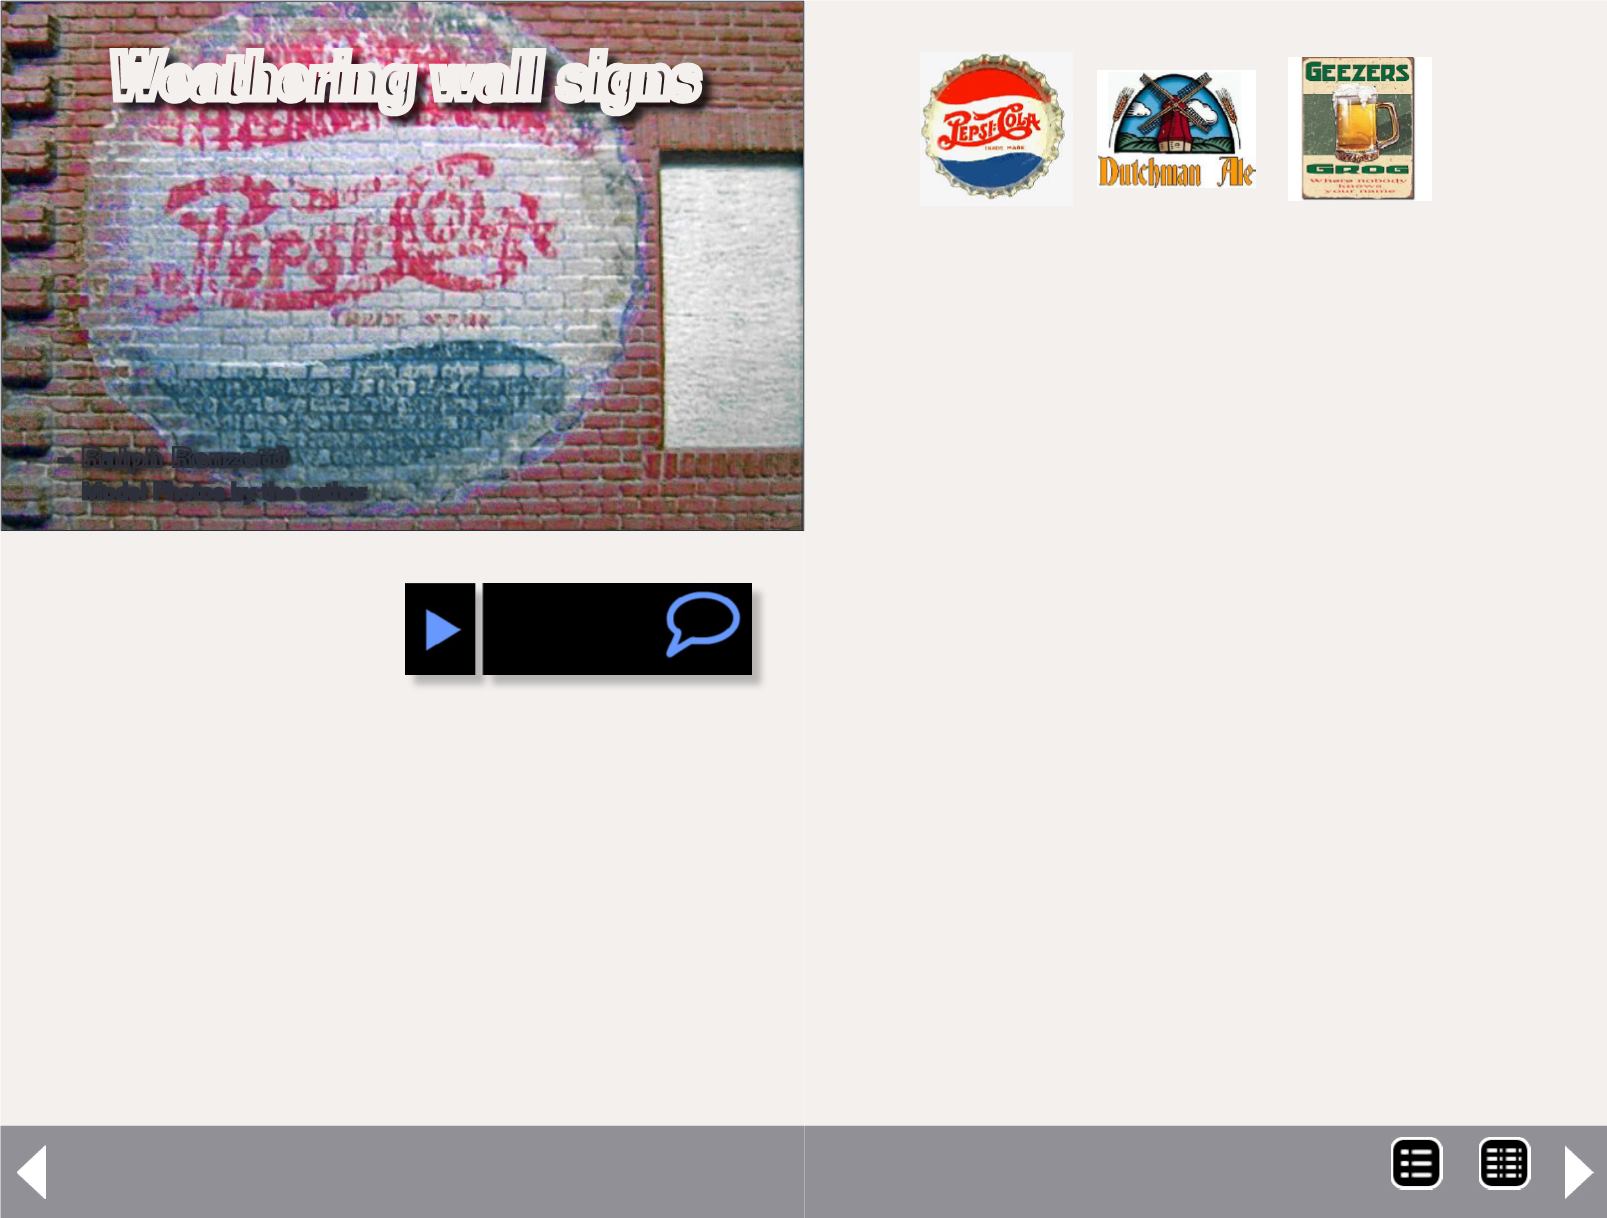
Weathering wall signs - 1
– Ralph Renzetti
Model Photos by the author
W
hen you want to add some old signs or posters to
the walls of your buildings, are you satisfied with
using pre-manufactured signs or even some that
you may have printed from your computer? Are you satisfied
with just cut-and-paste, giving your sign or poster a scale thick-
ness of about 2.5 to 3 inches? That’s in HO – imagine how out-
of-scale it would be in N scale.
If you answered no to any of these questions, then read on.
I realize a lot of the building kits we get nowadays have signs
included, but most of us have printers with built in scanners
Weathering wall signs
Getting that old
weathered look
for your posters
and wall signs ...
MRH-Dec 2013


