Installing a sound decoder - 7
buy packs of five resistors of the same value for about $2.
(Unfortunately they do not carry all of the standard sized resis-
tors but I have tried to specify resistors that Radio Shack stocks
so modelers won’t have to drive for miles looking for an elec-
tronics shop).
For LEDs, a 1000-ohm resistor works well, as will a 680-ohm or
even 1200-ohm – LEDs are not fussy. Just remember that the
blue decoder wire is positive, so the Function wire will go to
the negative lead on the LED, the one by the flat spot on the
flange.For 1.5V bulbs, it gets a little sticky since the wattage
(current) of the bulb determines the resistance, so there is no
“one size fits all” dropping resistor.
However, if you know the current rating of the bulb(s) you will
be using, a 15-milliamp bulb will need a 680-ohm ¼-watt resis-
tor and a 30-milliamp bulb will need 400-ohms of resistance.
However, a 30-milliamp bulb at full brightness draws about
0.32 watts, enough to get a ¼-watt resistor very hot! The quick-
est way around this is to use two ¼-watt resistors wired in
parallel (4), and in this case a 1000-ohm and a 680-ohm in par-
allel will give you the proper resistance plus ½-watt capacity so
they will stay cool. Miniatronics makes both 15 ma and 30 ma
bulbs so if you have a choice, get the 15ma type. They’re both
about the same brightness.
Soldering and splicing wires
If you don’t feel confident making small solder connections,
please read this section fully before you go into the actual wir-
ing of the decoder. You will be making several splices in the
course of this installation and they must be made so there are
absolutely no bare connections!
Here is what you will need to make good reliable splices: a good-
quality adjustable wire stripper, some small needle-nose pliers, a
sharp knife, some 1/16” shrink tubing, some small 1/32” lead-tin
solder, and a 20- to 30-watt soldering iron with a small tip.
HINT:
the best thing you can do to make good solder joints is to
keep the tip of your iron clean with a coat of molten solder on
it! File it smooth while it is cold and as it gets hot, coat it with
solder (called “tinning”) and then lightly wipe it off with a rag.
Remember, hot solder conducts heat much better than dirty
oxidized copper, so keep your iron clean and “tinned” with sol-
der, and your connections will go together easily and quickly.
If you have never done solder connections this small, I urge
you to try a few test splices with scrap wire till you get the
hang of it. To make a splice, strip off no more than about ¼”
“The best thing you can do to make good
solder joints is to keep the tip of your iron
clean with a coat of molten solder on it!”
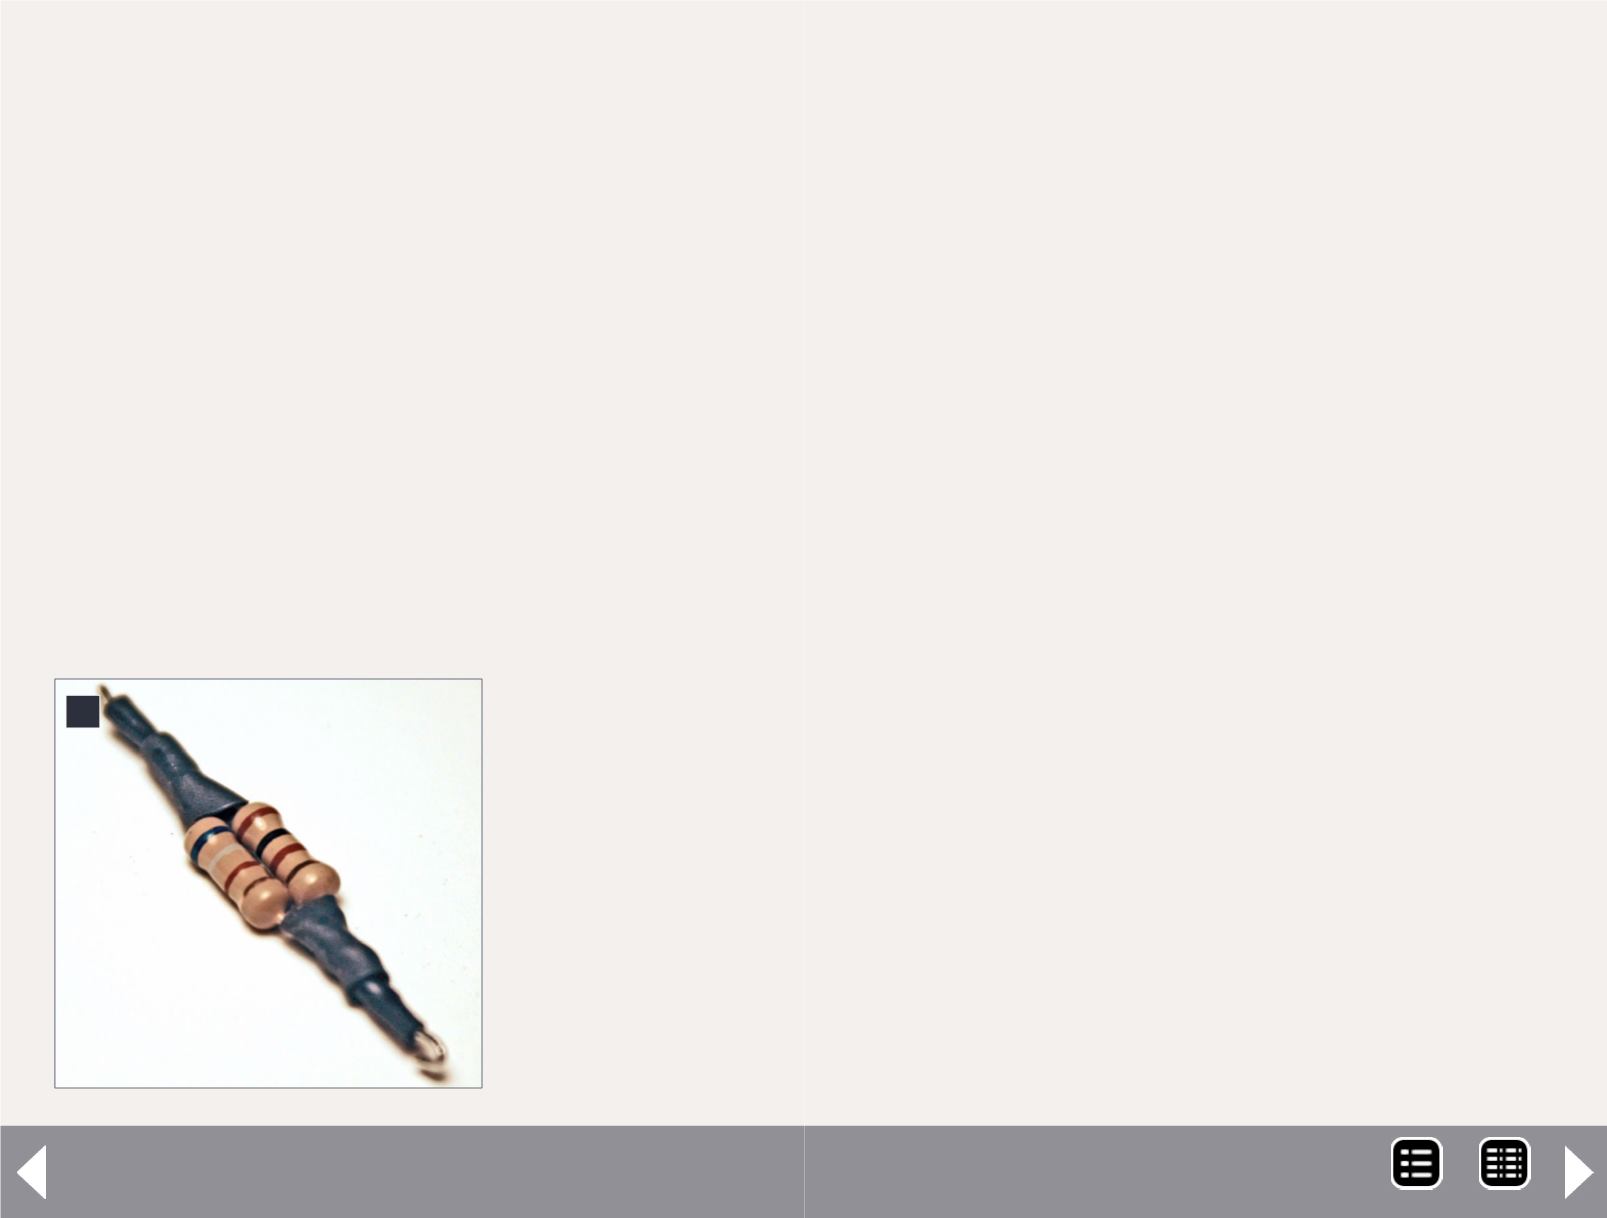
4: How to connect
two resistors in
parallel; note
that small shrink
tubing is used
first, then a larger
size is shrunk over
them to cover the
resistor leads and
cover any bare
wires.
4
MRH-Dec 2013


