Weathering wall signs - 5
STEP 5: Drawing a line around the image
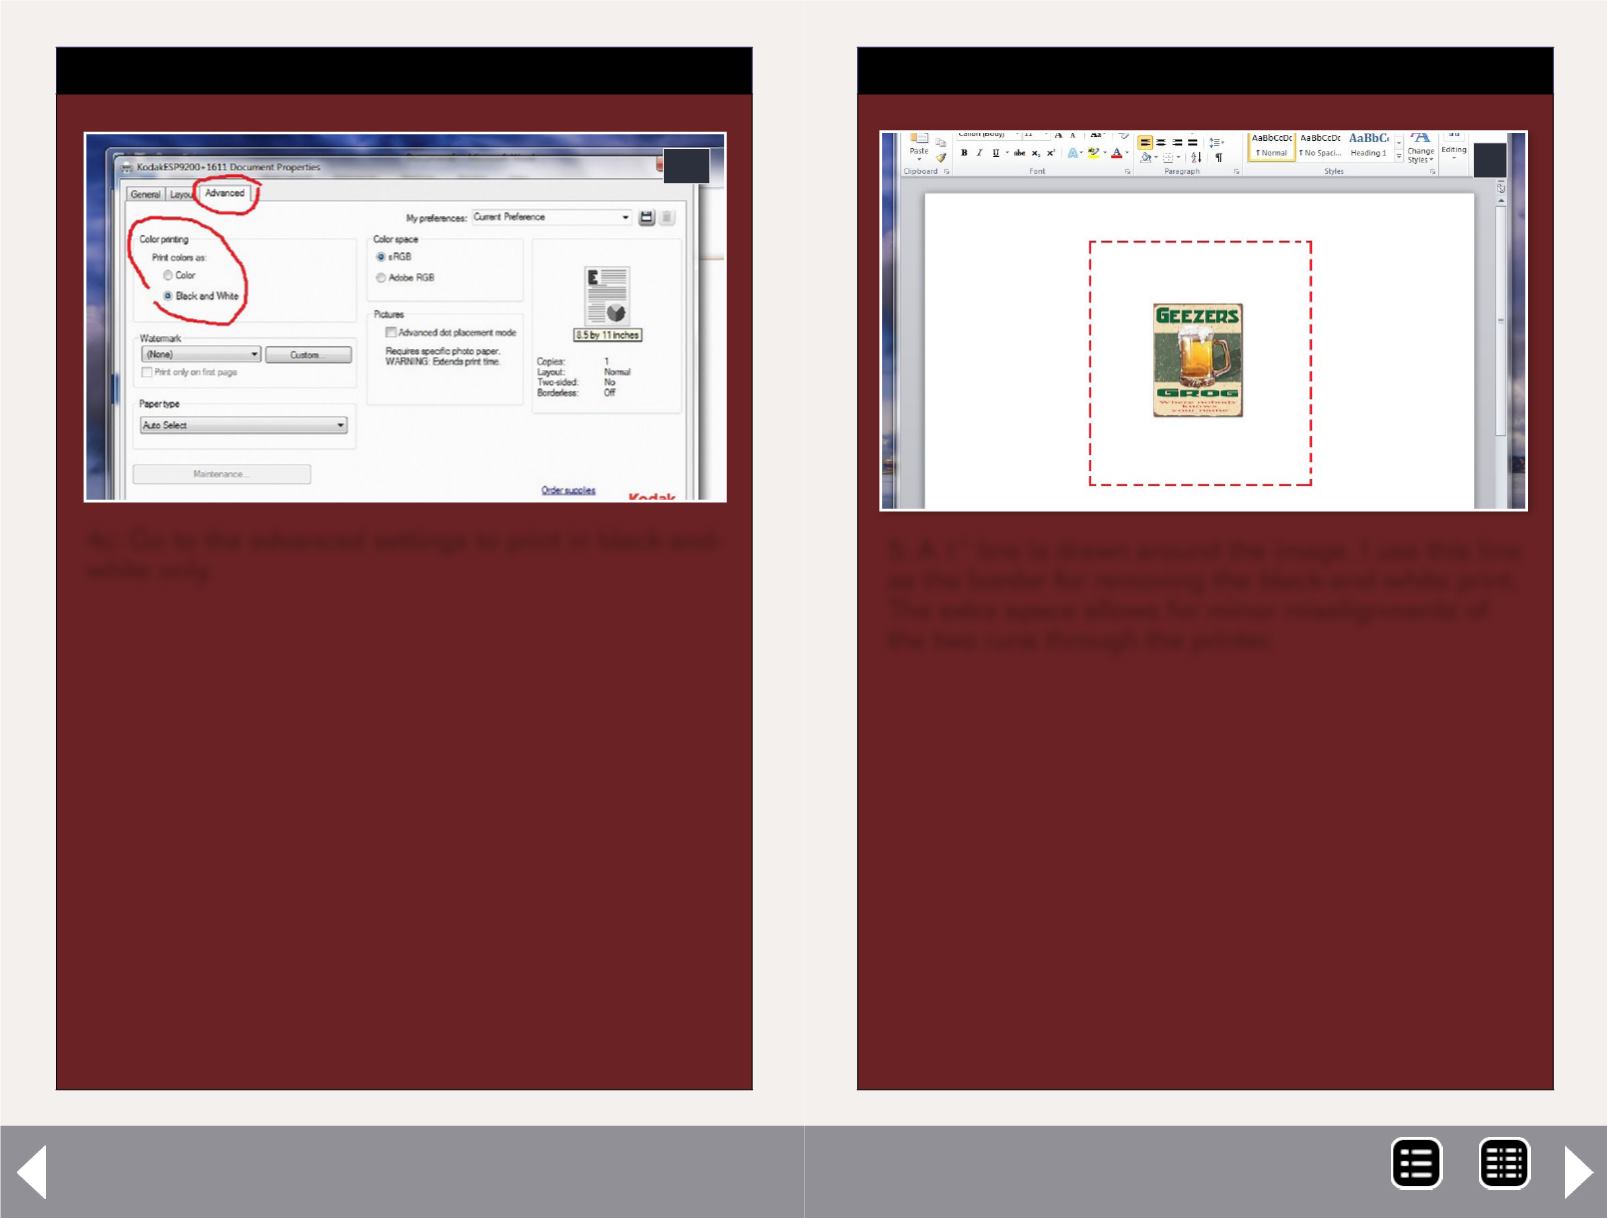
5: A 1” line is drawn around the image. I use this line
as the border for removing the black-and-white print.
The extra space allows for minor misalignments of
the two runs through the printer.
STEP 4: Resizing the image
Continued ...
4c: Go to the advanced settings to print in black-and-
white only.
4c
Once you have your black-and-white print, draw a line
all the way around the image, keeping about 1” from it
on all four sides. The tracing paper is too thin to be run
through the printer, so it needs to be in a holder.
The next thing to do is to take a straightedge and your
hobby knife with a new blade, and cut along the line
around the image.
Now comes the tracing paper. There are two types
or maybe more, but the two I used were Artist Trac-
ing Paper and Architectural Tracing Paper. The Artist
paper is more opaque, and the Architectural paper is
super-transparent. Both are very thin and delicate. So
here you will have to make a decision. Do I want the
sign just to look old and weathered, or do I want it to
look like it’s fading away? Decide how transparent or
opaque do you want your sign to be.
5
MRH-Dec 2013


