Weathering wall signs - 6
STEP 6: Reprinting the image
Continued ...
STEP 6: Reprinting the image
Whichever one you choose, you need to cut a piece of
tracing paper to replace what you cut out. To hold it in
place, I used the 3M Tape on the back side, and put it
back in the paper supply tray to print the image again,
but this time in color and draft mode.
Now I should point out that our printers DO NOT PRINT
WHITE, they count on the white paper to fill the white.
So here is another choice to make based on the age and
condition you want your sign to be.
If you want to be able to read your sign completely,
you will have to make a mask in order to spray a whit-
ish background the exact size of your sign. I used
the cutout from my black-and-white print, cutting
along the edge of the sign and leaving a hole where
the sign used to be. Take this cutout with the hole in
it, and tape it so the hole is in the desired sign posi-
tion. I use an airbrush to spray a mixture of thinned
acrylic paint, white or beige, through the opening.
This mixture is 10% acrylic to 90% acrylic thinner. You
will have to spray multiple coats, depending on how
bright you want your sign.
If you want the sign to be old and fading away, then do
nothing or at the very least, apply one or two coats of
the above mixture.
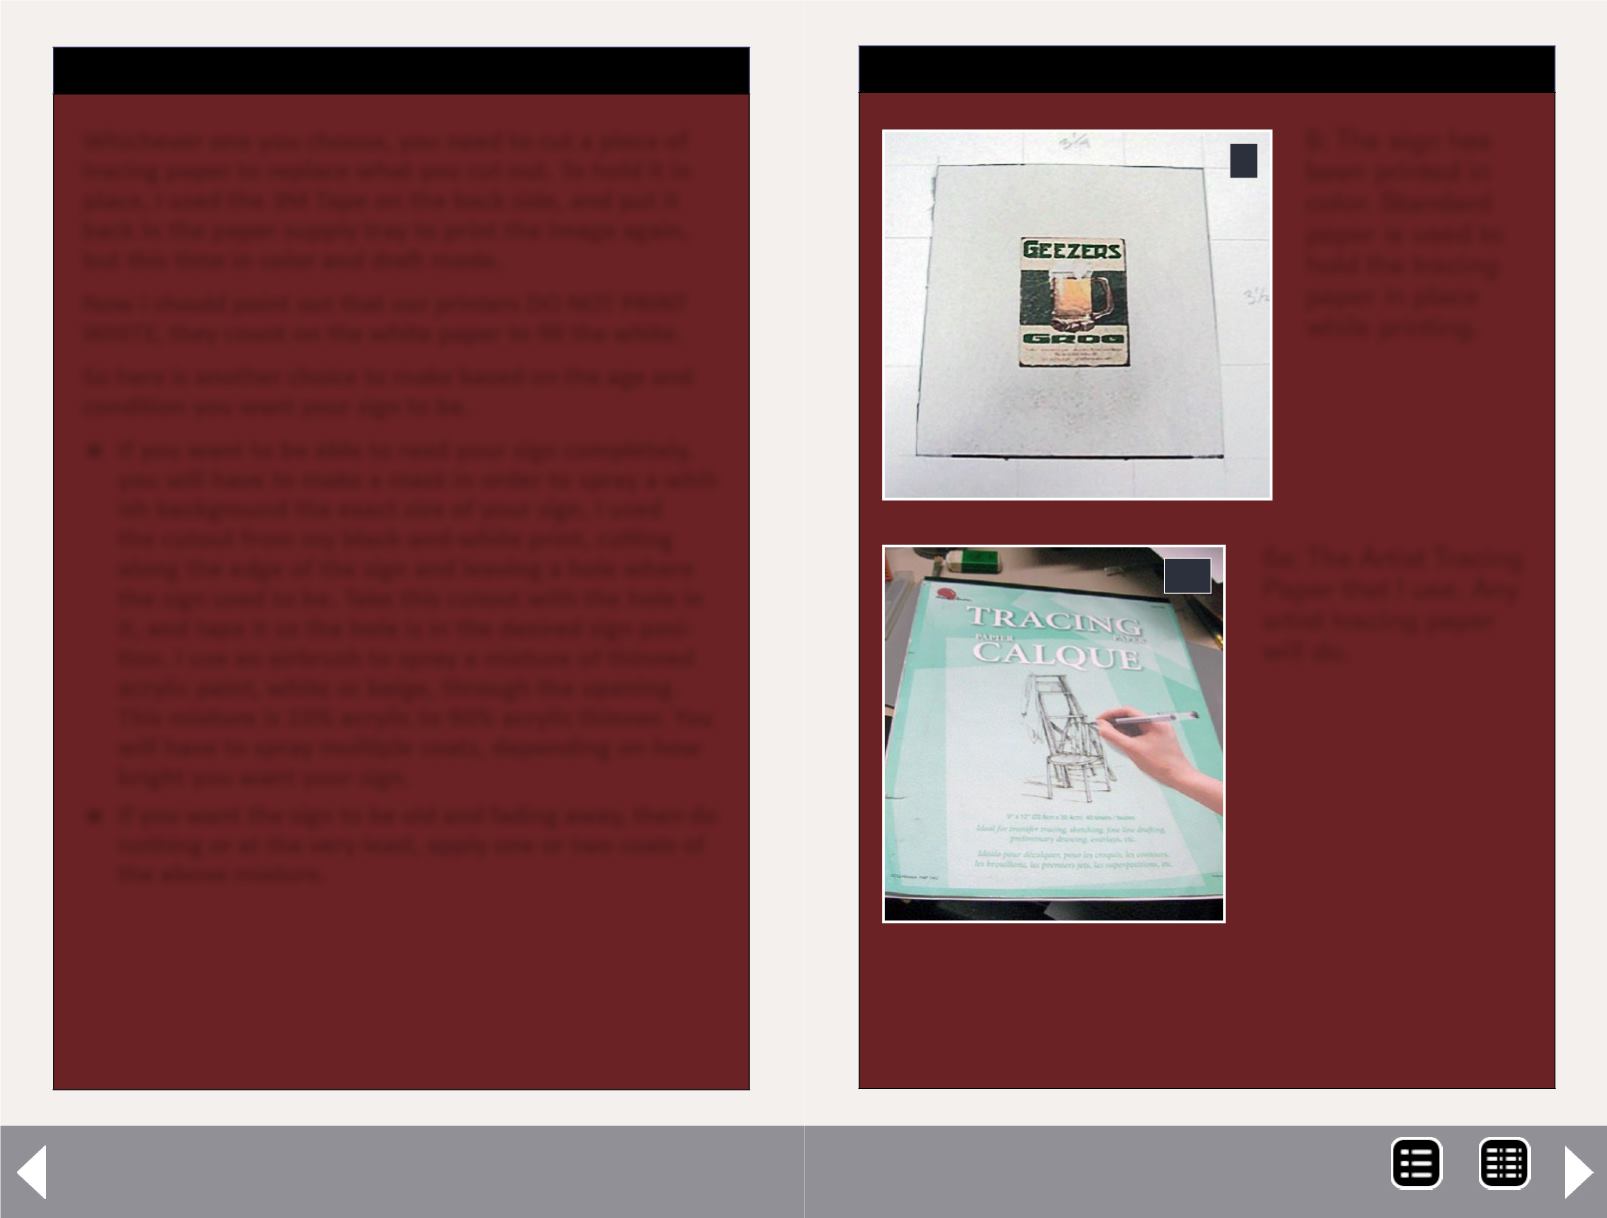
6: The sign has
been printed in
color. Standard
paper is used to
hold the tracing
paper in place
while printing.
6
6a
6a: The Artist Tracing
Paper that I use. Any
artist tracing paper
will do.
MRH-Dec 2013


