styrene together [46], and let the glue dry overnight. A test-fit
was next [47], and it was snug. I sanded the block to make it
fit. Once the block fit into place, I held the coupler in place to
check it with the coupler gauge.
After verifying the correct coupler height, I removed the sty-
rene block. Then I used liquid styrene cement on the sides to
help reinforce it, again giving it time to dry overnight. I washed
the block in warm soapy water to remove oils. The block was
then airbrushed a yellow that closely matched the caboose
ends. CA was applied to the four sides of the block, then it
was pushed into place for the final time. After letting that dry,
I used more plastic cement around the sides. I added a cen-
tering line [48], so the coupler will be mounted in the center
of the caboose.
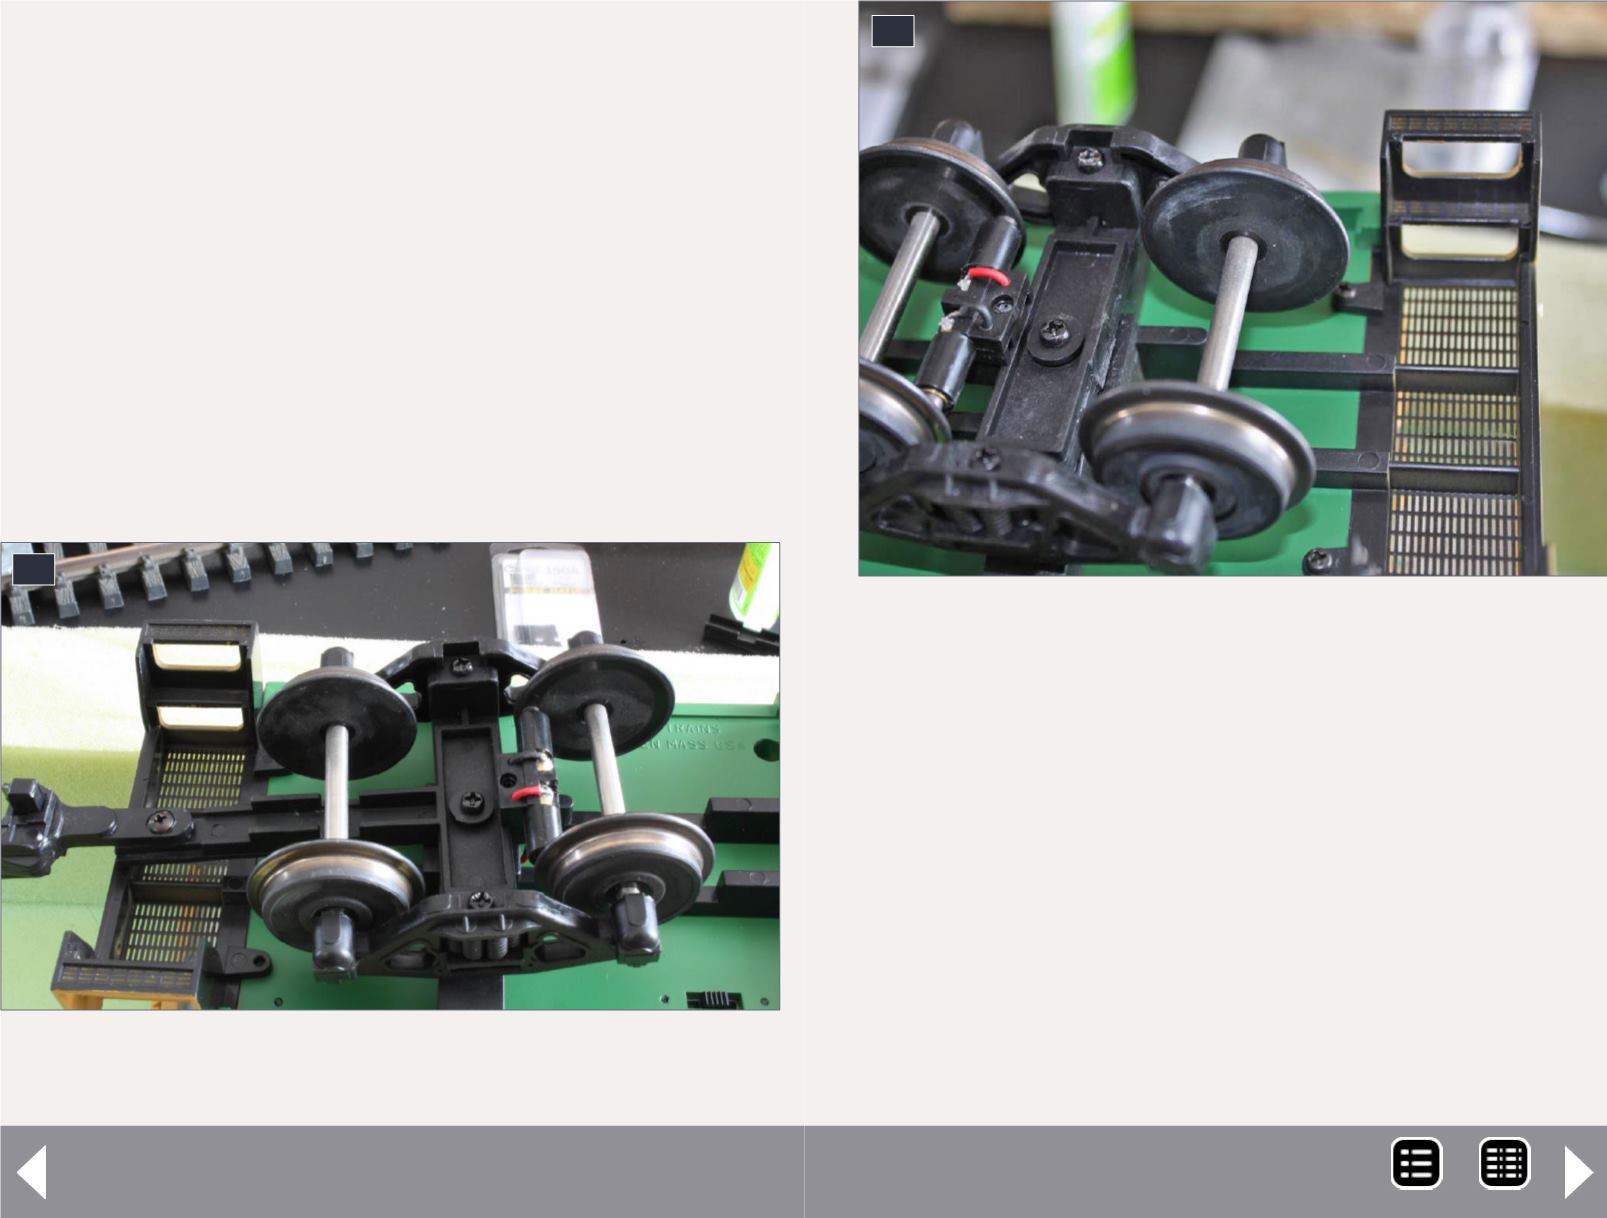
43. Truck-mounted coupler provided by the
manufacturer.
43
Extended-vision caboose - 18
The screws that came with the Kadee coupler kit were too
long. I found correct screws at a local hardware store, and
drilled holes for them in the mounting block.
Before the final mounting of the coupler, I used a Dremel cut-
ting disc to cut off the trip pin. I airbrushed the coupler roof
brown and the coupler box yellow. I checked the coupler height
with the coupler gauge, and made any necessary adjustments.
Weathering
Before weathering, I painted the grab irons and end rails white
[49]. The grab irons pull off easily with smooth pliers (no
teeth). I used HO scale 2” white striping for the stripes on the
44. After the truck-mounted coupler has been removed.
44
MRH-Nov 2014


