DT&I 50' Hydroframe - 5
STEP 3: Weathering
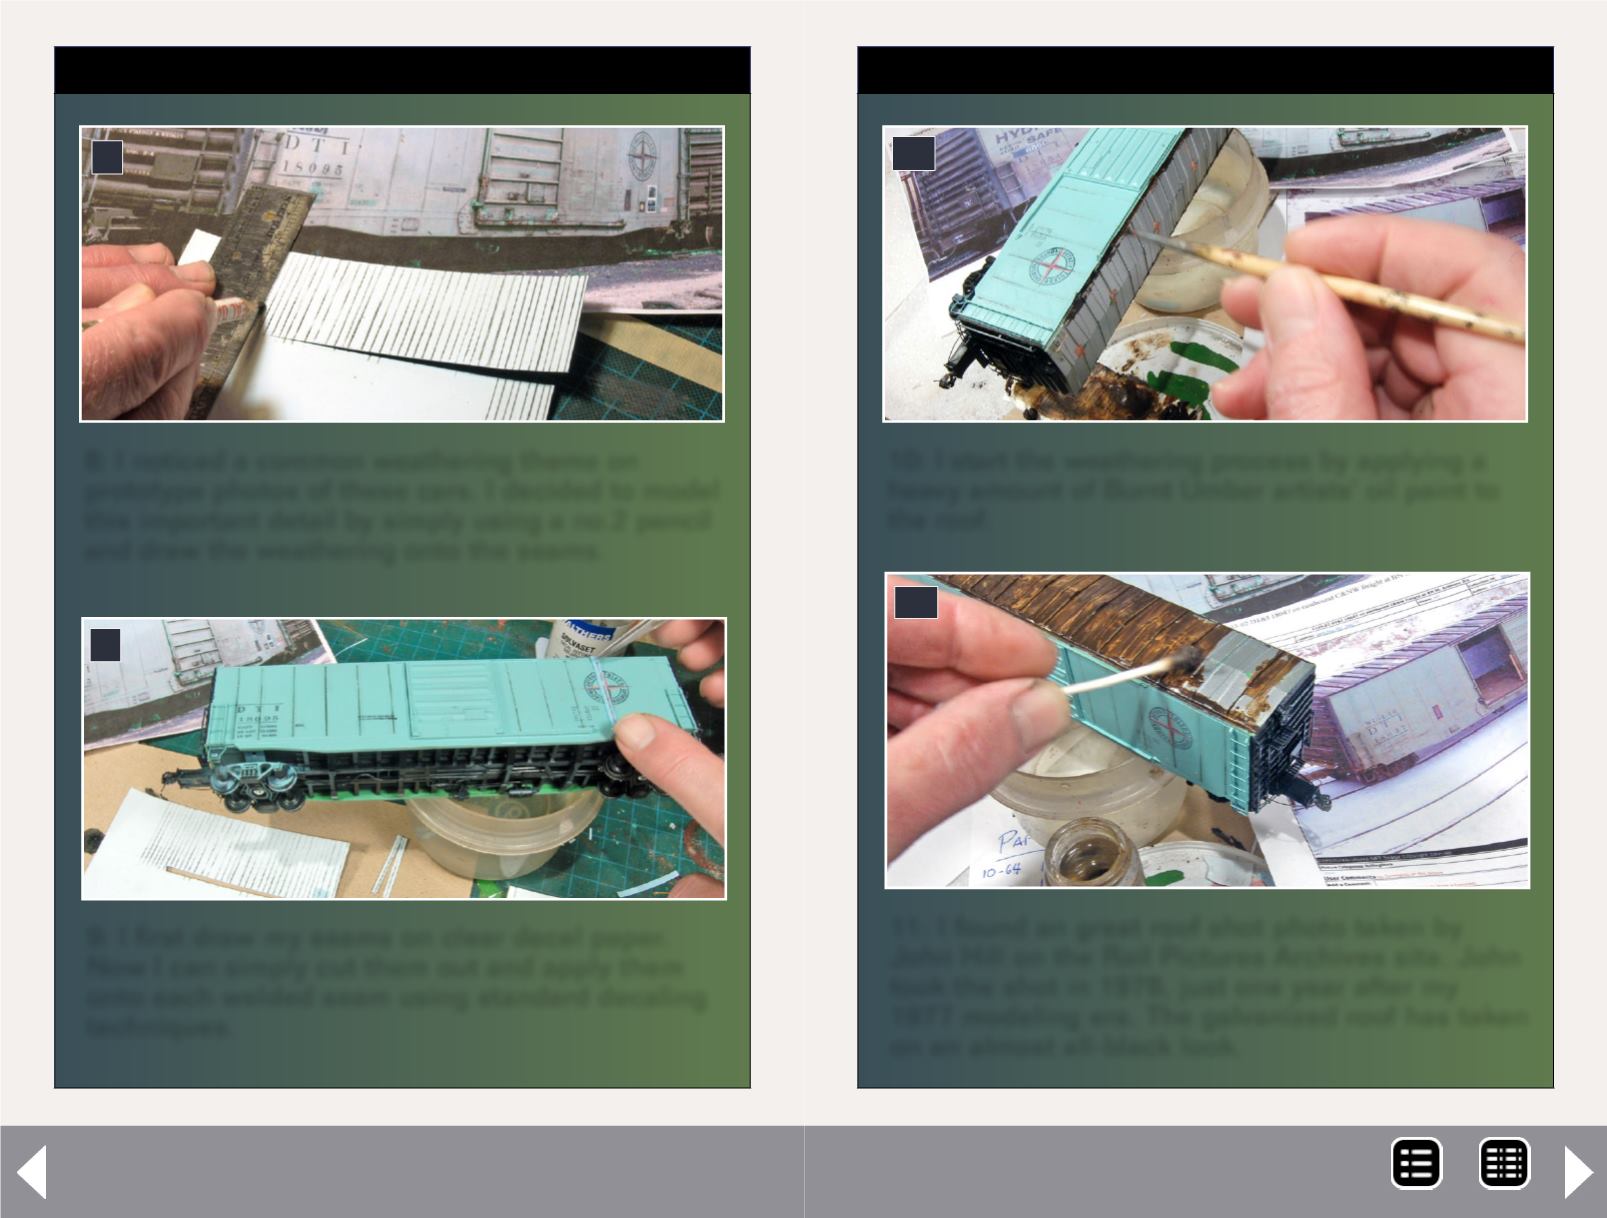
8: I noticed a common weathering theme on
prototype photos of these cars. I decided to model
this important detail by simply using a no.2 pencil
and draw the weathering onto the seams.
8
9: I first draw my seams on clear decal paper.
Now I can simply cut them out and apply them
onto each welded seam using standard decaling
techniques.
9
STEP 3: Weathering
Continued ...
10: I start the weathering process by applying a
heavy amount of Burnt Umber artists' oil paint to
the roof.
10
11: I found an great roof shot photo taken by
John Hill on the Rail Pictures Archives site. John
took the shot in 1978, just one year after my
1977 modeling era. The galvanized roof has taken
on an almost all-black look.
11
MRH-Nov 2013


