STEP 12: Detailing the Sides and Ends
The Erie Railroad Boxcars Part 3 - 14
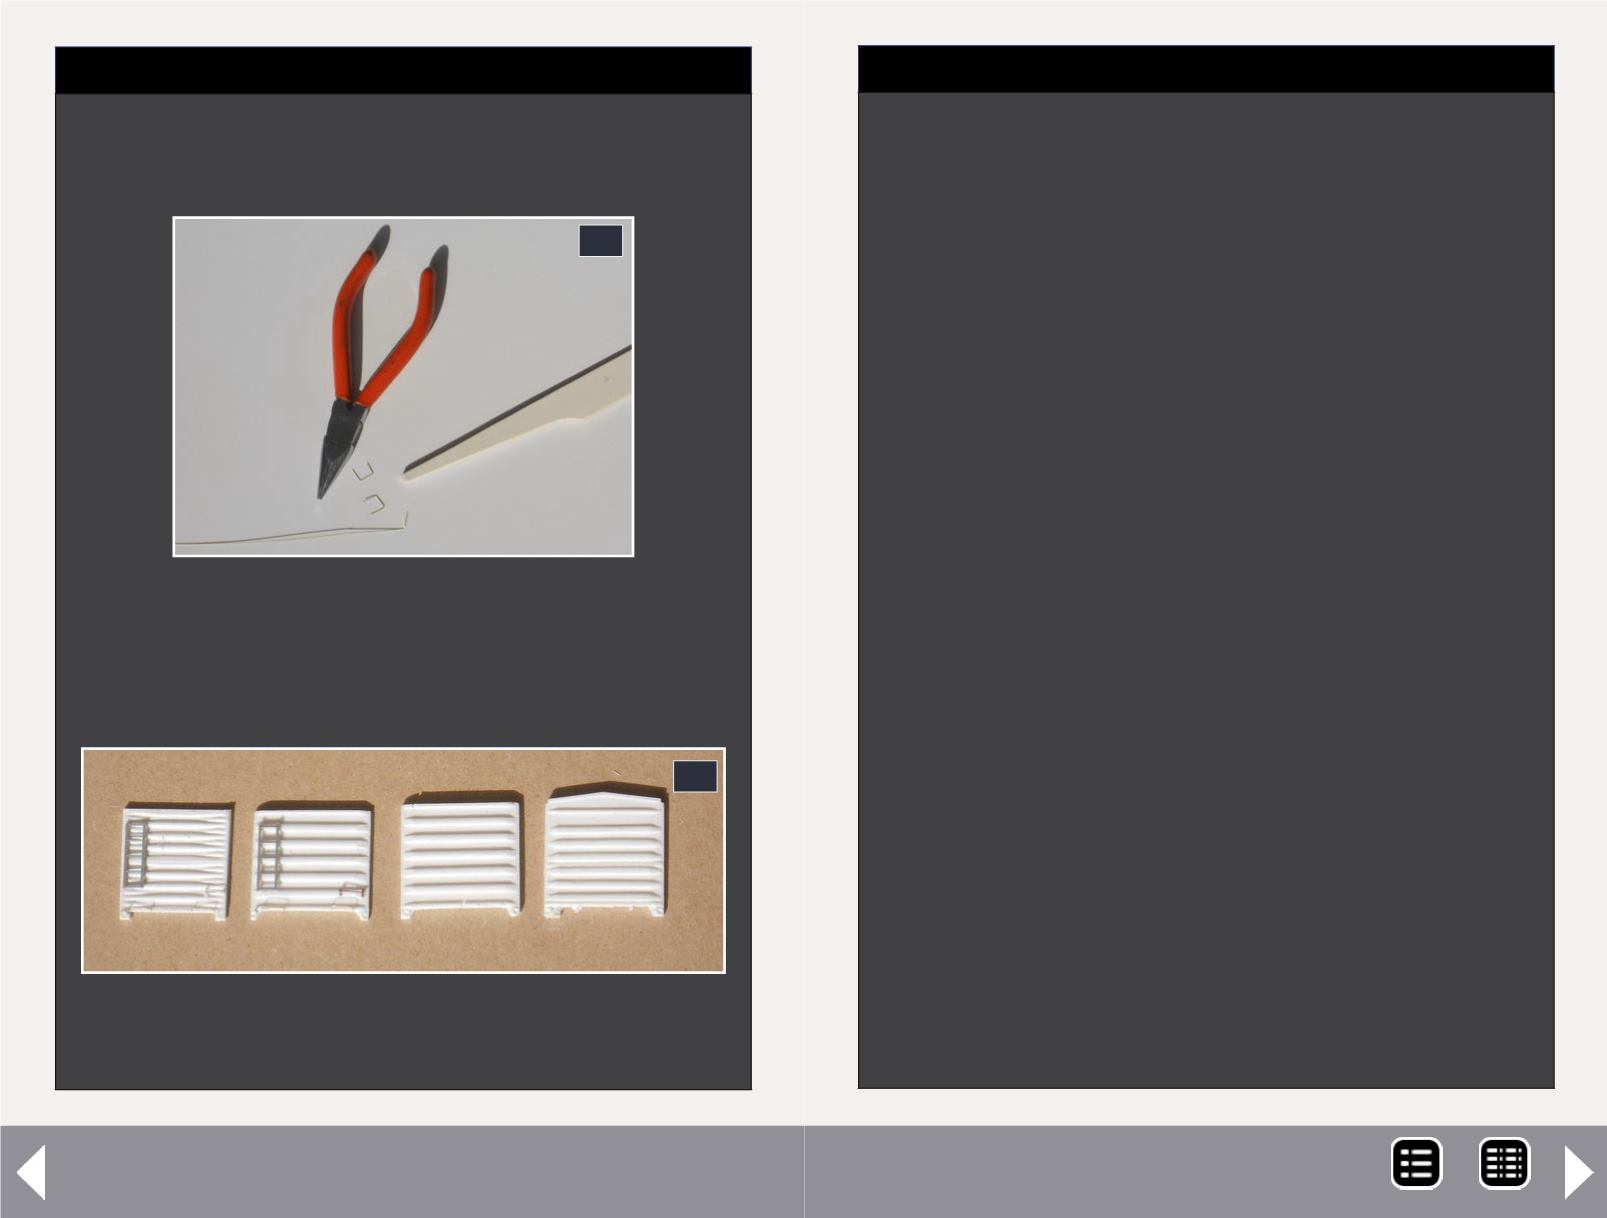
51: Here are two of the finished grabs to give
you an idea of how this jig works. With a little
practice you can become proficient at making
your own.
52: One of each of the ends in the process of
being detailed.
I then bent DA .012” brass wire for the grab irons
located along the bottom rivet line of the ends.
51
52
STEP 12: Detailing the Sides and Ends
Continued ...
Next I cemented one DA 22” grab iron on the right
side of each of the ends. For the 75000-75999
series, I cut down a Tichy ladder to five rungs.
However, before I cemented the ladder in place,
I laid the end along the matching side and made
sure that the rungs were lined up. This finishes up
all the details for the “A” end of the car.
On the “B” end, Tichy brake detail is added. I
used the Tichy Westinghouse AB brake detail
set for the cars. I added DA .012” wire for the air
release valve at the brake wheel after all of the
other detail parts were done.
The process is repeated with the ladders on the
76000 -76999 cars being six rungs tall on the ends.
The tack boards on the ends of the cars will be added
after the cars are painted. I didn't want to risk white
plastic showing under the tack boards.
MRH-Jun 2013


