STEP 10A: The Ends for the 76500 – 76999 Series
Continued ...
The Erie Railroad Boxcars Part 3 - 9
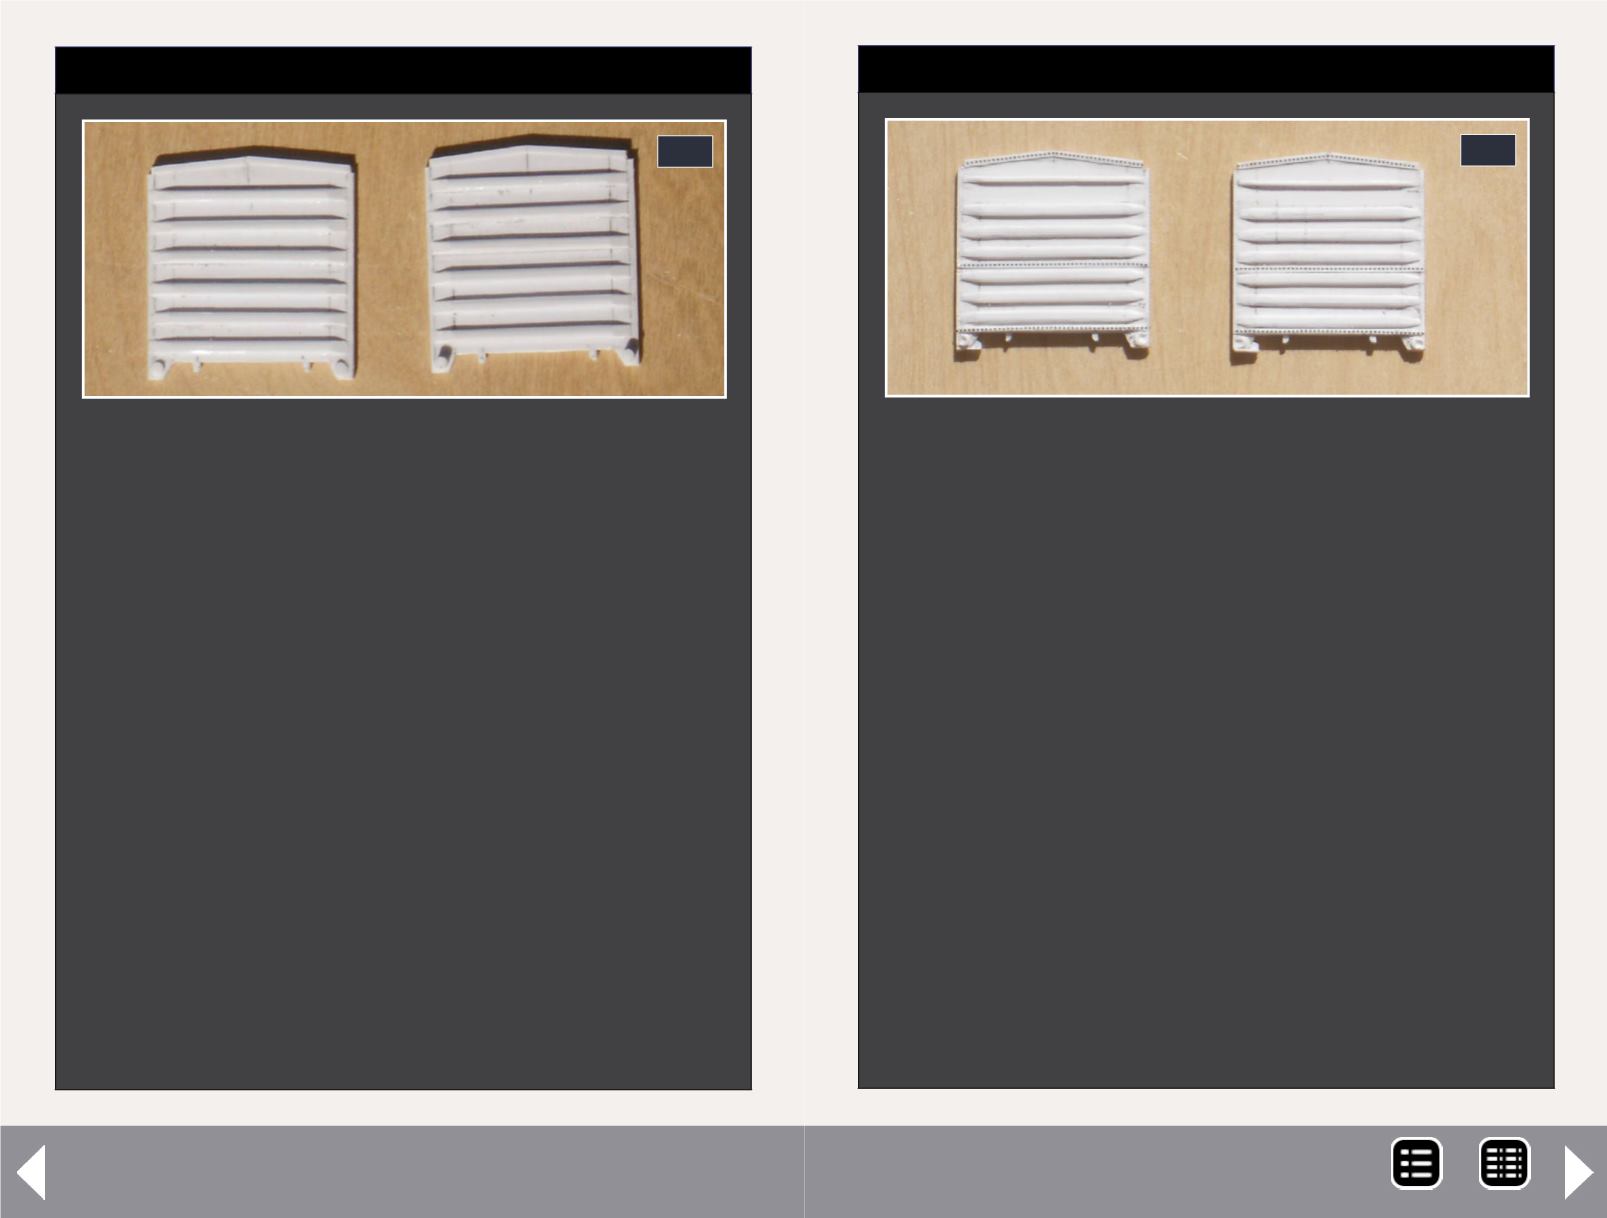
46c: Now for the tabs that the grab Irons mount
to. I cut four pieces of 4” x 6” stock and cemented
them to the bottom of the ends. The inside edges
are 2’-6” from the edge of the car. Once these
had completely dried, I filed a small taper on the
inside edge of each one. That completed the major
construction of the ends.
Now it is just a matter of making locating holes for
the grab irons, and on one end of each pair, the
foot-board brackets for the brake wheel. I made
the locating holes the same way as on the sides of
the car. Two or three turns with a #76 drill created
a little dimple in the styrene.
46c
STEP 10A: The Ends for the 76500 – 76999 Series
Continued ...
46d: Finally, adding the rivet decals to the ends. A strip
of decals is placed along the side of each piece. On
the 75500-75999 and 7600-76499 cars a rivet strip is
placed on the center rib. On the 76500-76999 cars, a
rivet strip is placed in-between the ribs.
All of the cars have a strip of rivets along the
bottom. The 76500-76999 ends have a rivet strip
on the 1’ x 4” that is along the top. Once all of the
rivets were placed, I sprayed the ends with Floquil
High Gloss.
Whew, it worked, the ends looked well and I
cemented them into place on the mold boxes that
I had made. Then I saw it! (Mumbling under my
breath …)
I had forgotten to place the four individual rivets on
each rib. Oh well, at least I hadn’t mixed or poured
the mold material yet.
46d
MRH-Jun 2013


